Celeste Cabinet
Or How I Fulfilled a Childhood Dream
July 18, 2025
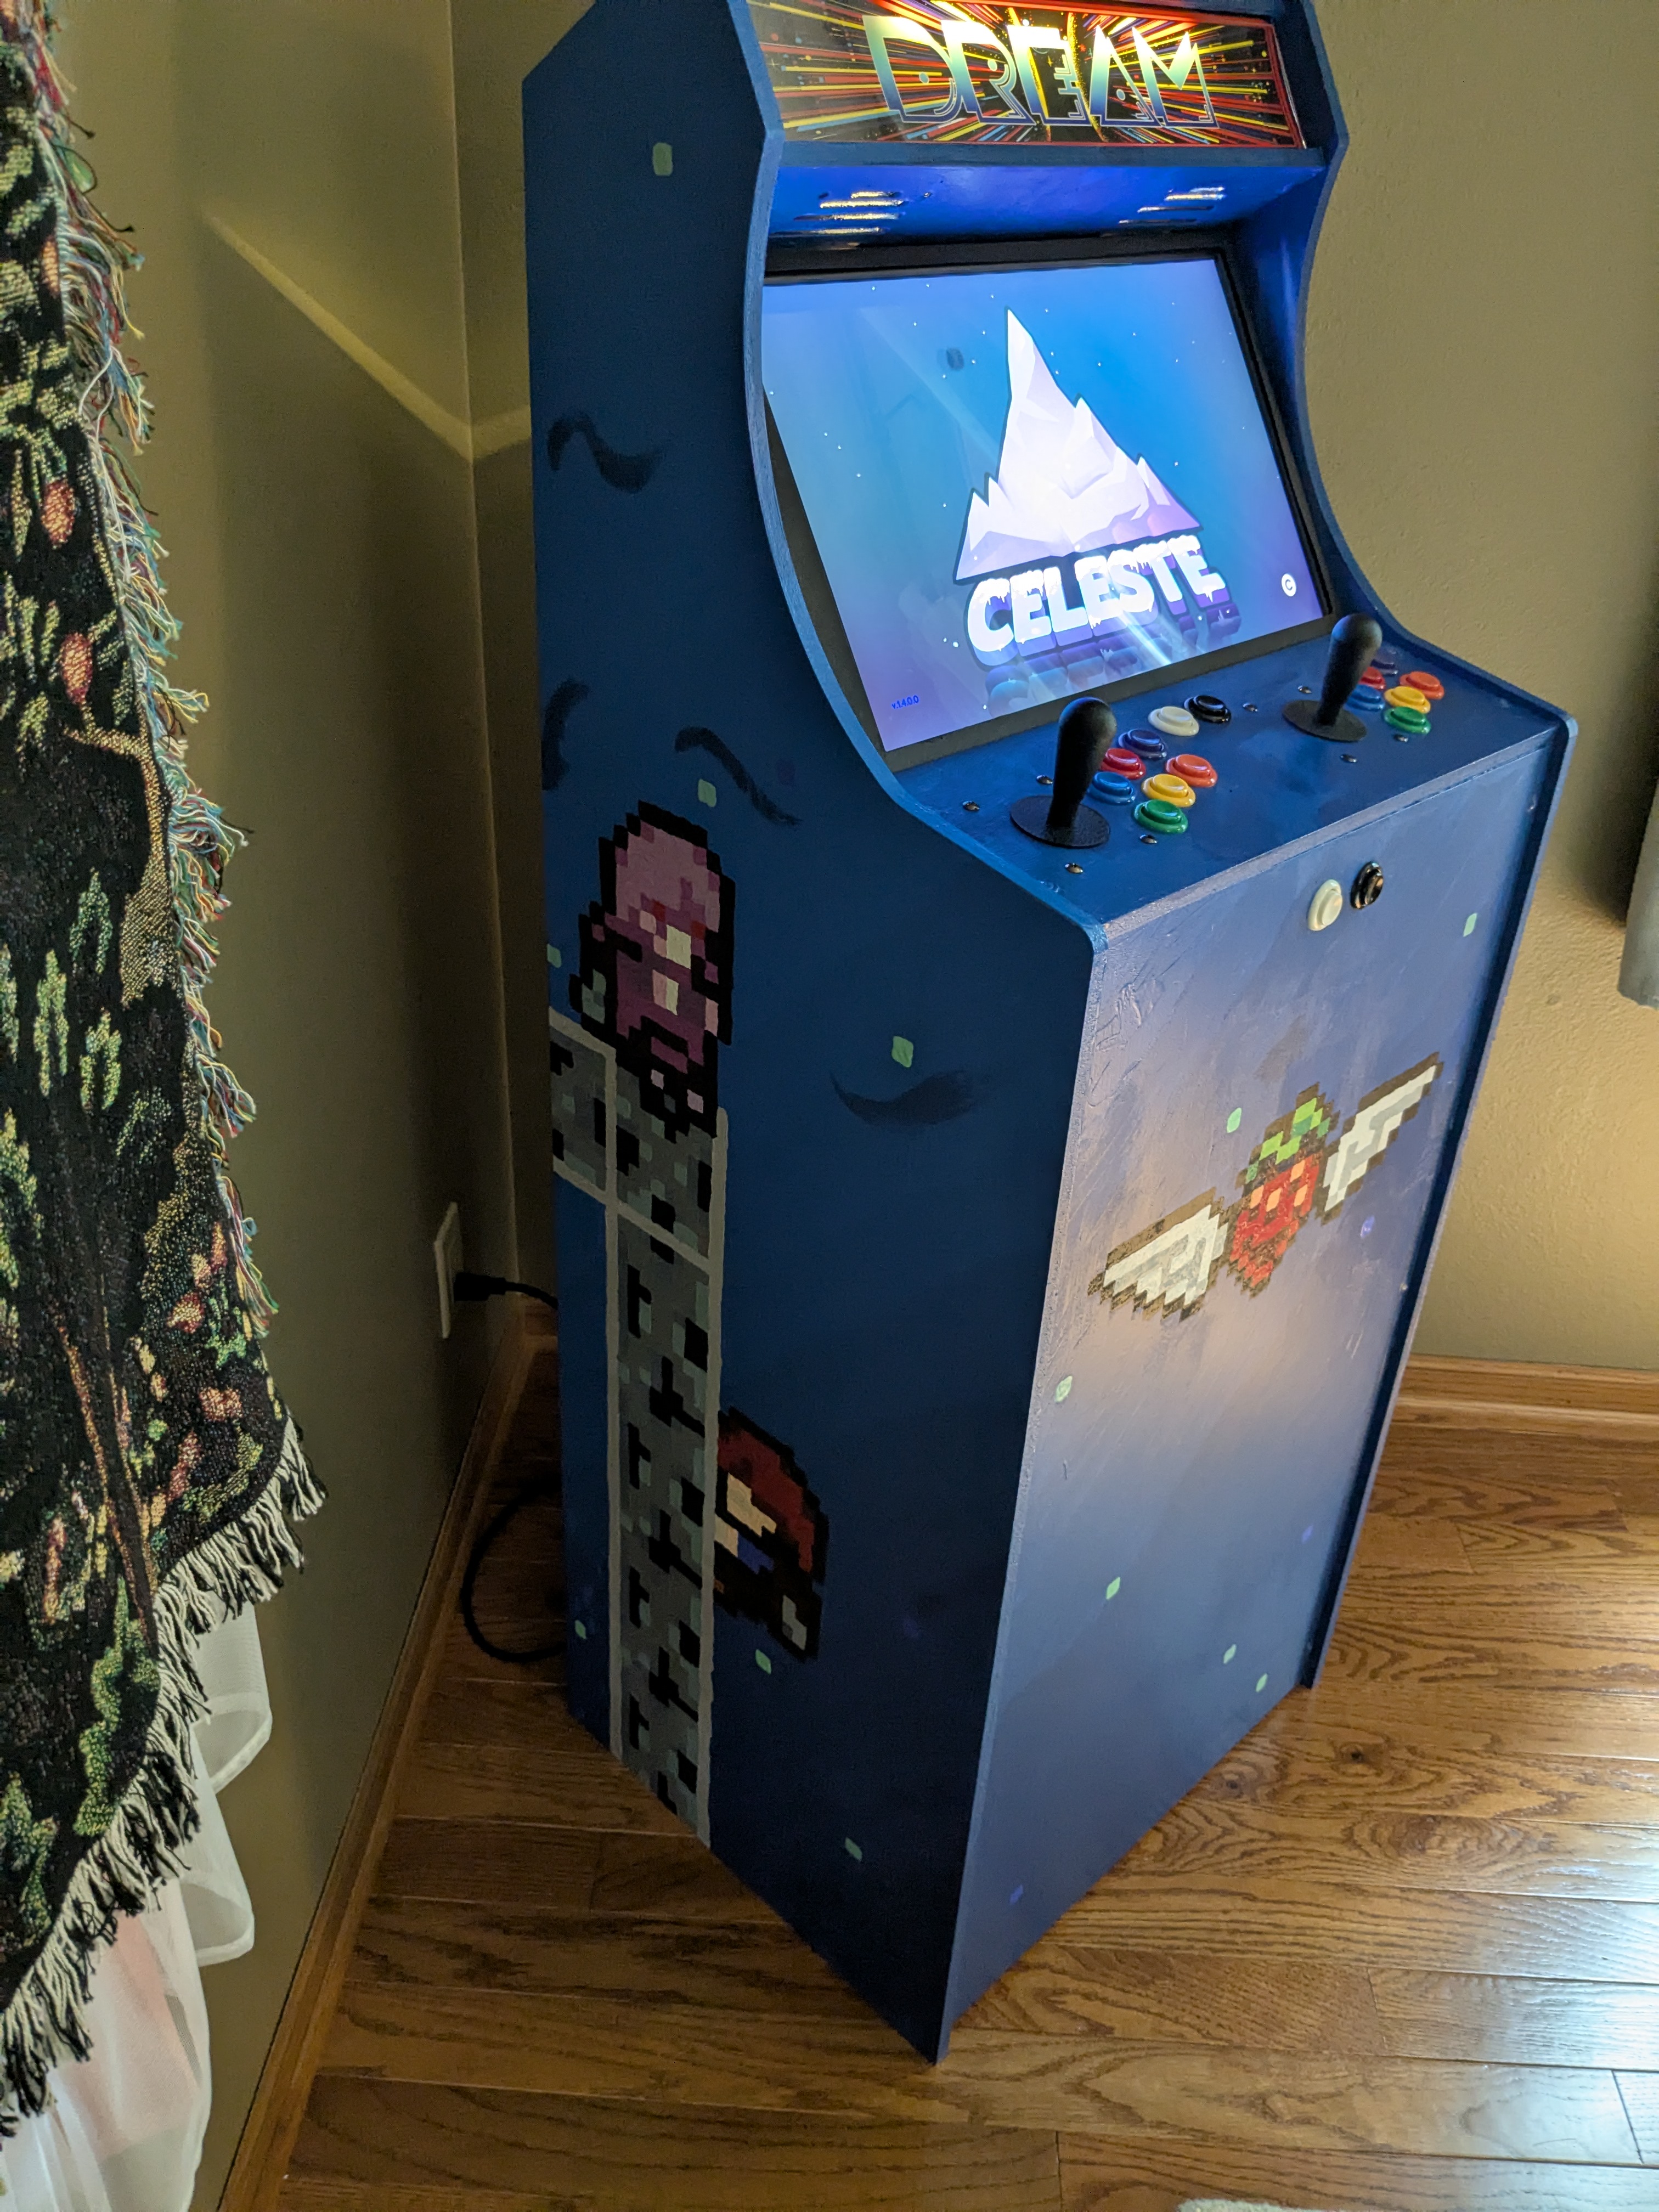
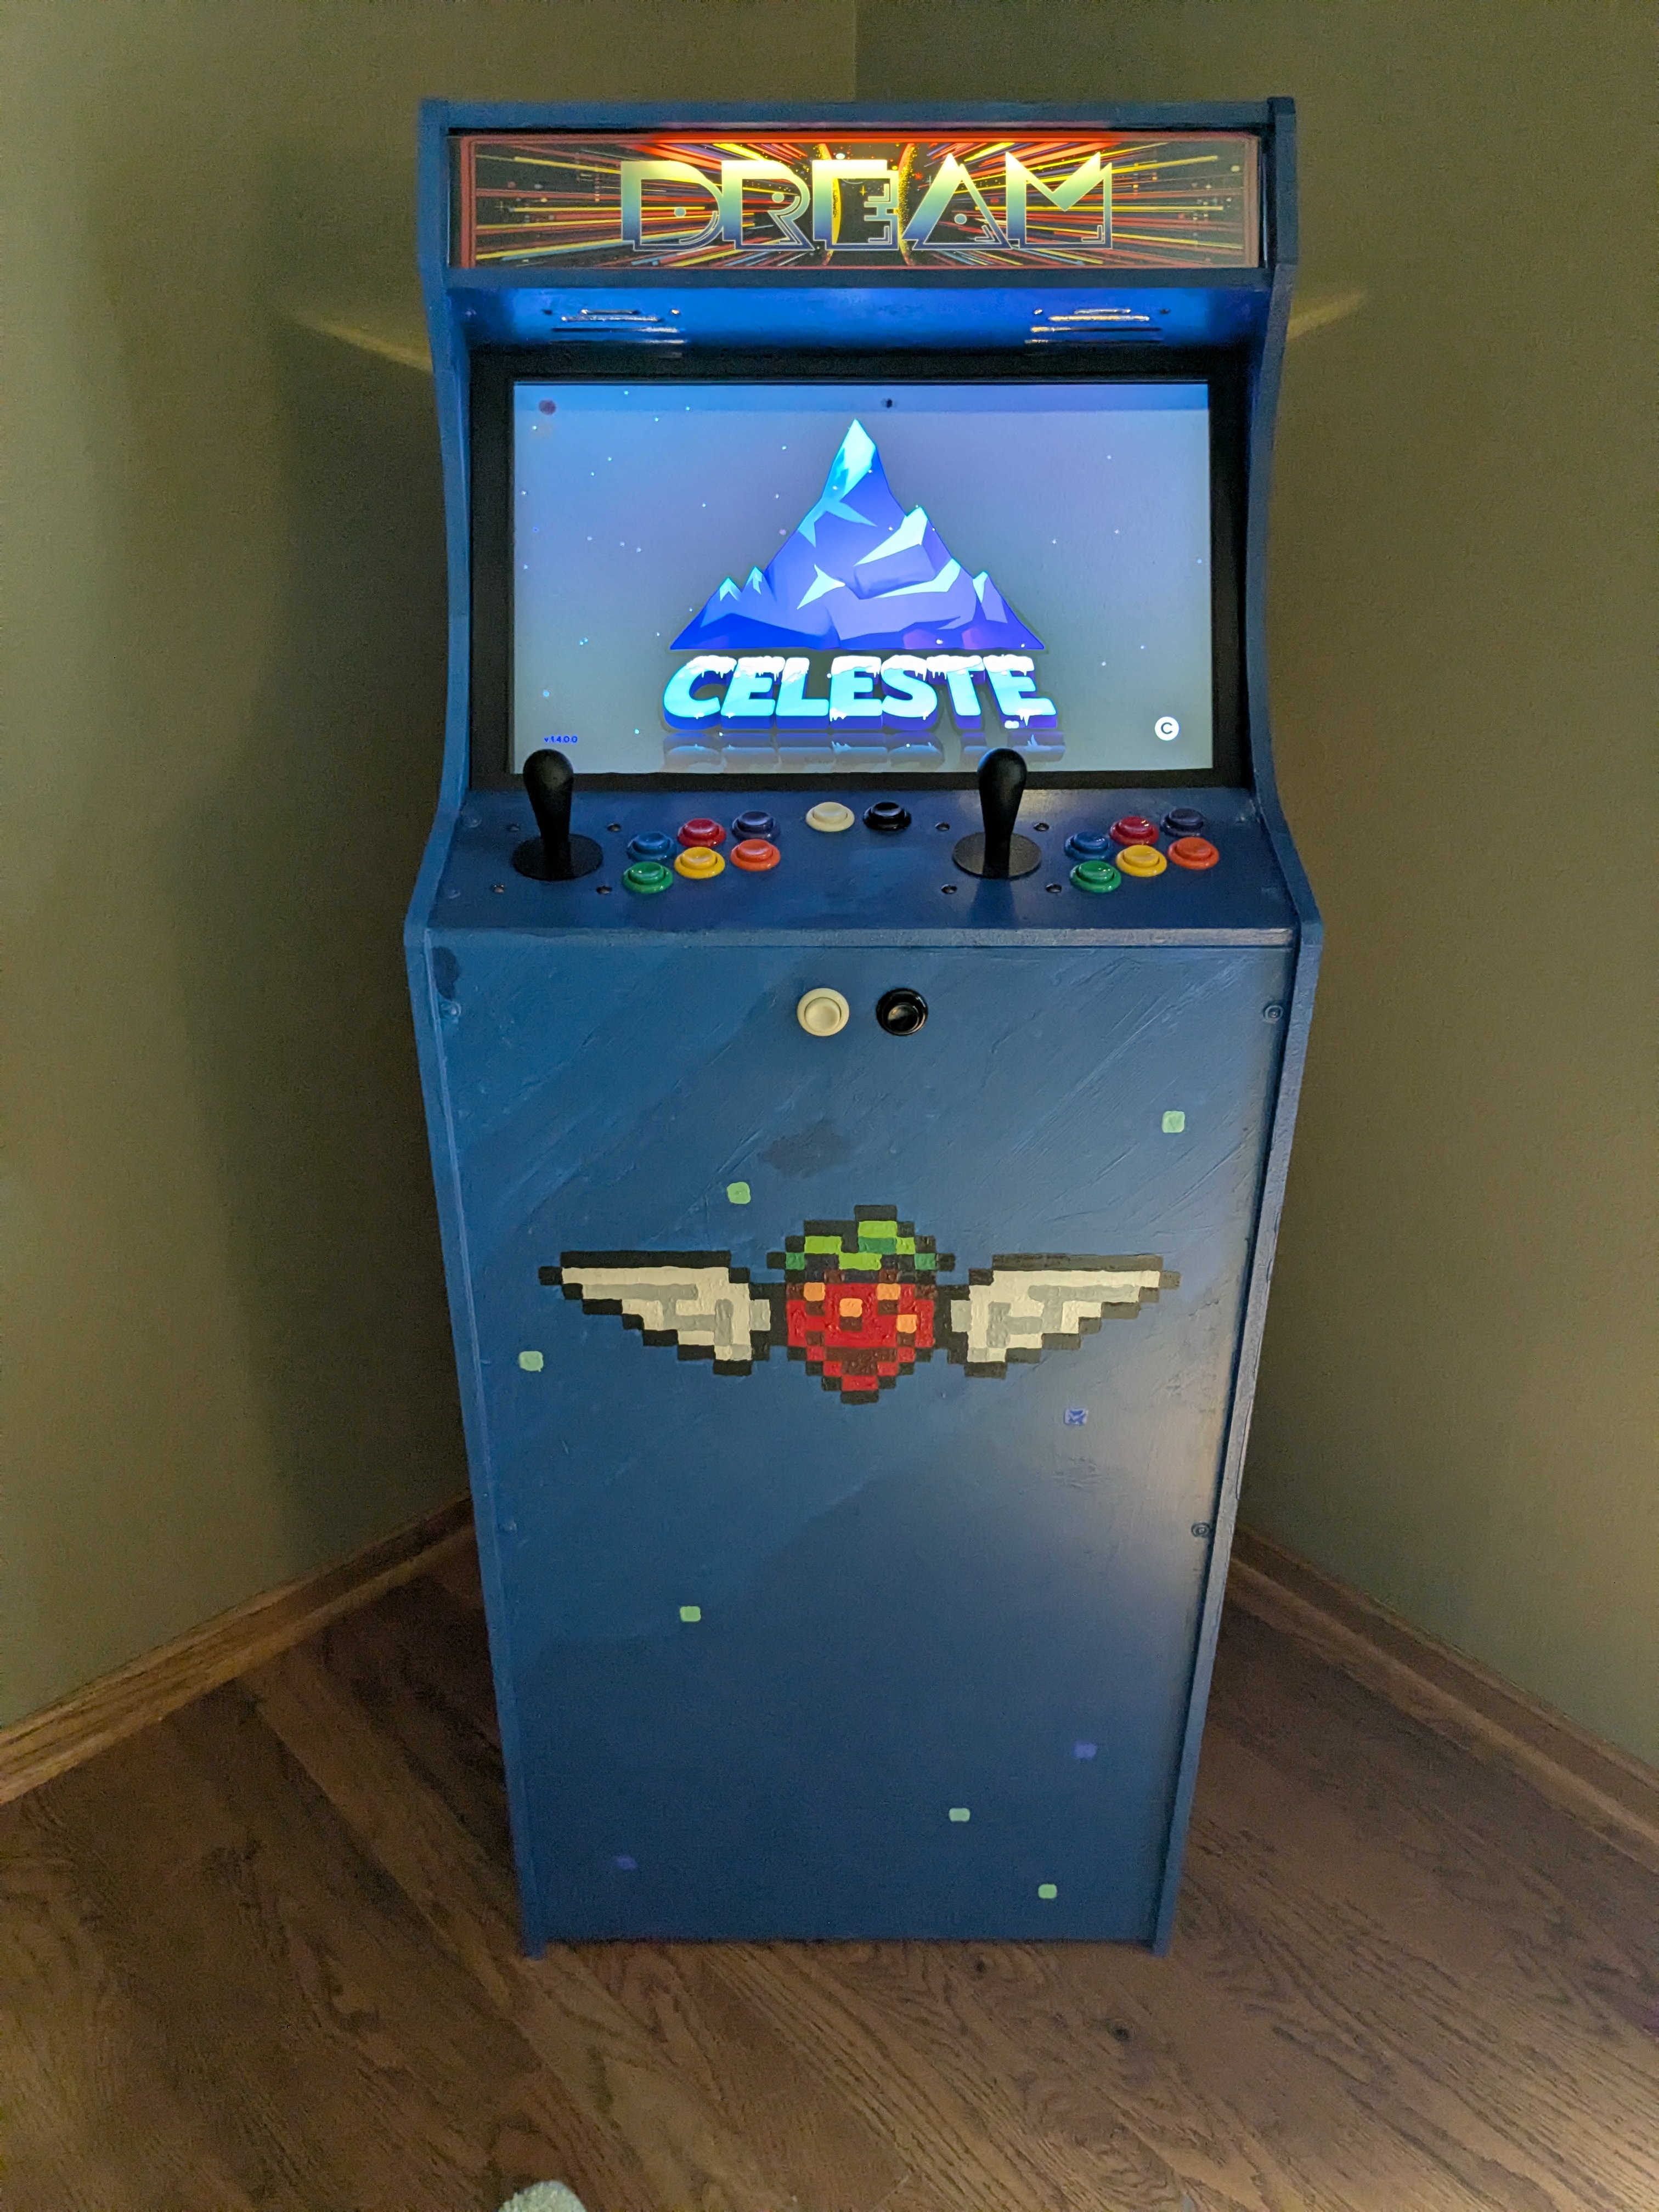

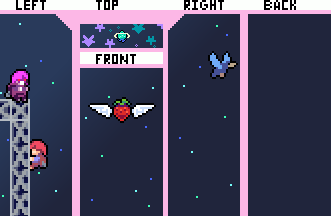
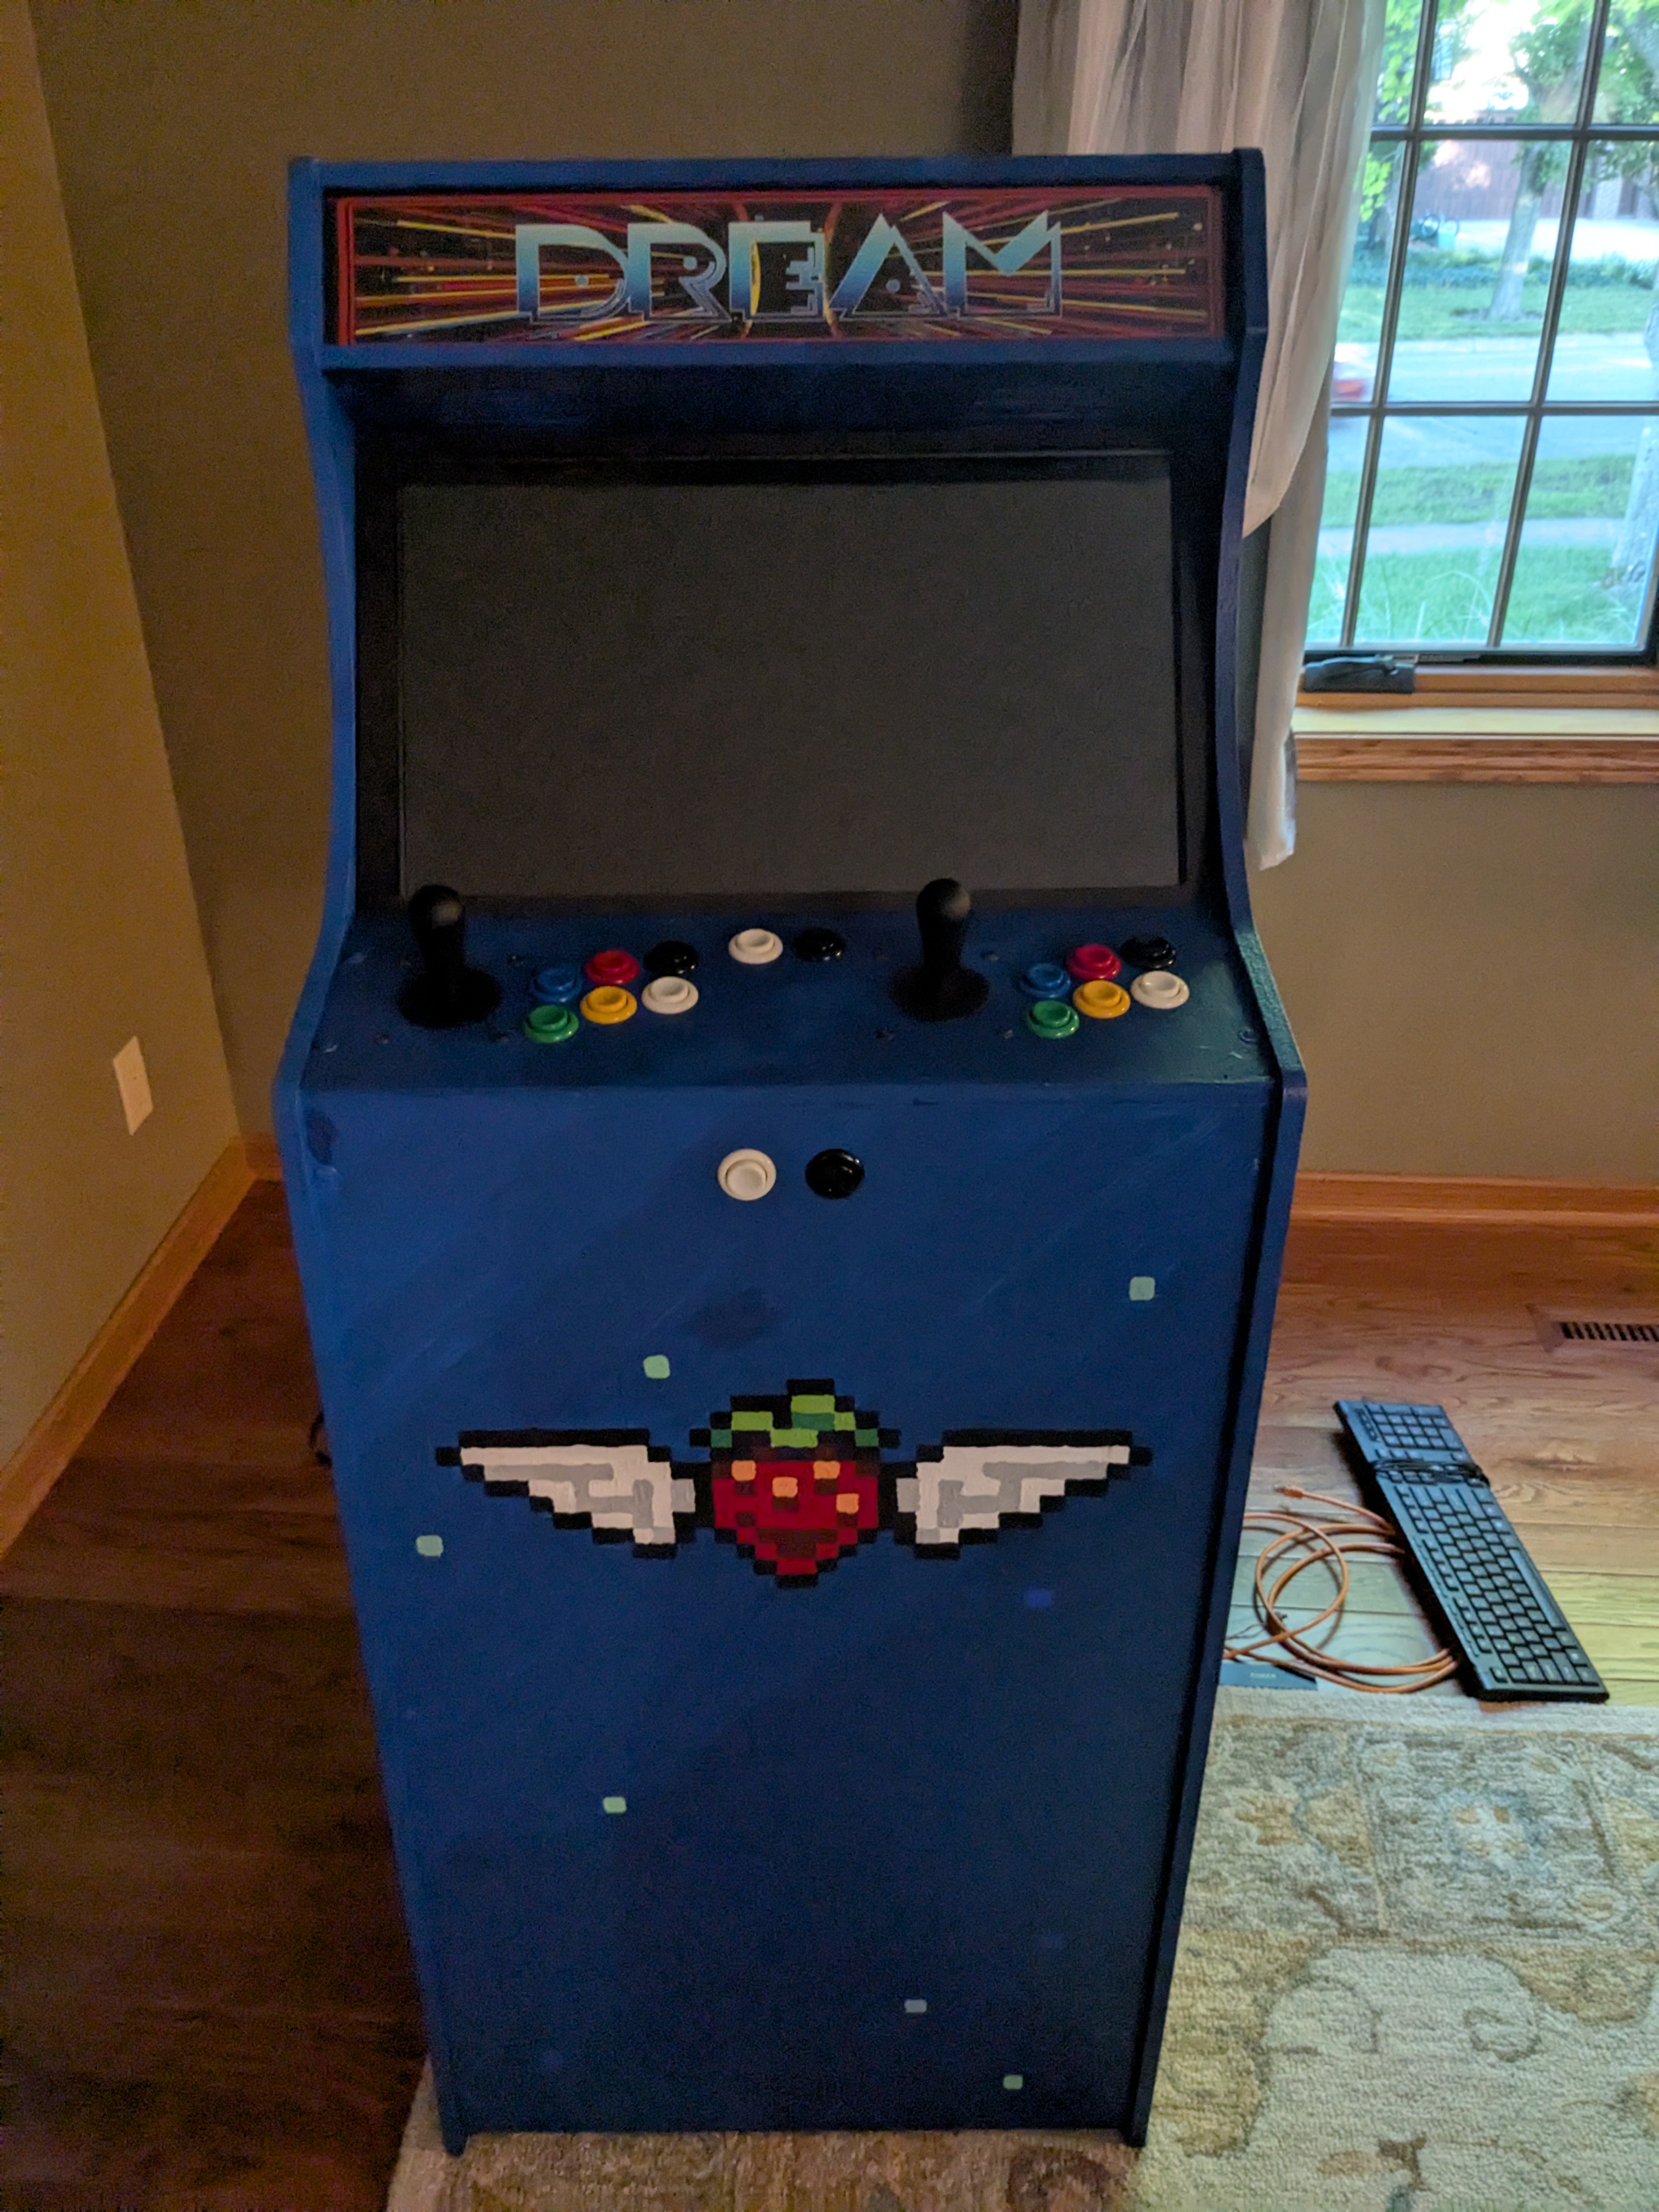
I have constructed an arcade cabinet! Given the design (click on most images for a larger version), there should be no doubt that the original inspiration came from wanting a cabinet for Celeste in particular. However, I stuffed a desktop inside to run everything, so it can play any game (within reason). And so, after decades of pining, I at last have my own personal arcade.
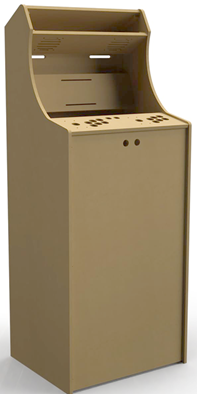
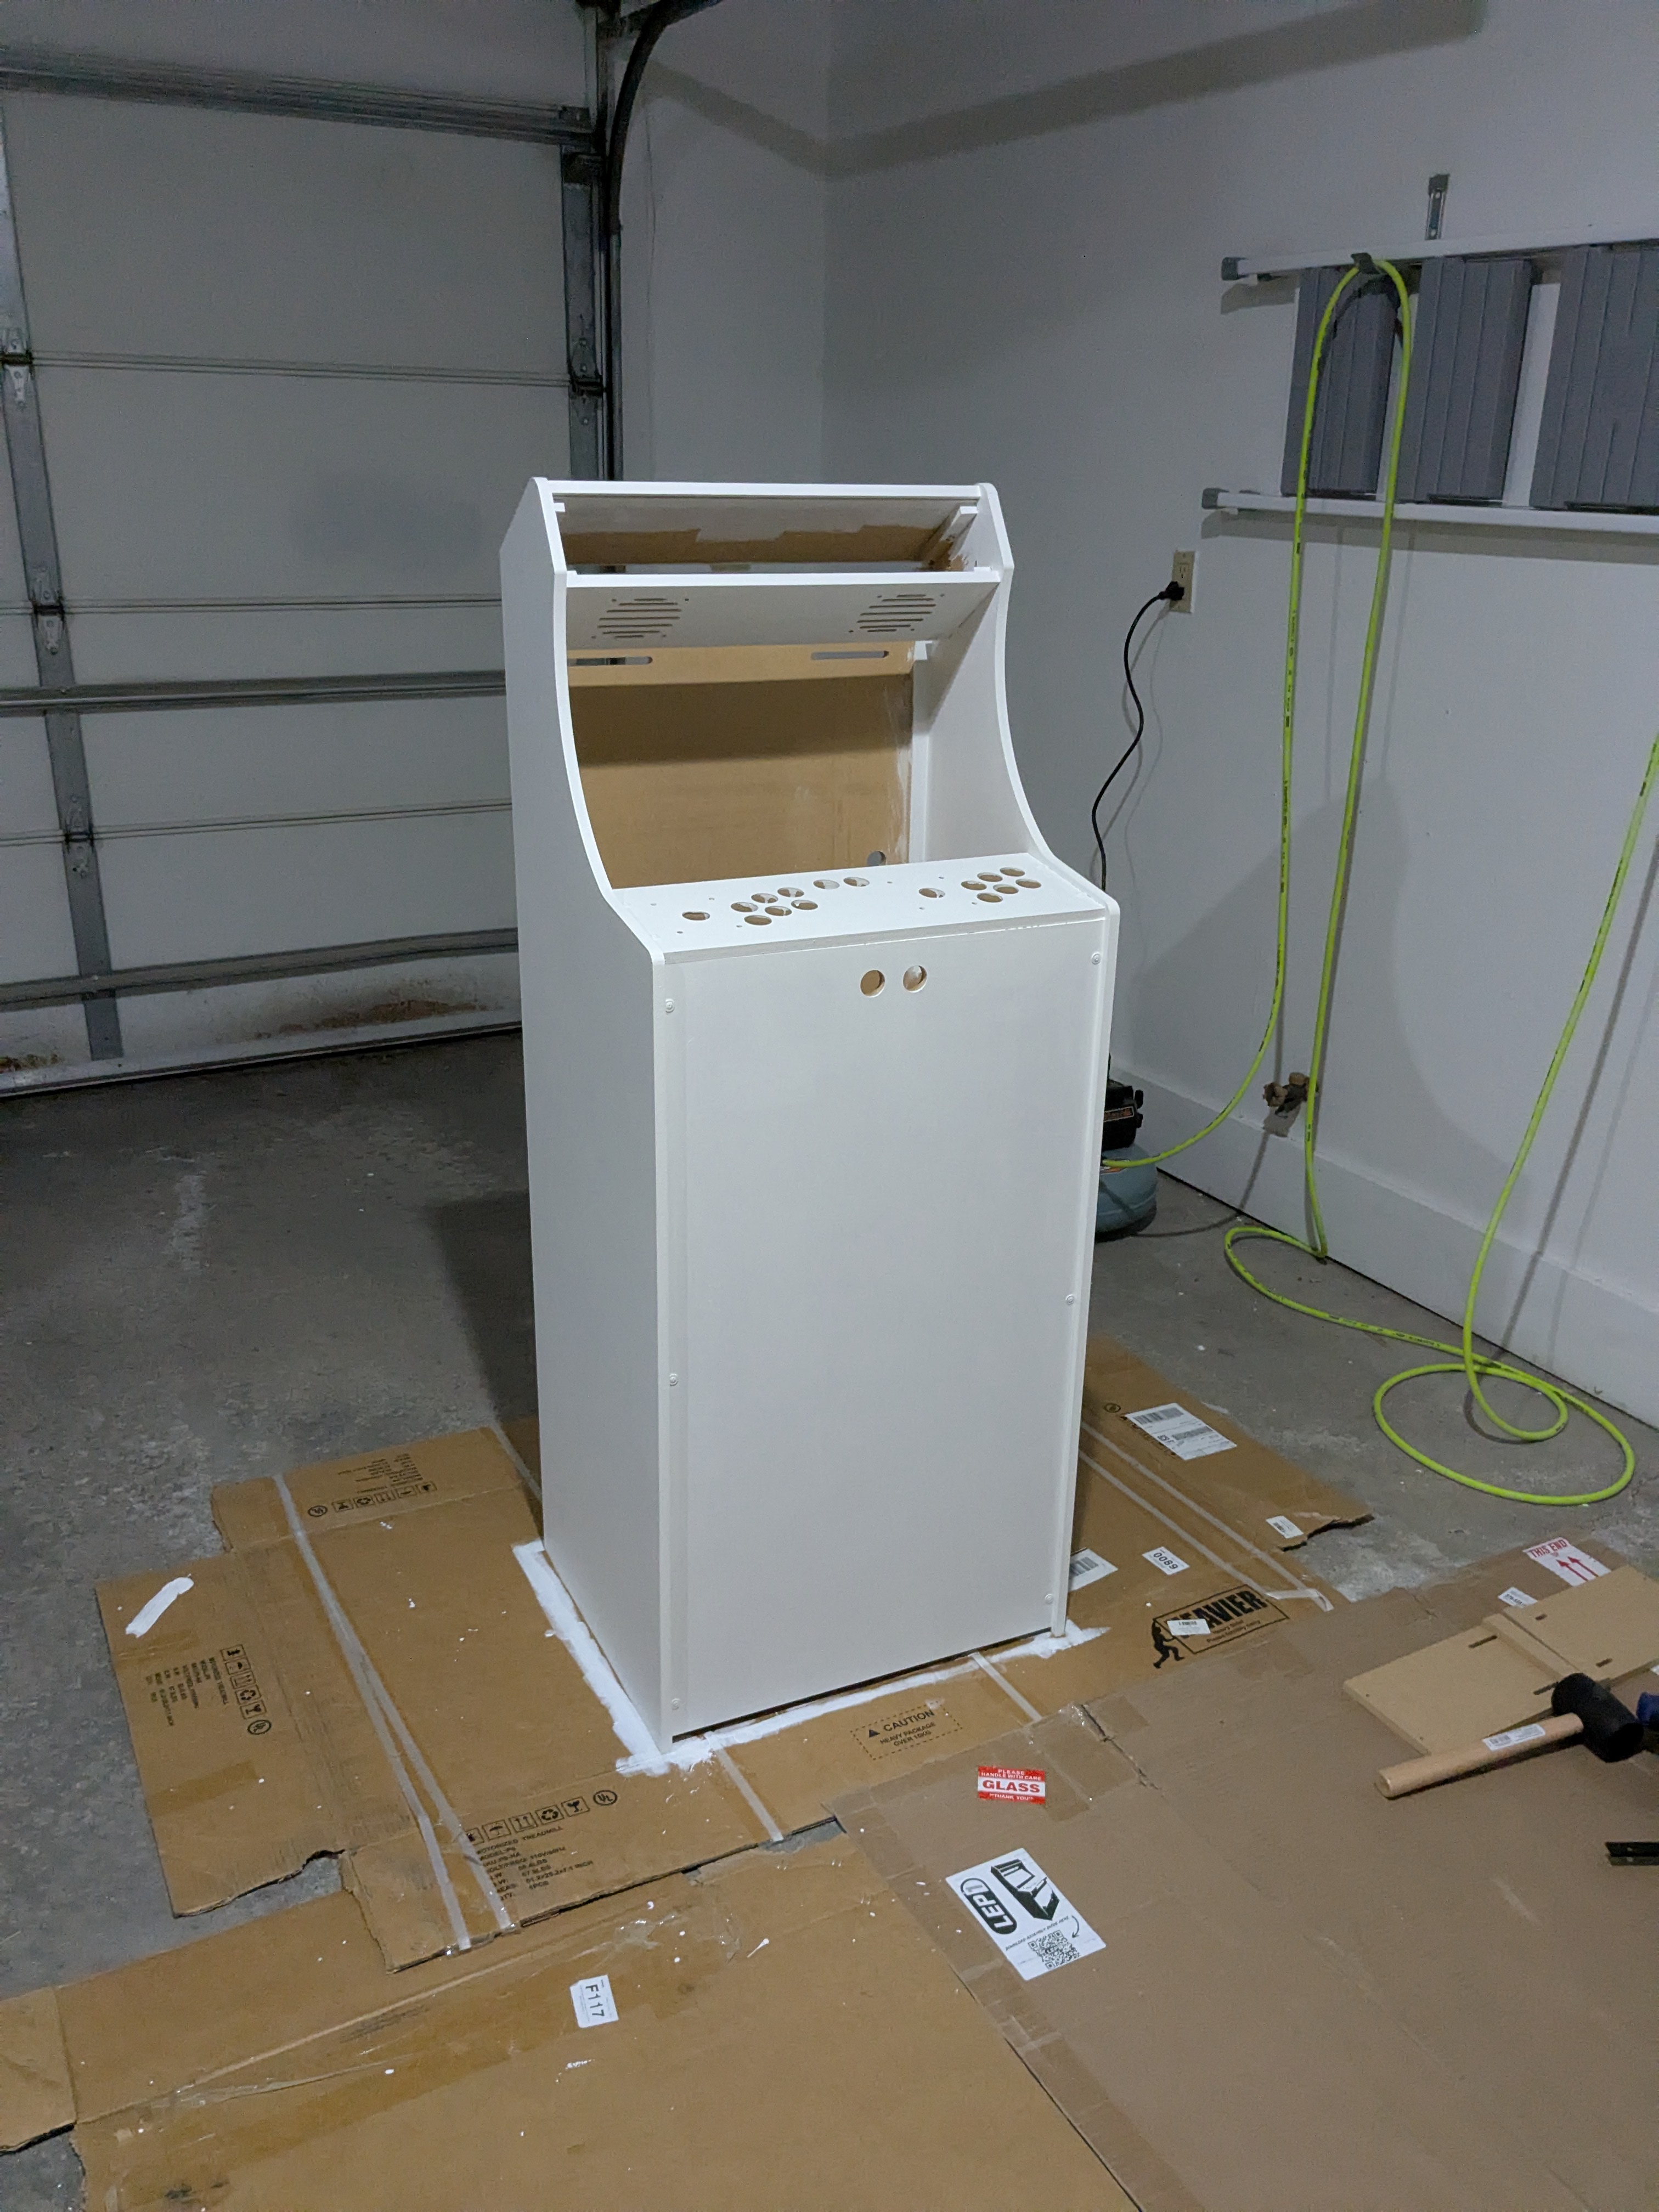
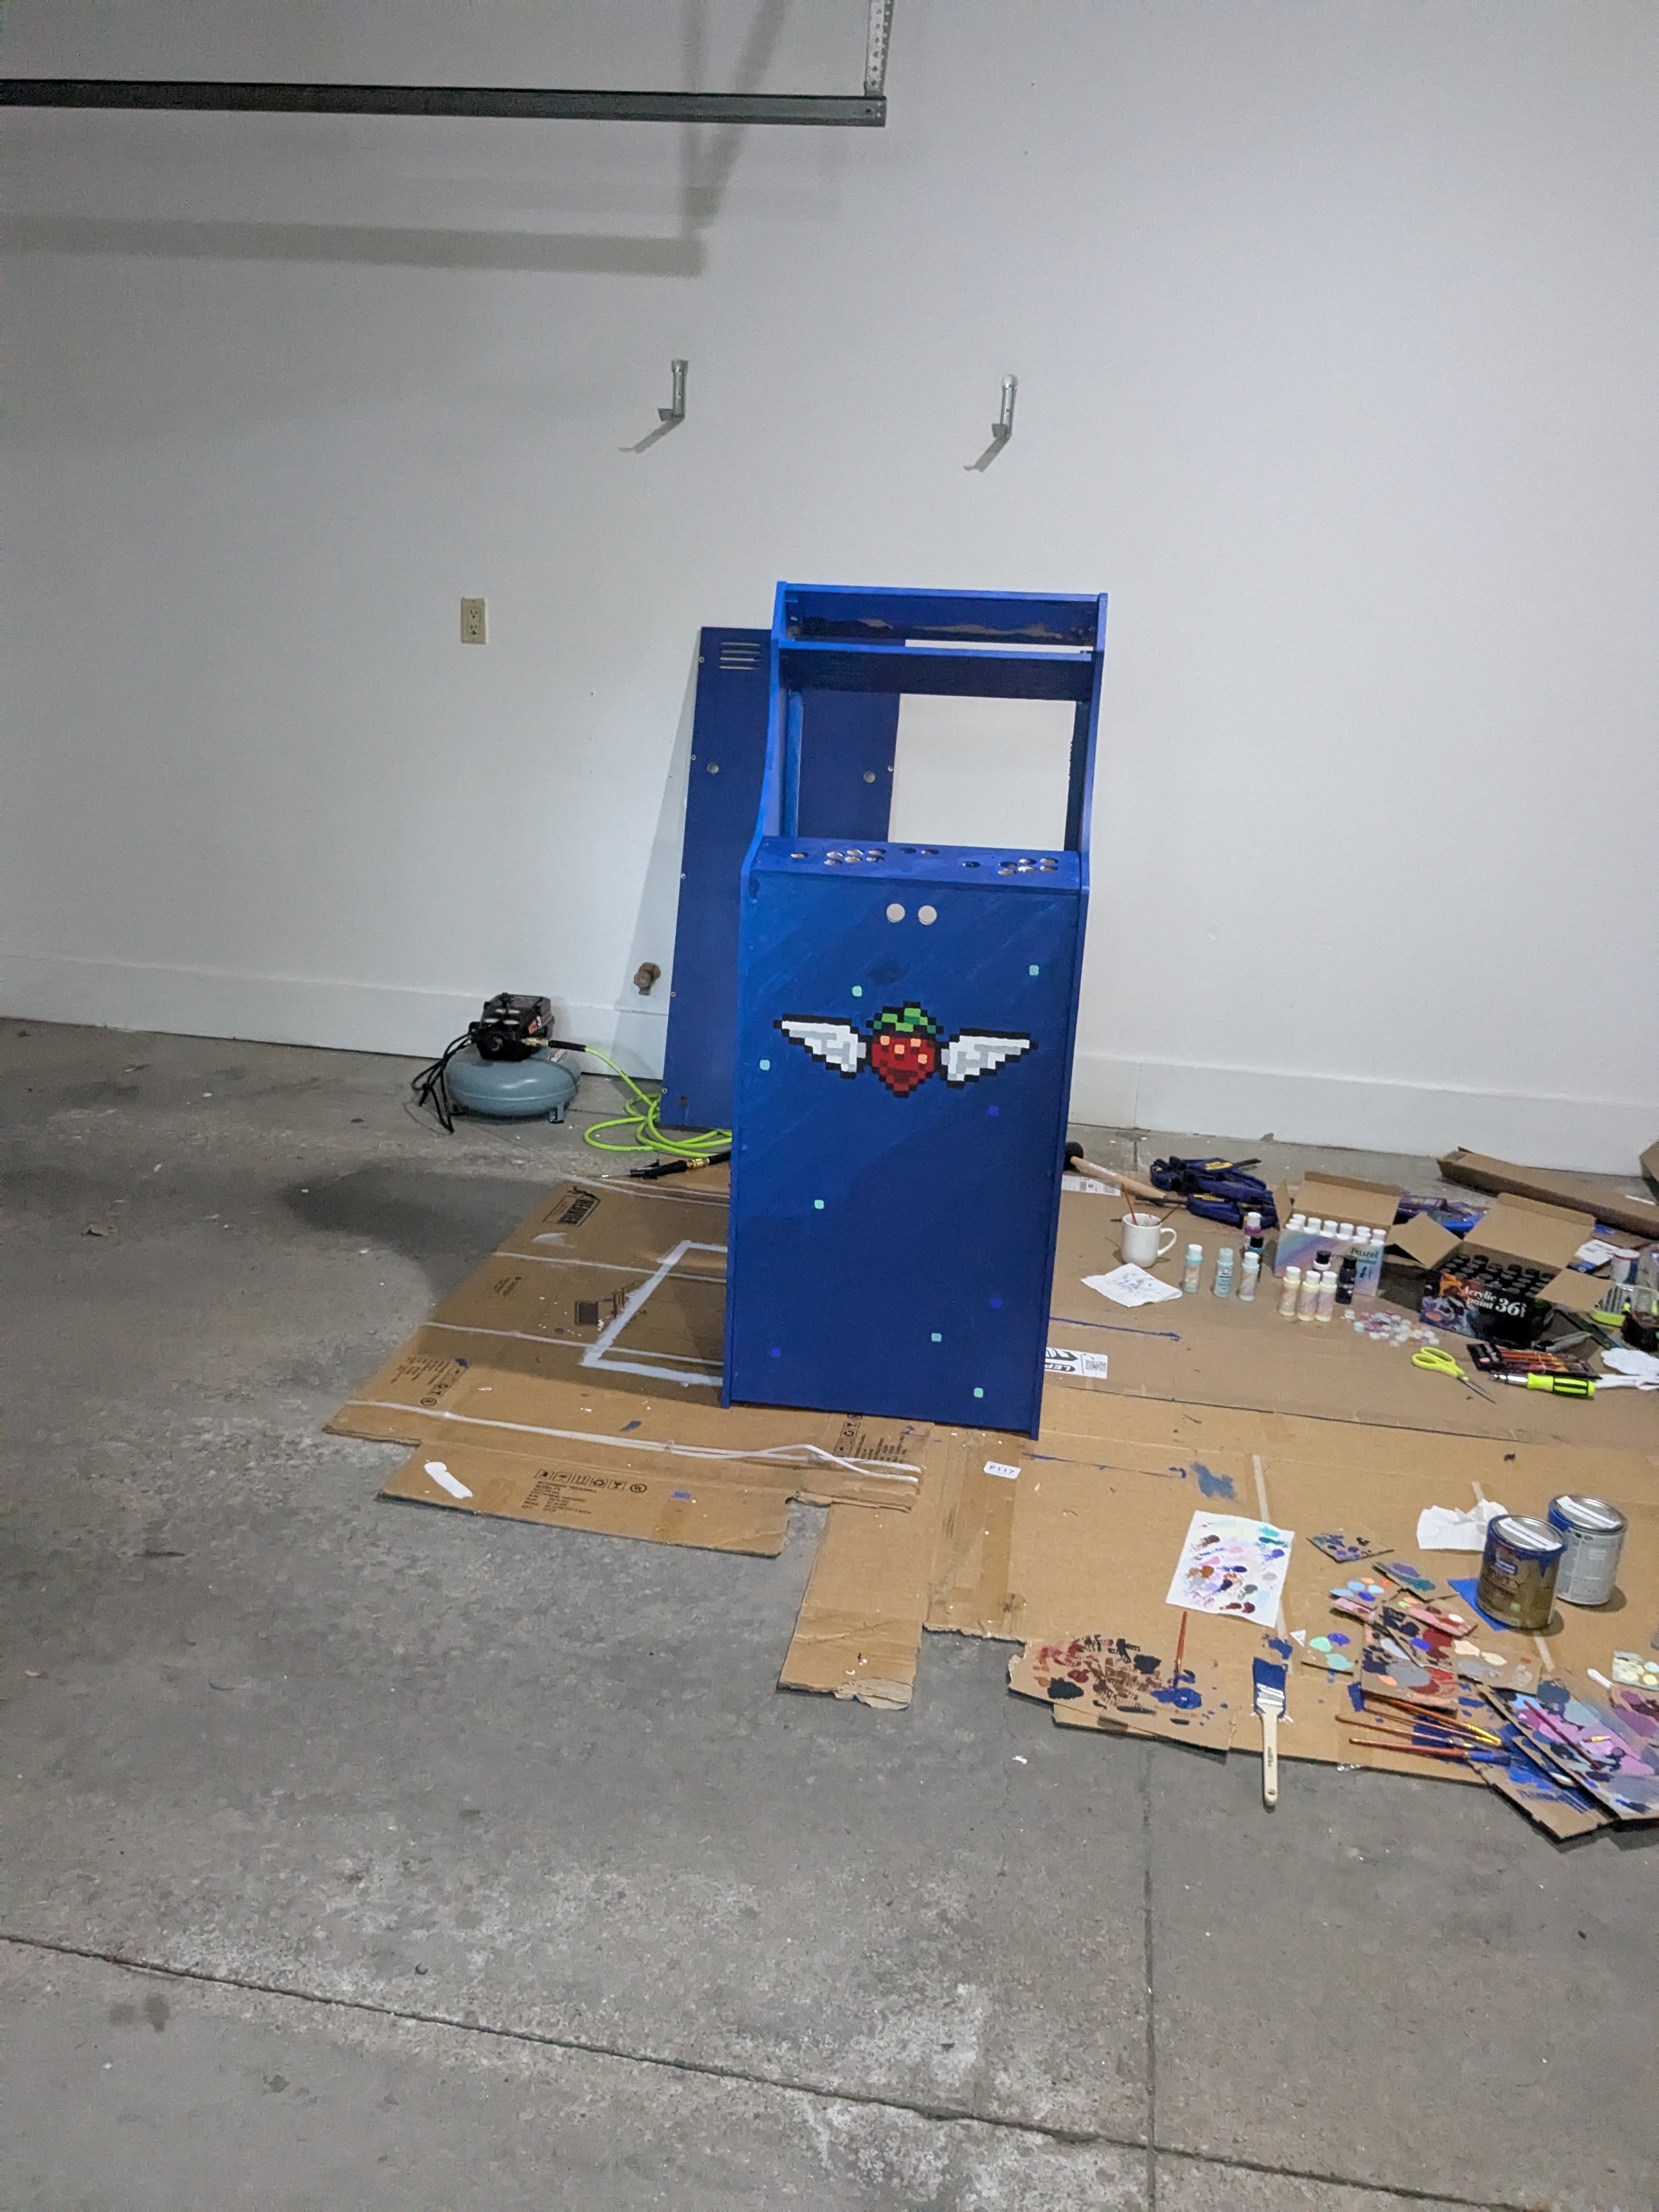
Hereafter, I will document the cabinet's construction. Unfortunately, I did not think to actually document the process until shortly into the build. To sumamrize this step, I purchased a cabinet kit to start with from LEP1 Customs, LLC. Sadly, I do no possess the power tools necessary to cut and shape wood myself. When assembled, it looked something like the image to the right. I did not install the monitor mount, however. I had an alternative idea in mind, and the mount was optional with the kit and had no easy way for me to install it properly without obtaining additional tools.
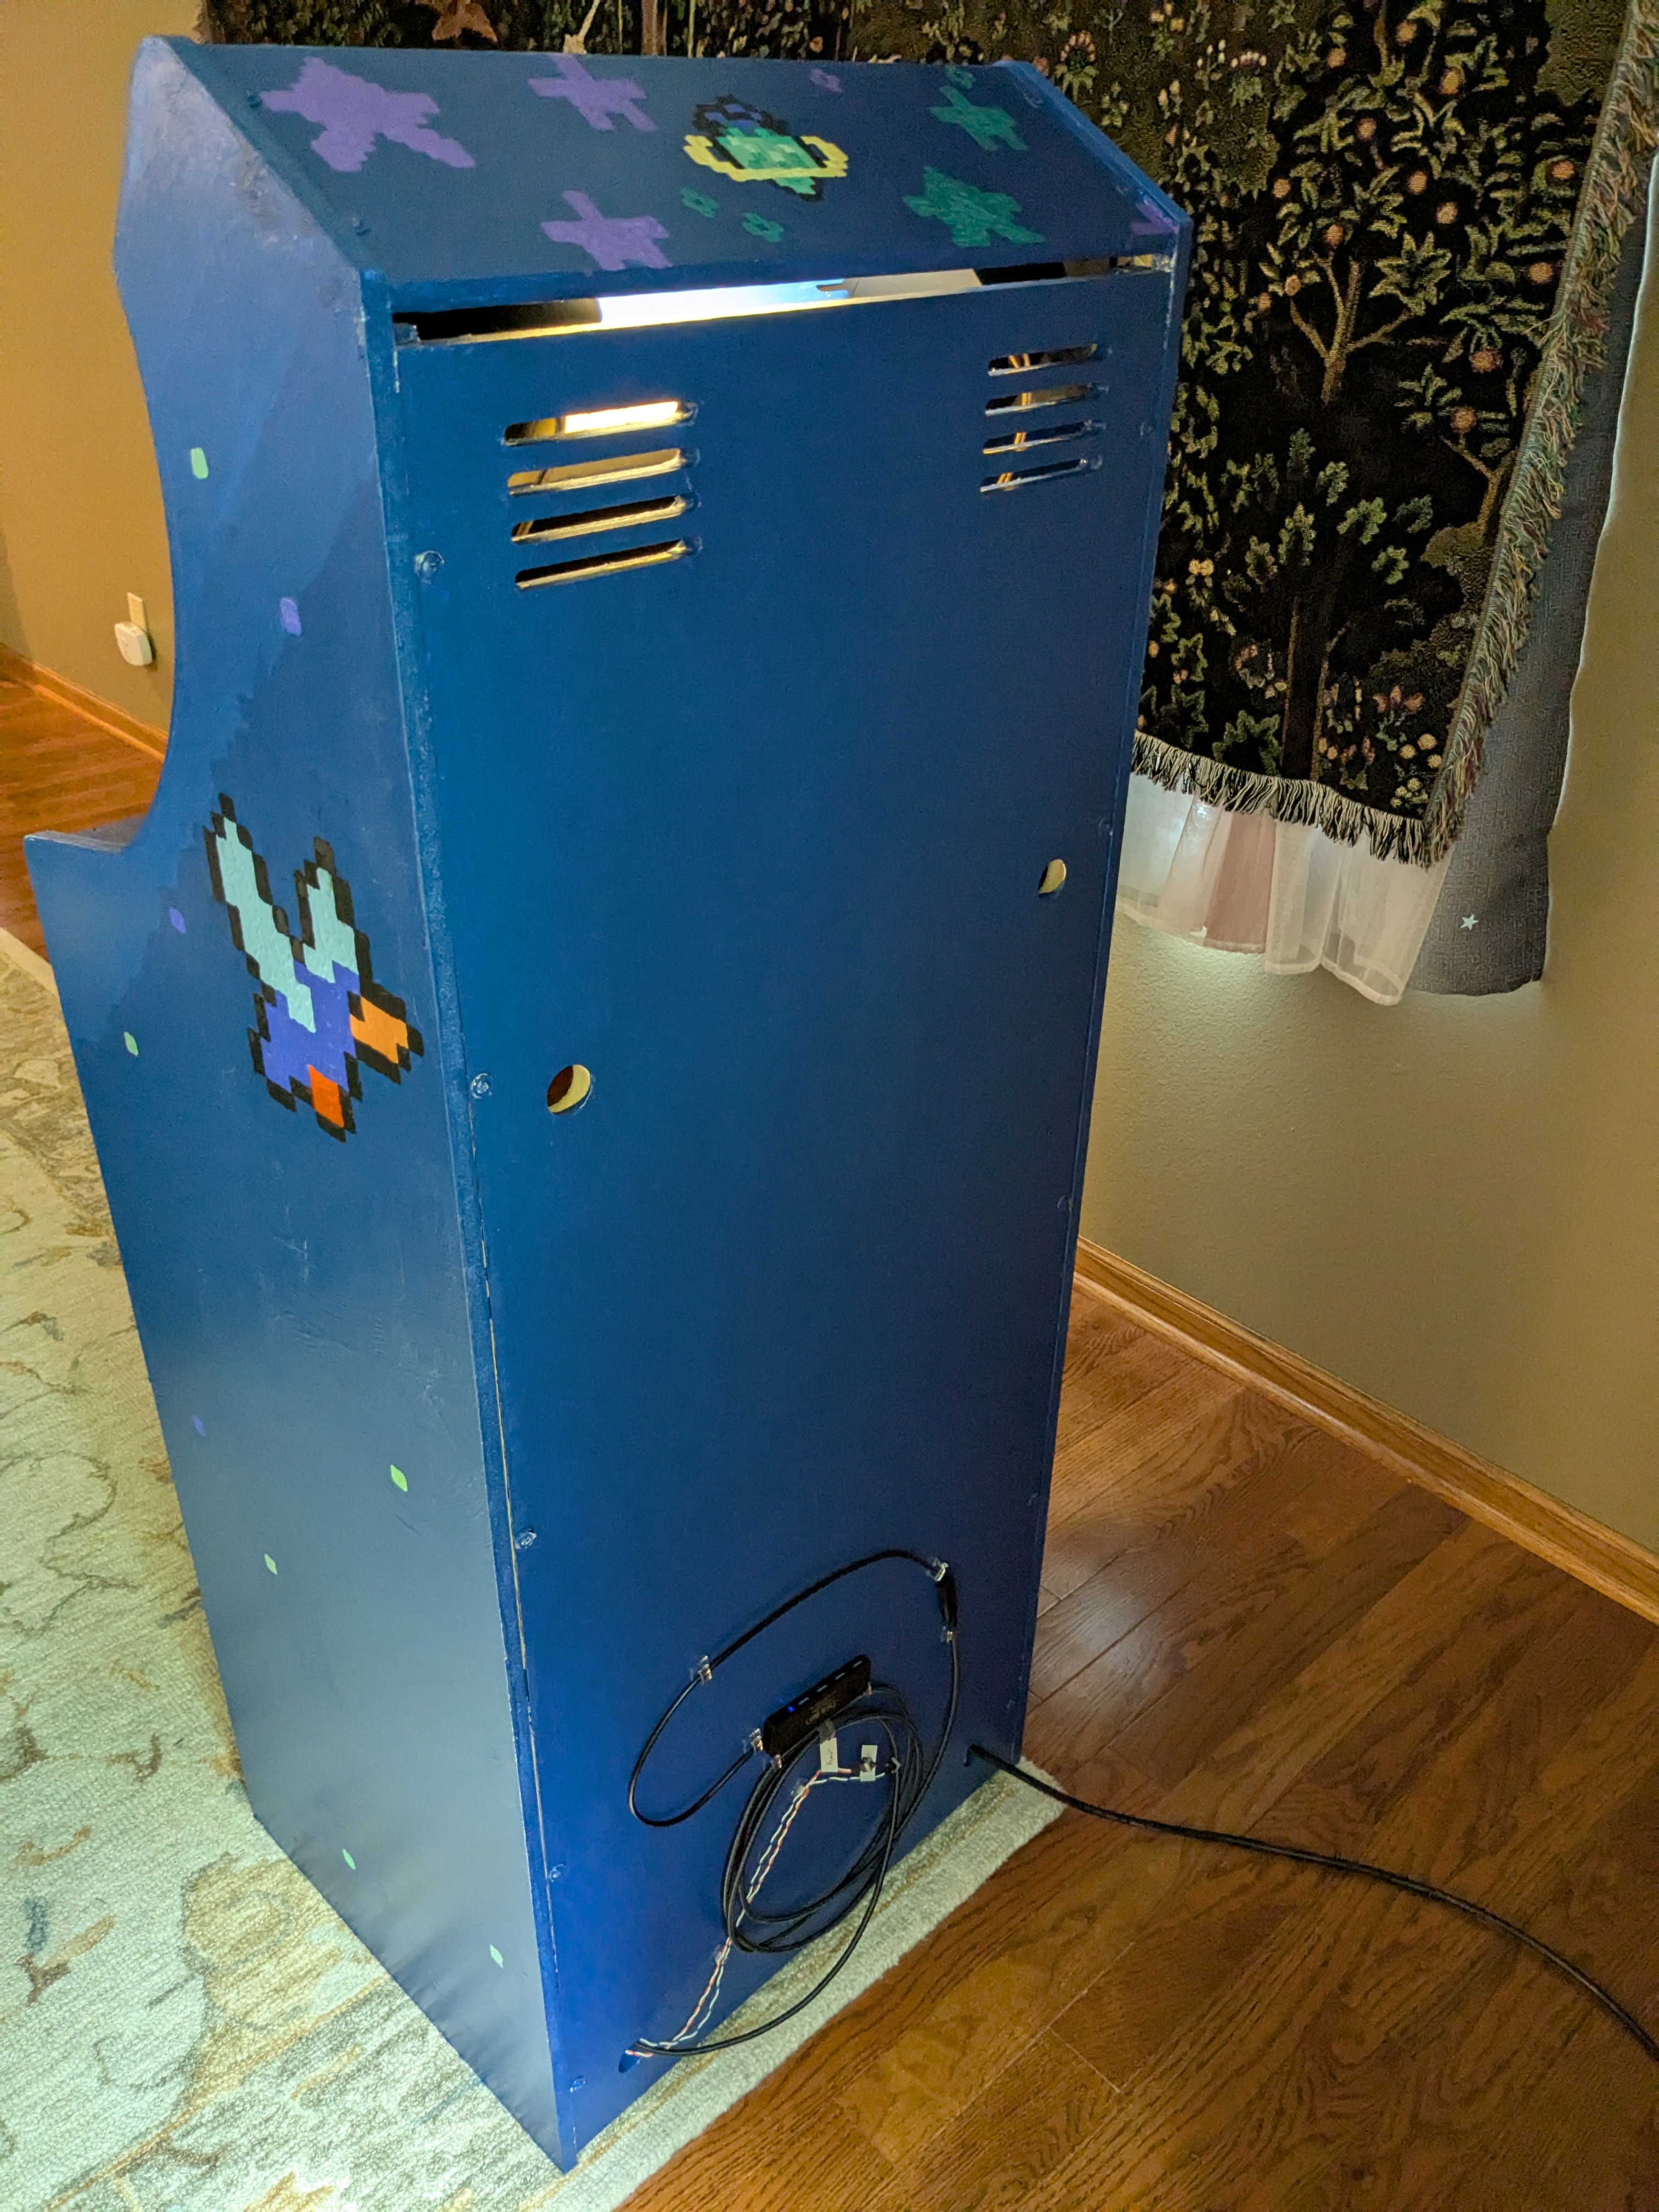
After assembling the cabinet, I used Aseprite to design the pixel art to paint with. The result is pictured below. I ultimately settled on a scale of .25" per pixel for the top panel (because the moonberry was too big otherwise) and .5" per pixel on the other sides.
With this in hand, I used a primer on the cabinet to prepare it for painting.
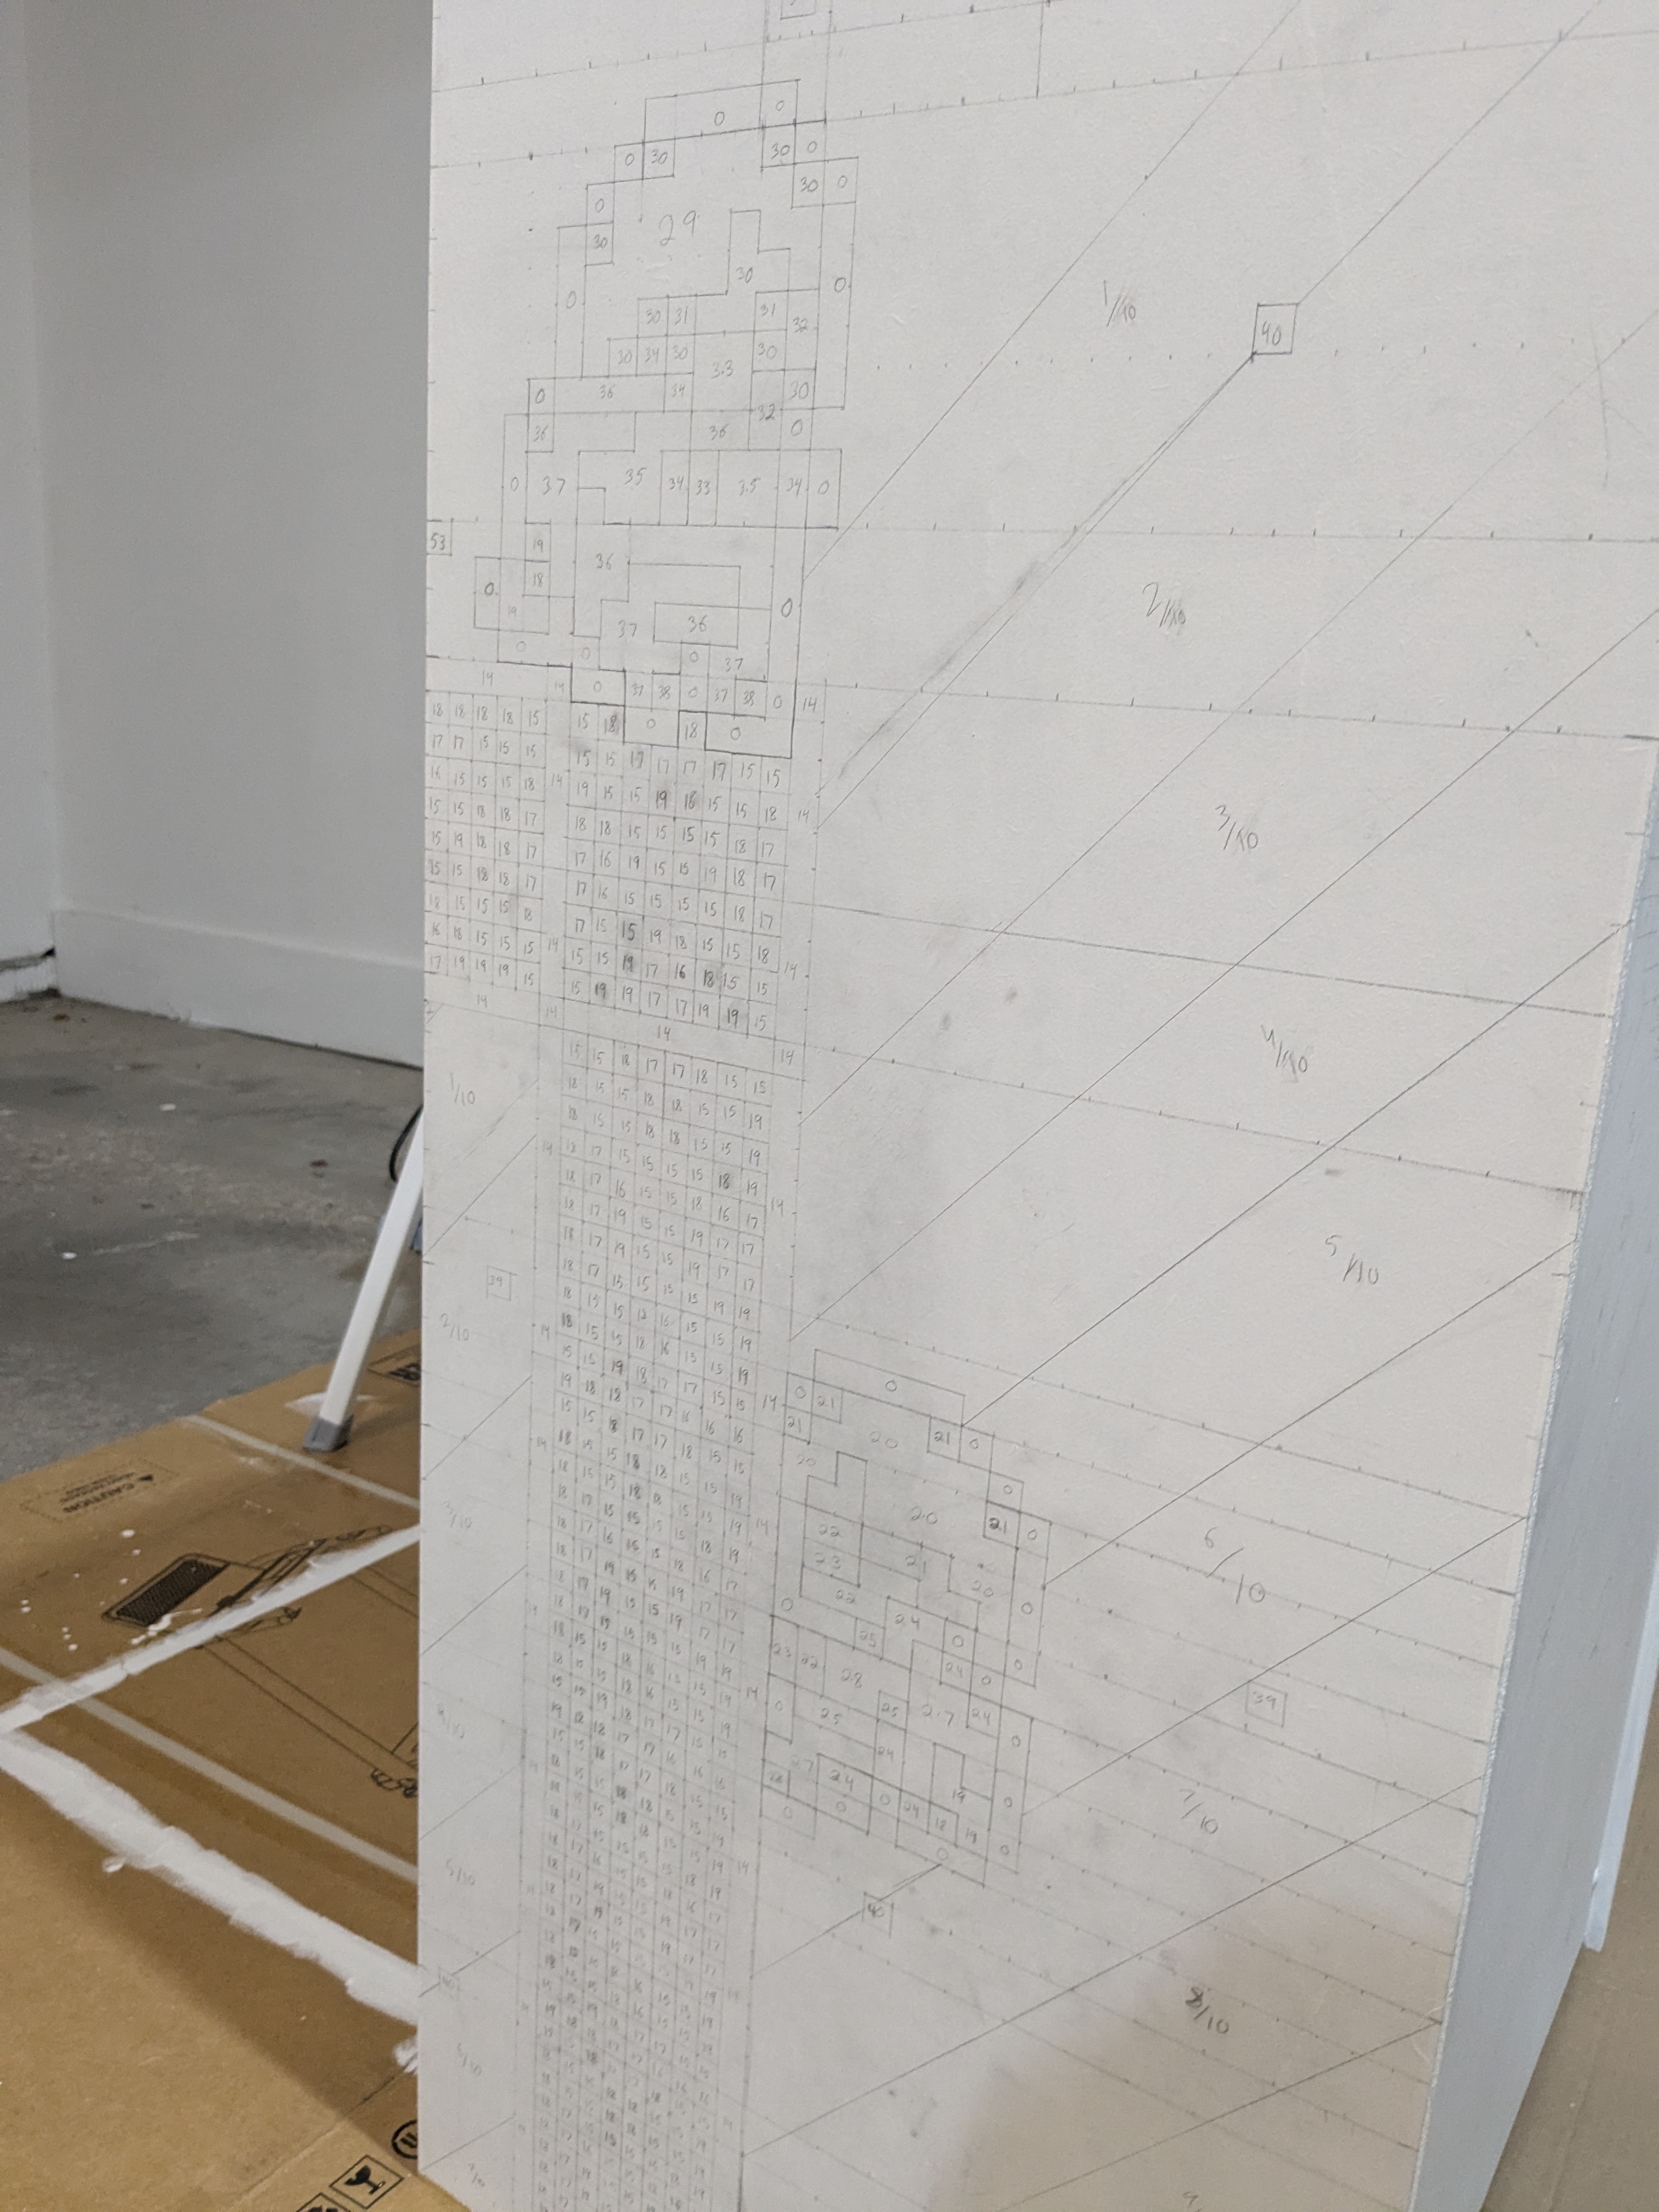
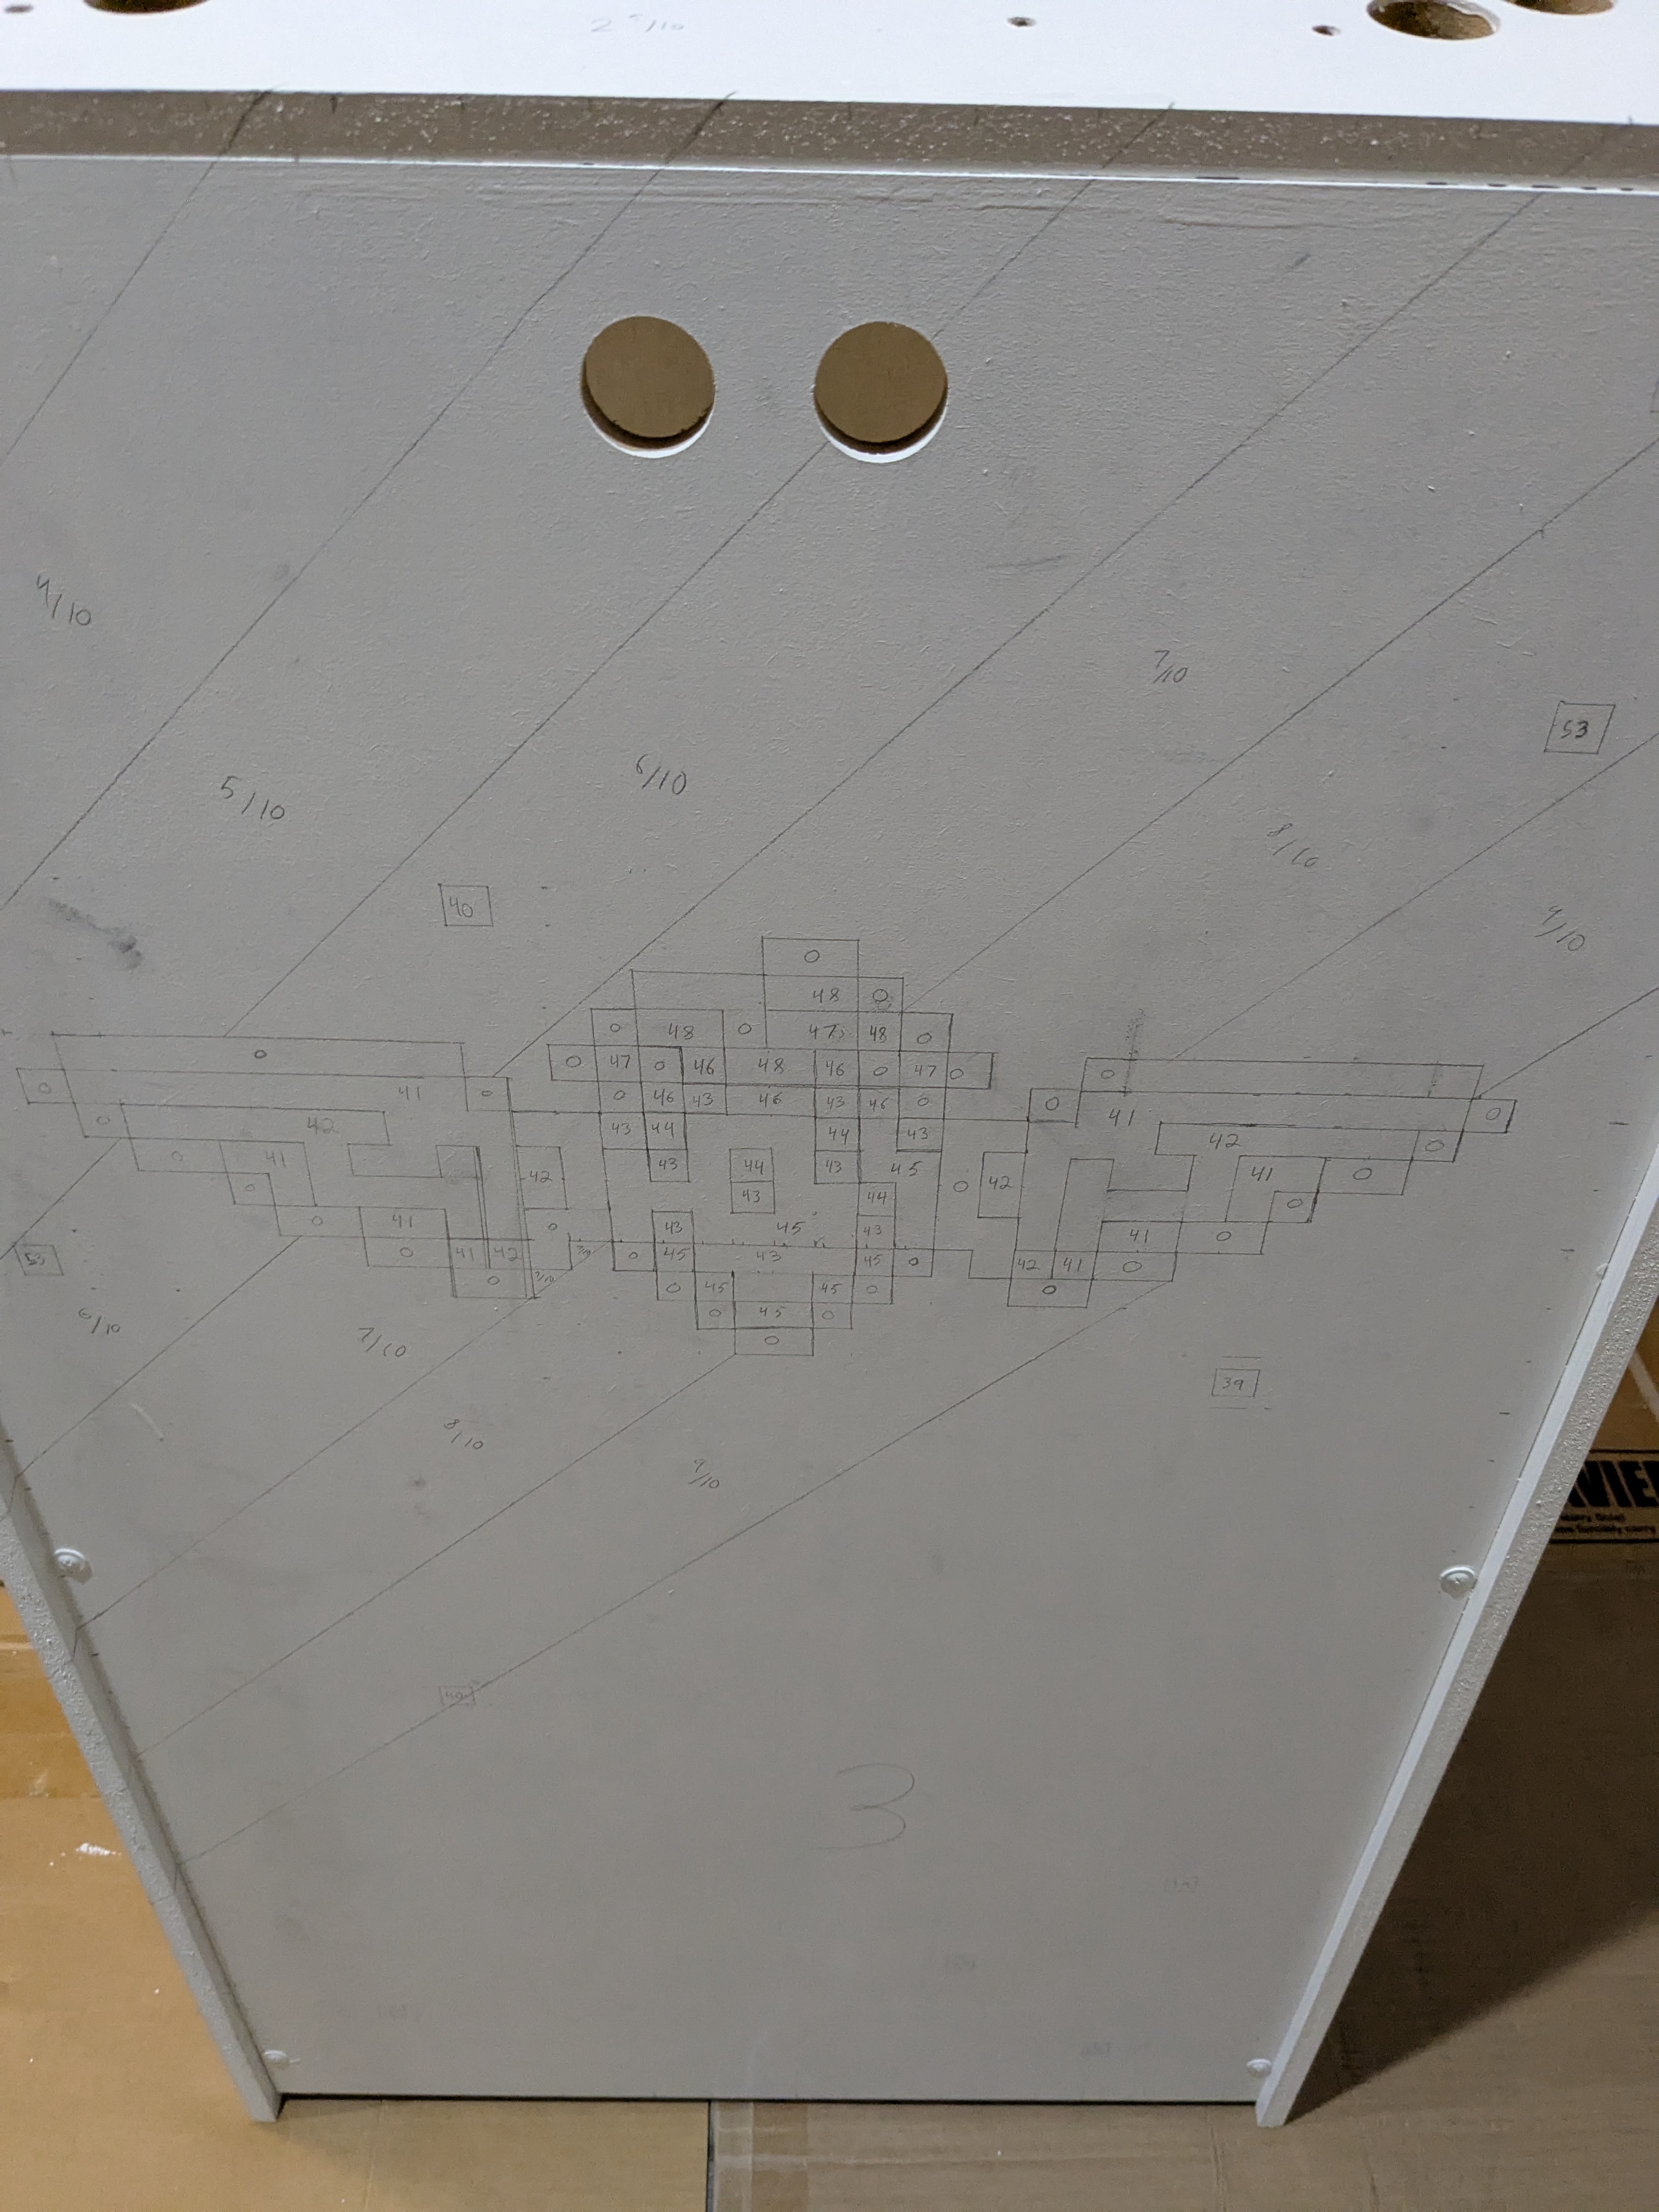
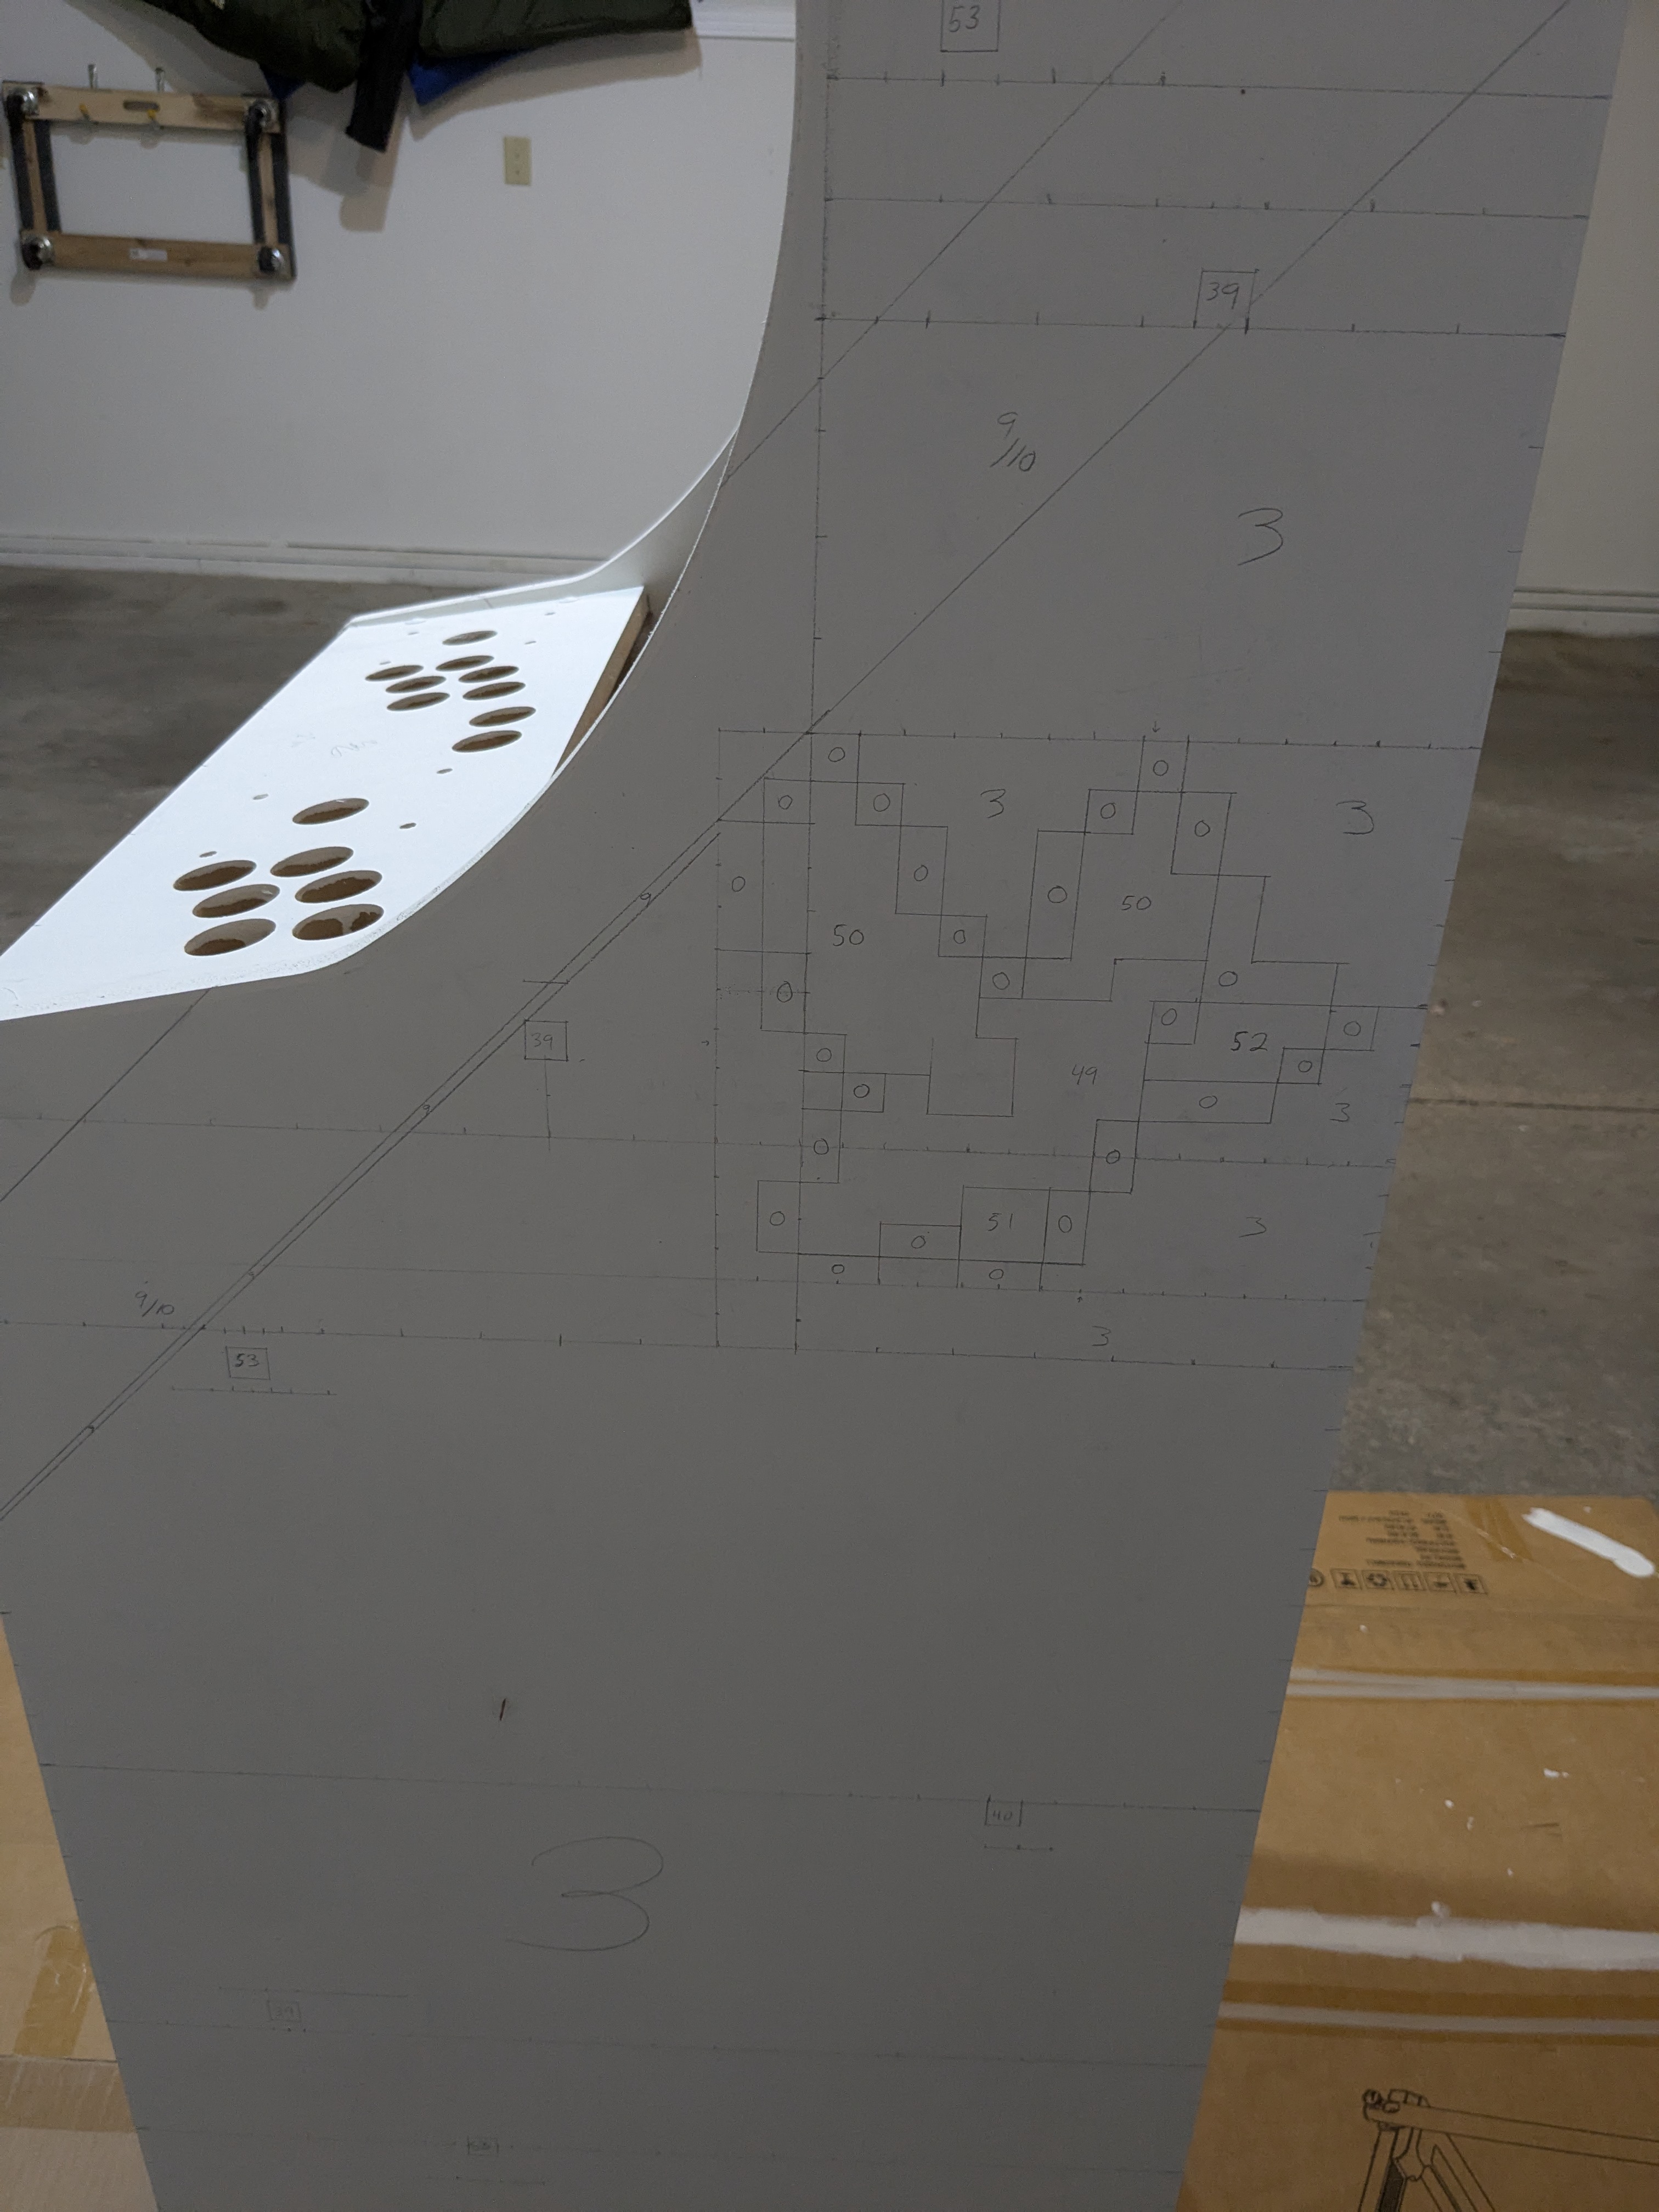
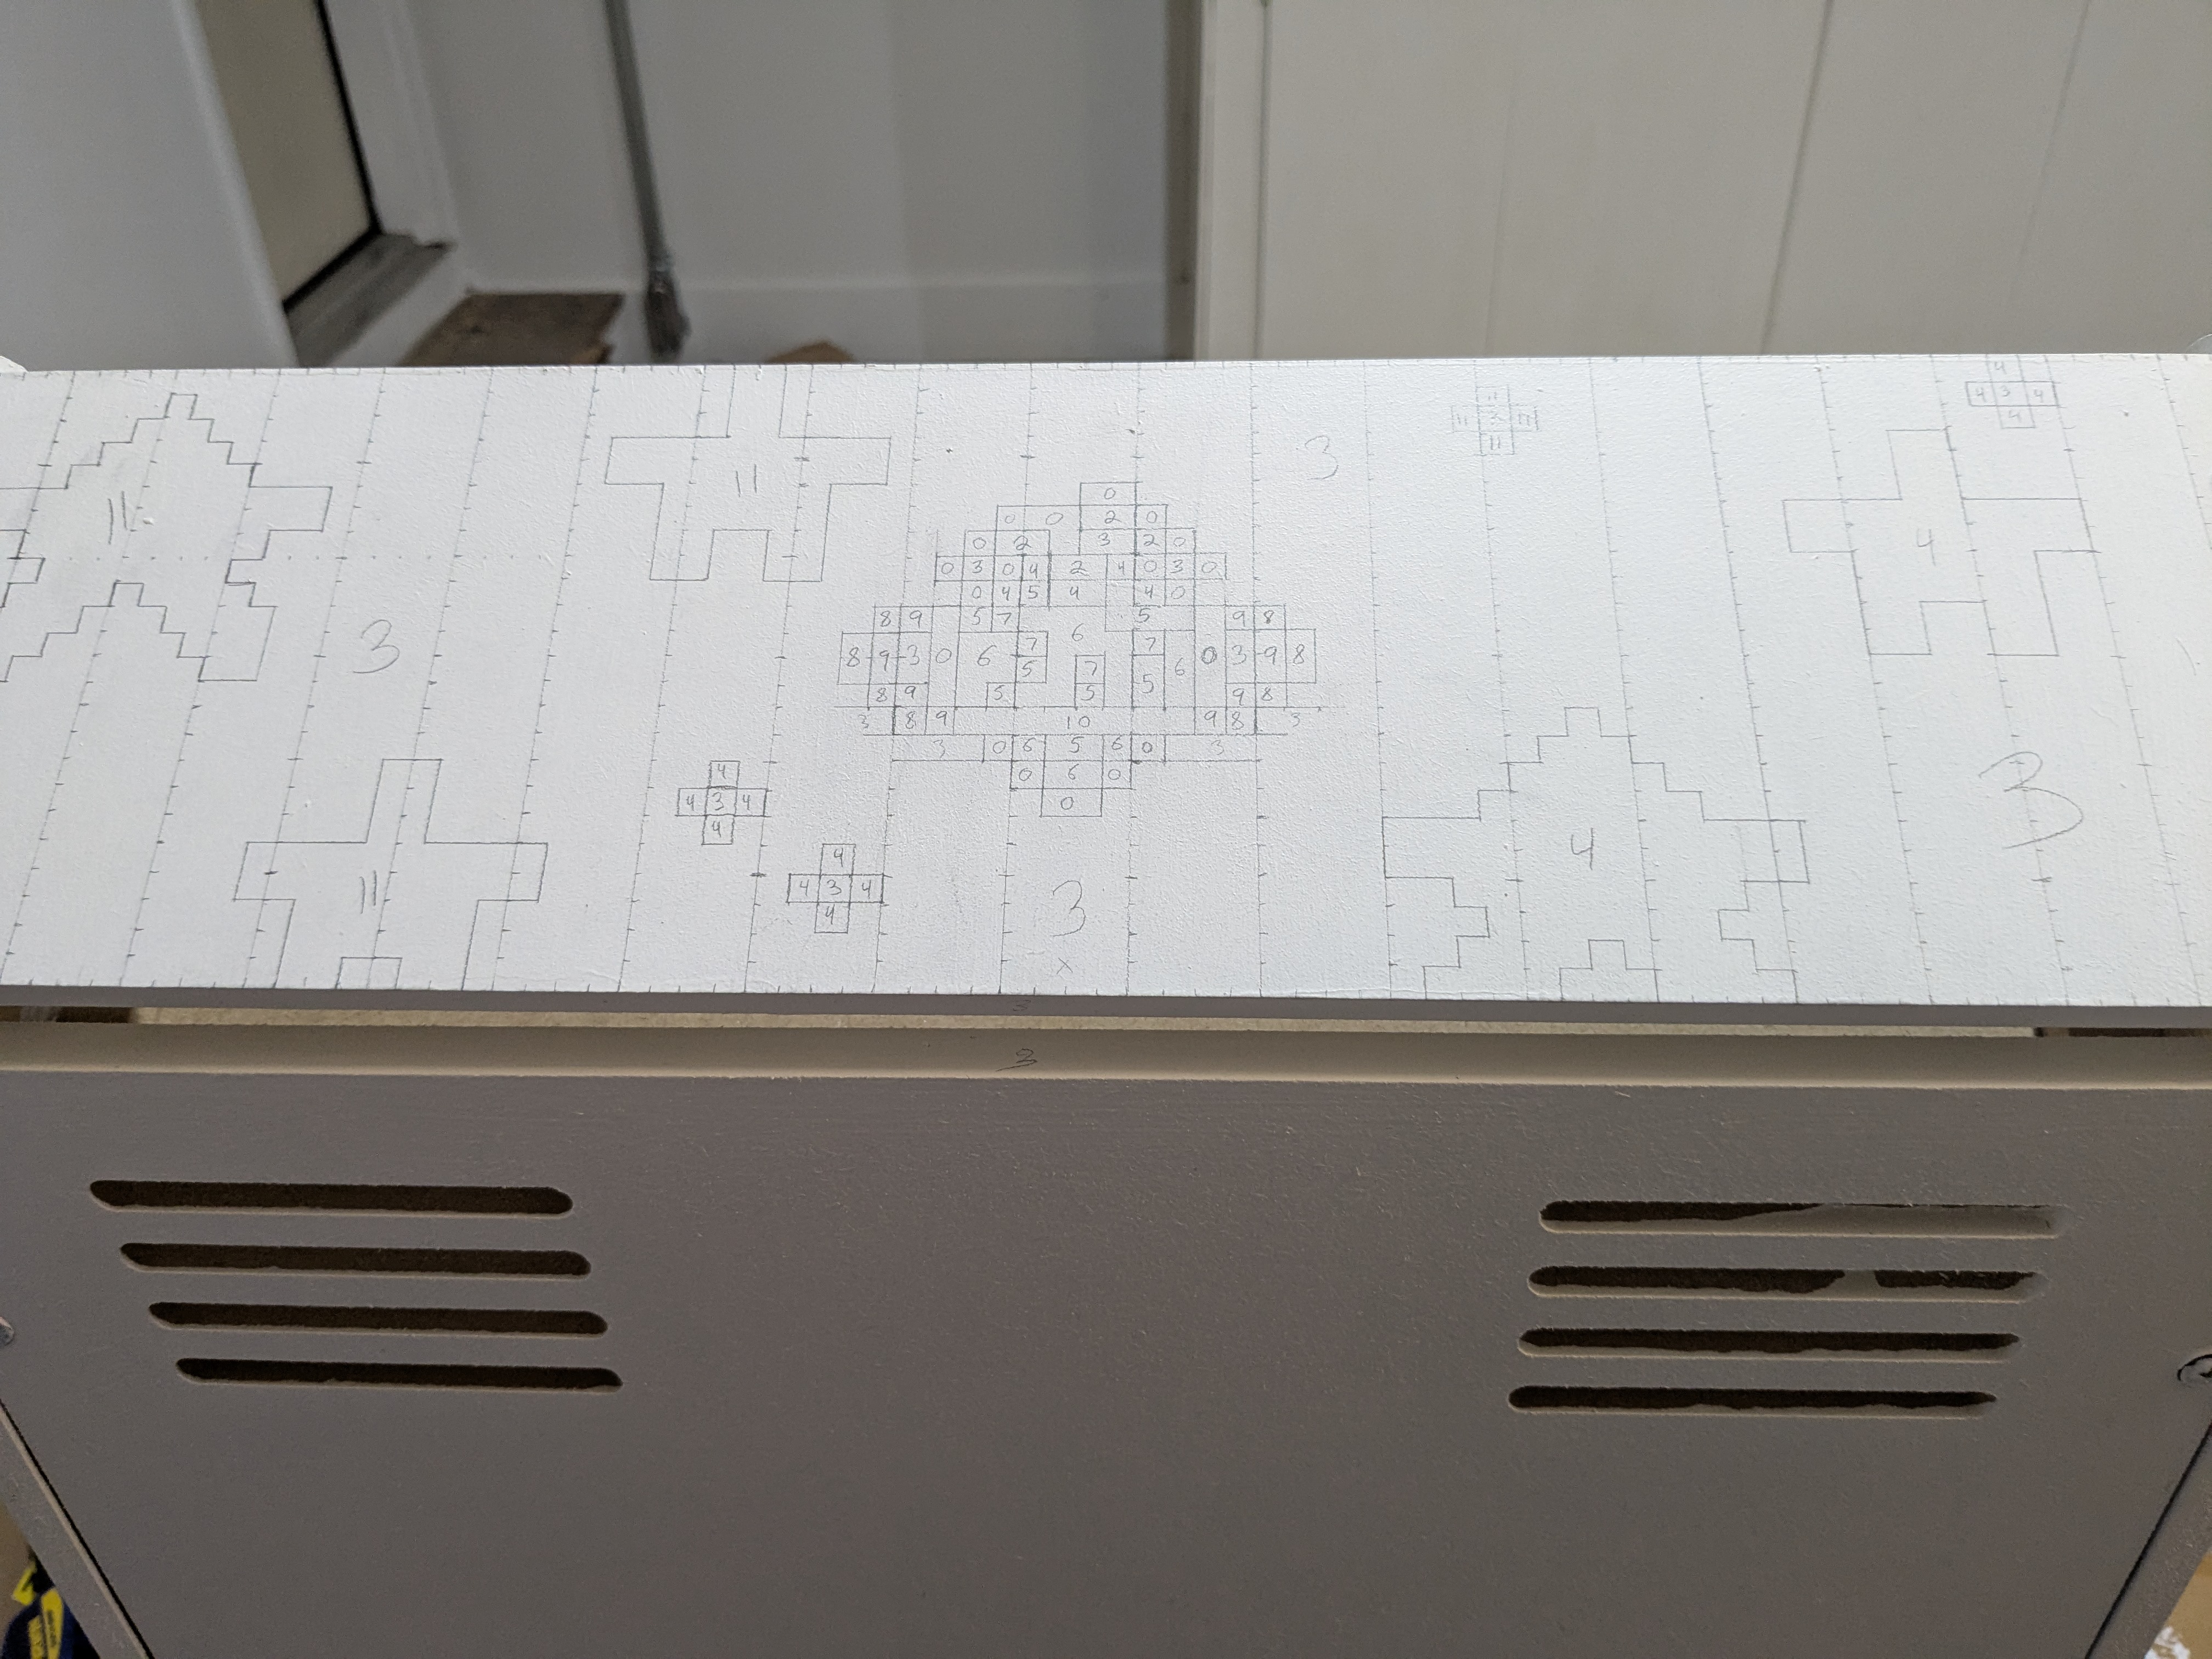
After priming, I used a pencil to draw the intended design directly onto the cabinet. I also labled the pixels with their pallete number for convenience.
Naturally, the first paint layer I laid down was the background. For this, I used two regular cabinet paints I picked up from a home improvement store. This later ended up with some...modifications over time due to stray...flourishes of the brush, let's say. But overall, it came out well. The graident in particular dried better than I was expecting with my somewhat haphazard paint mixing.

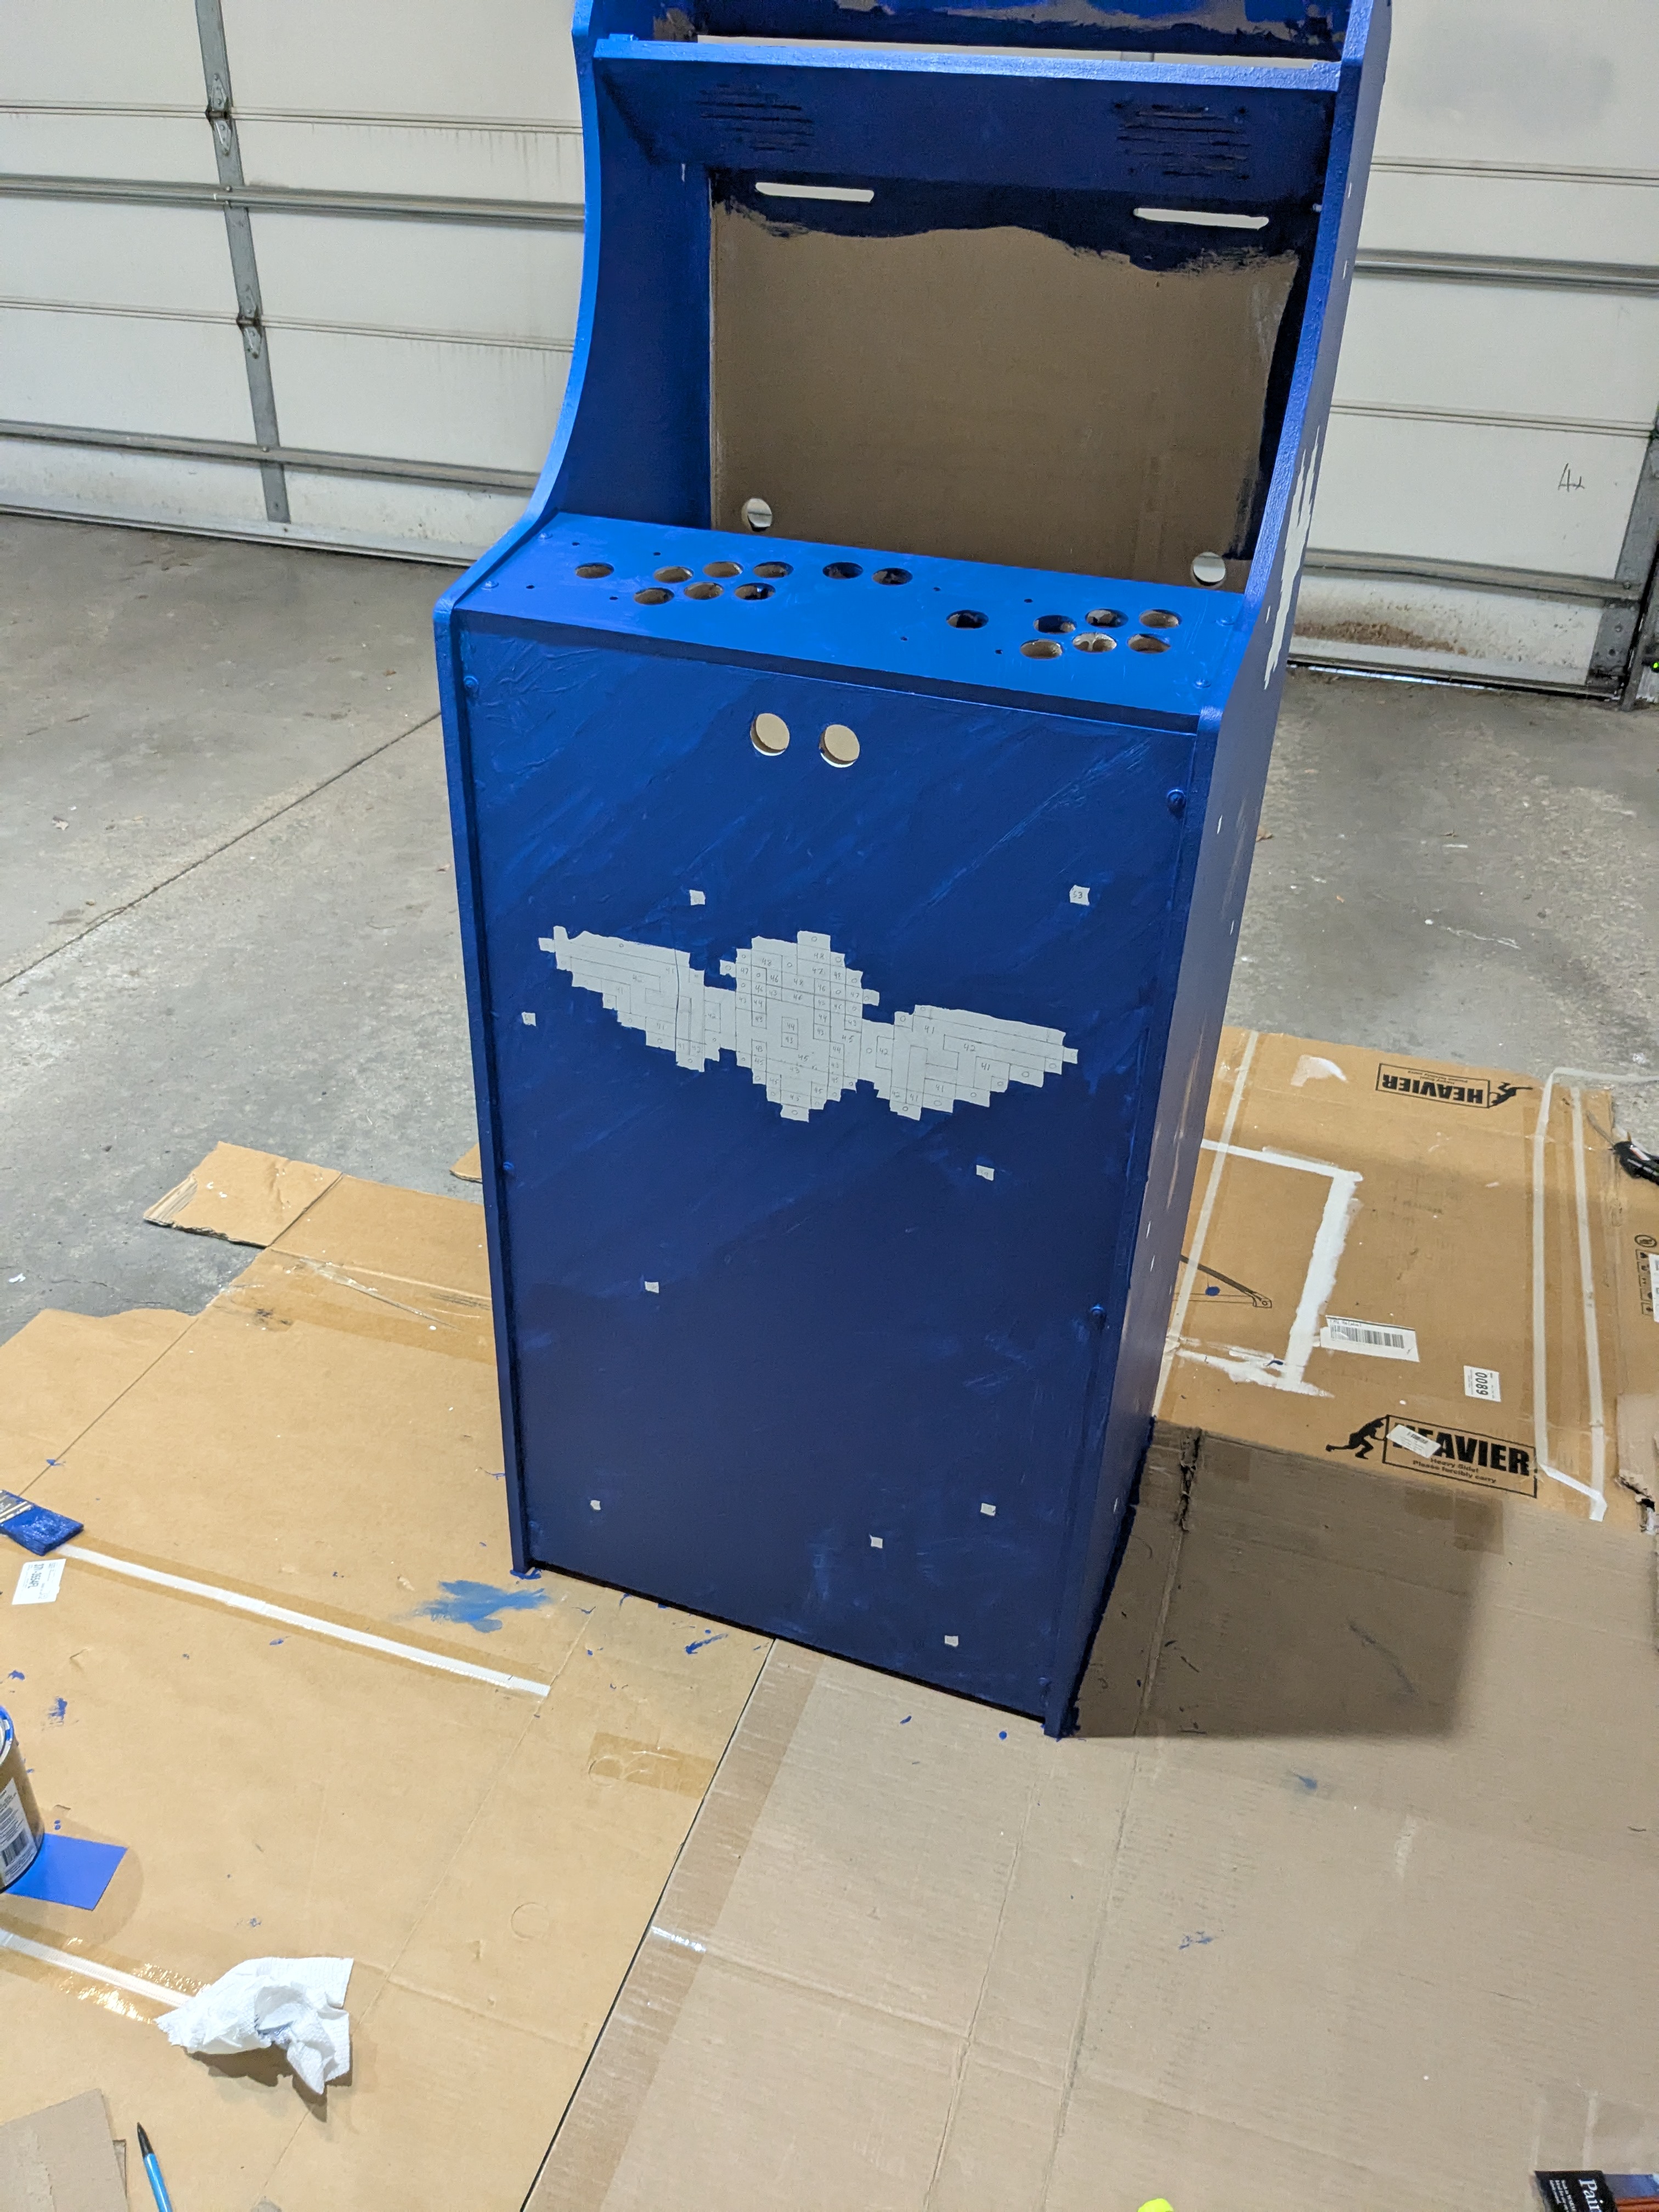
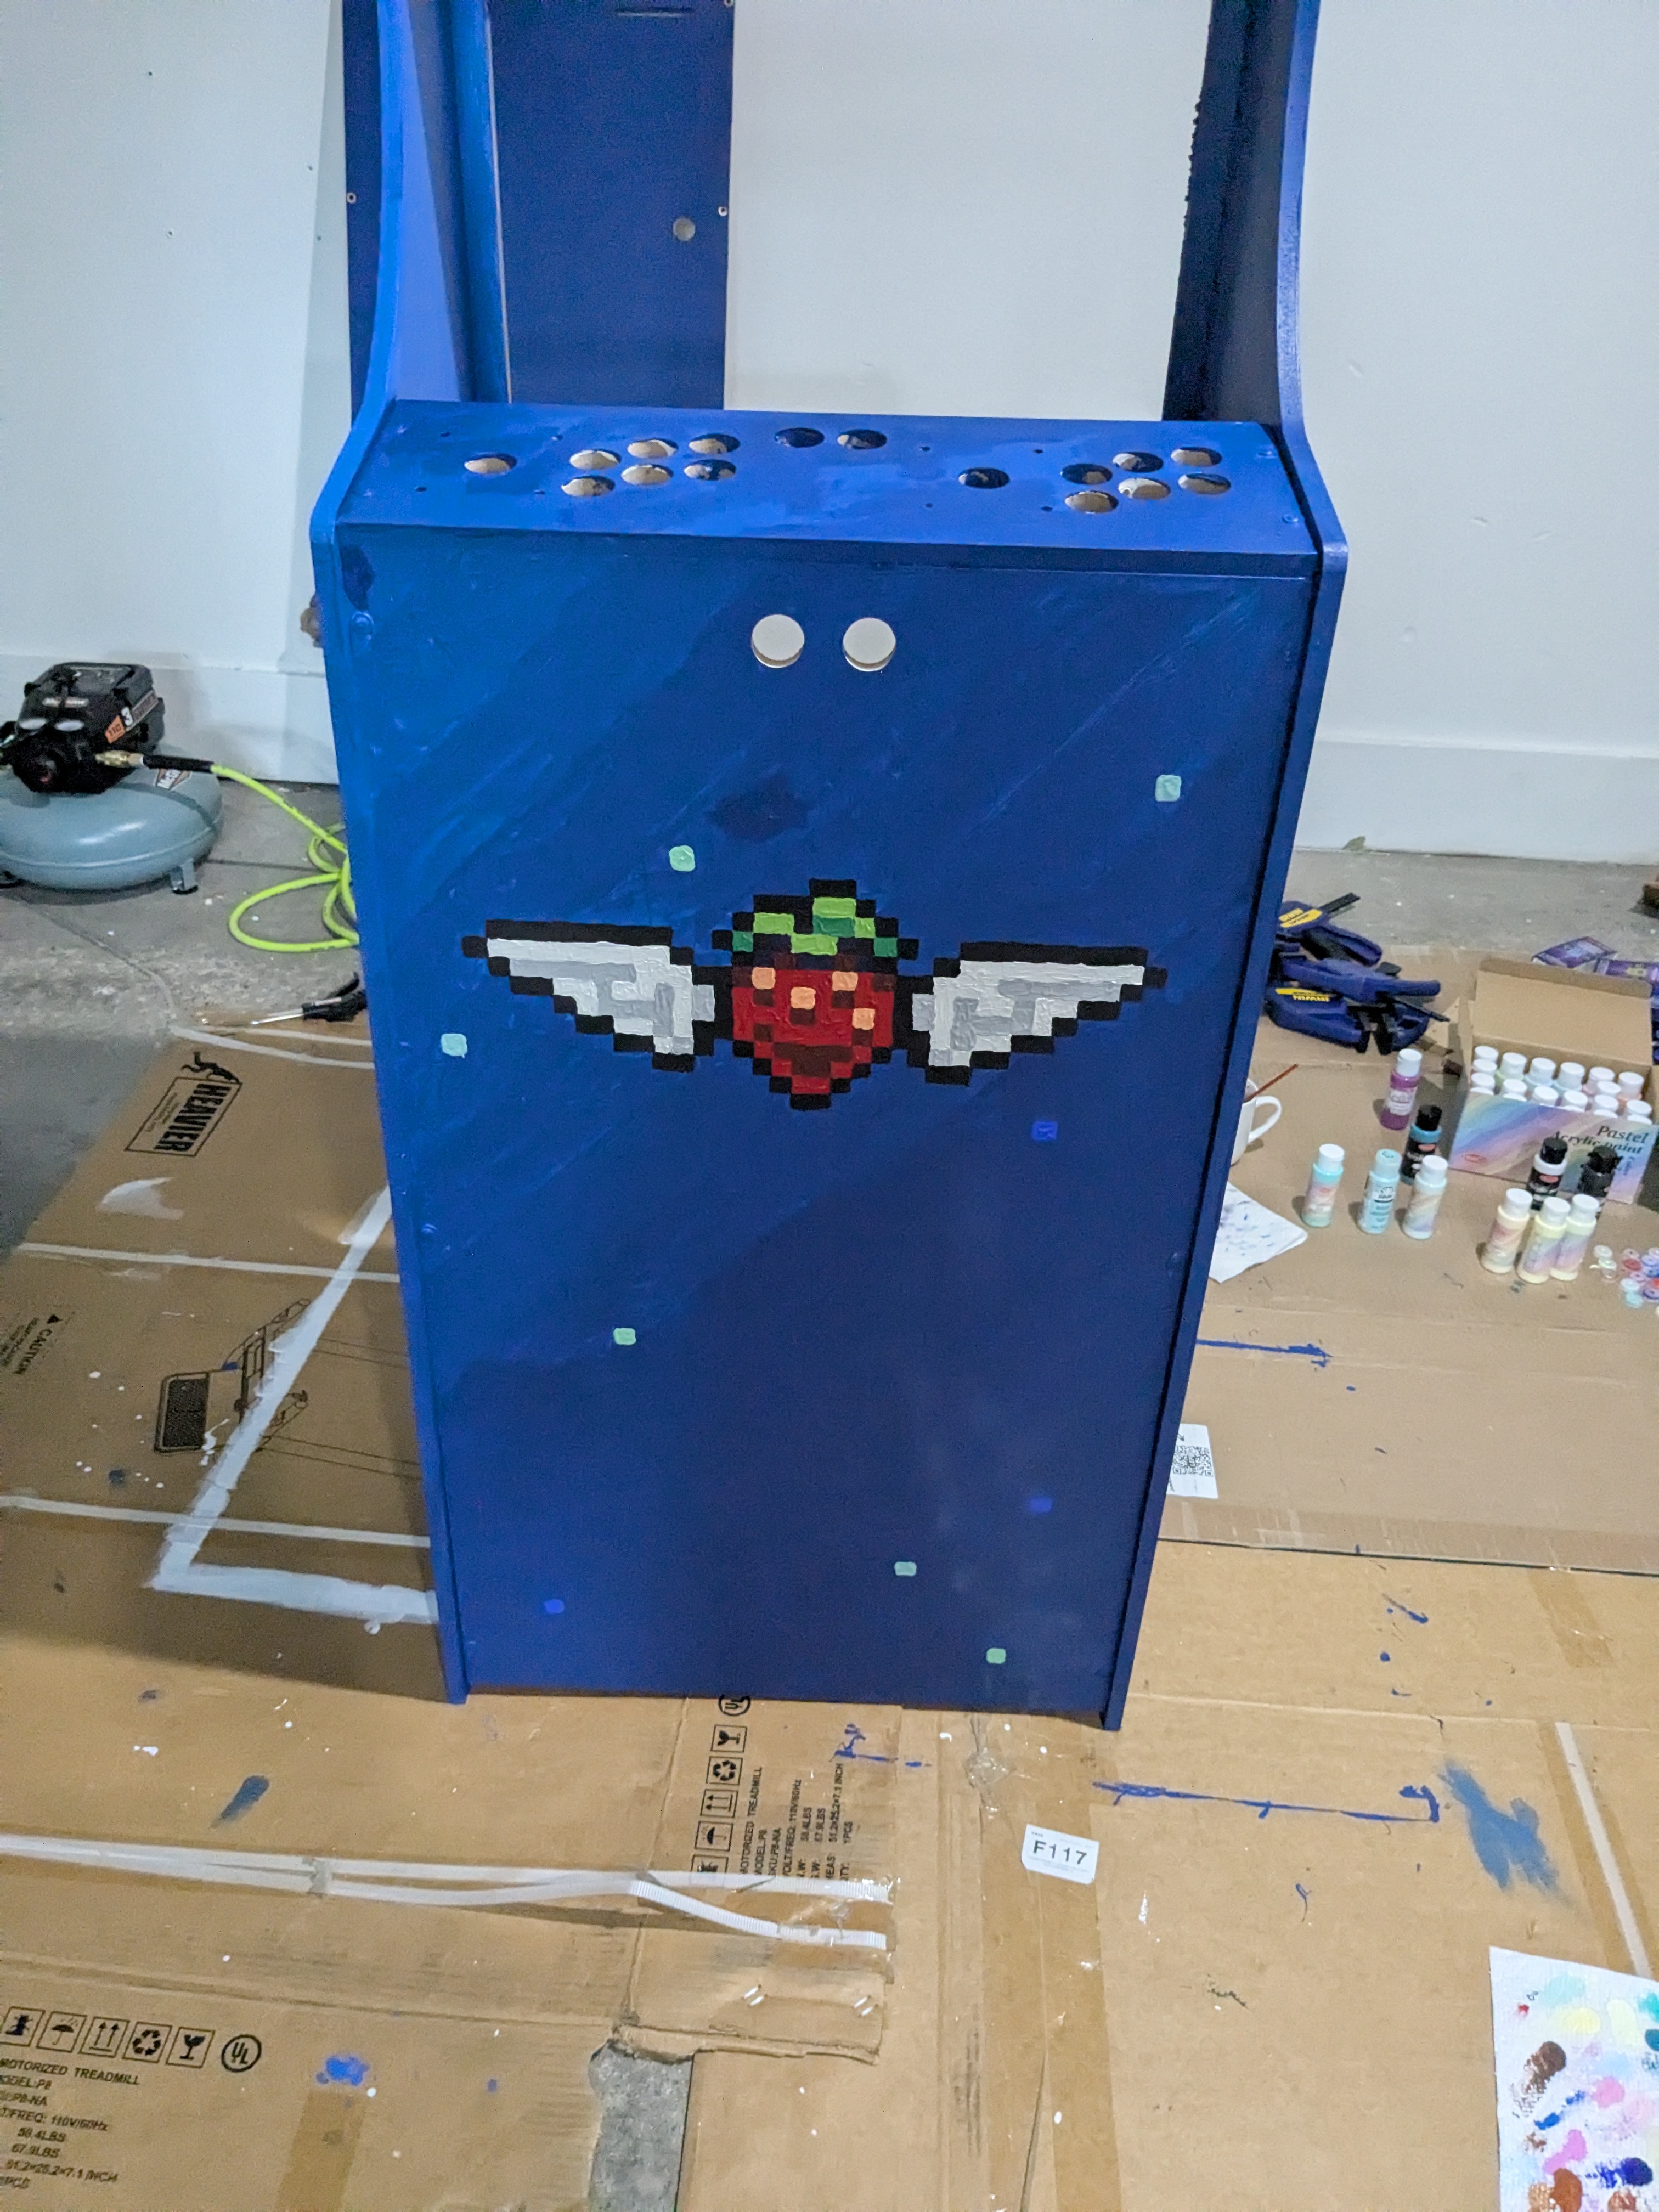
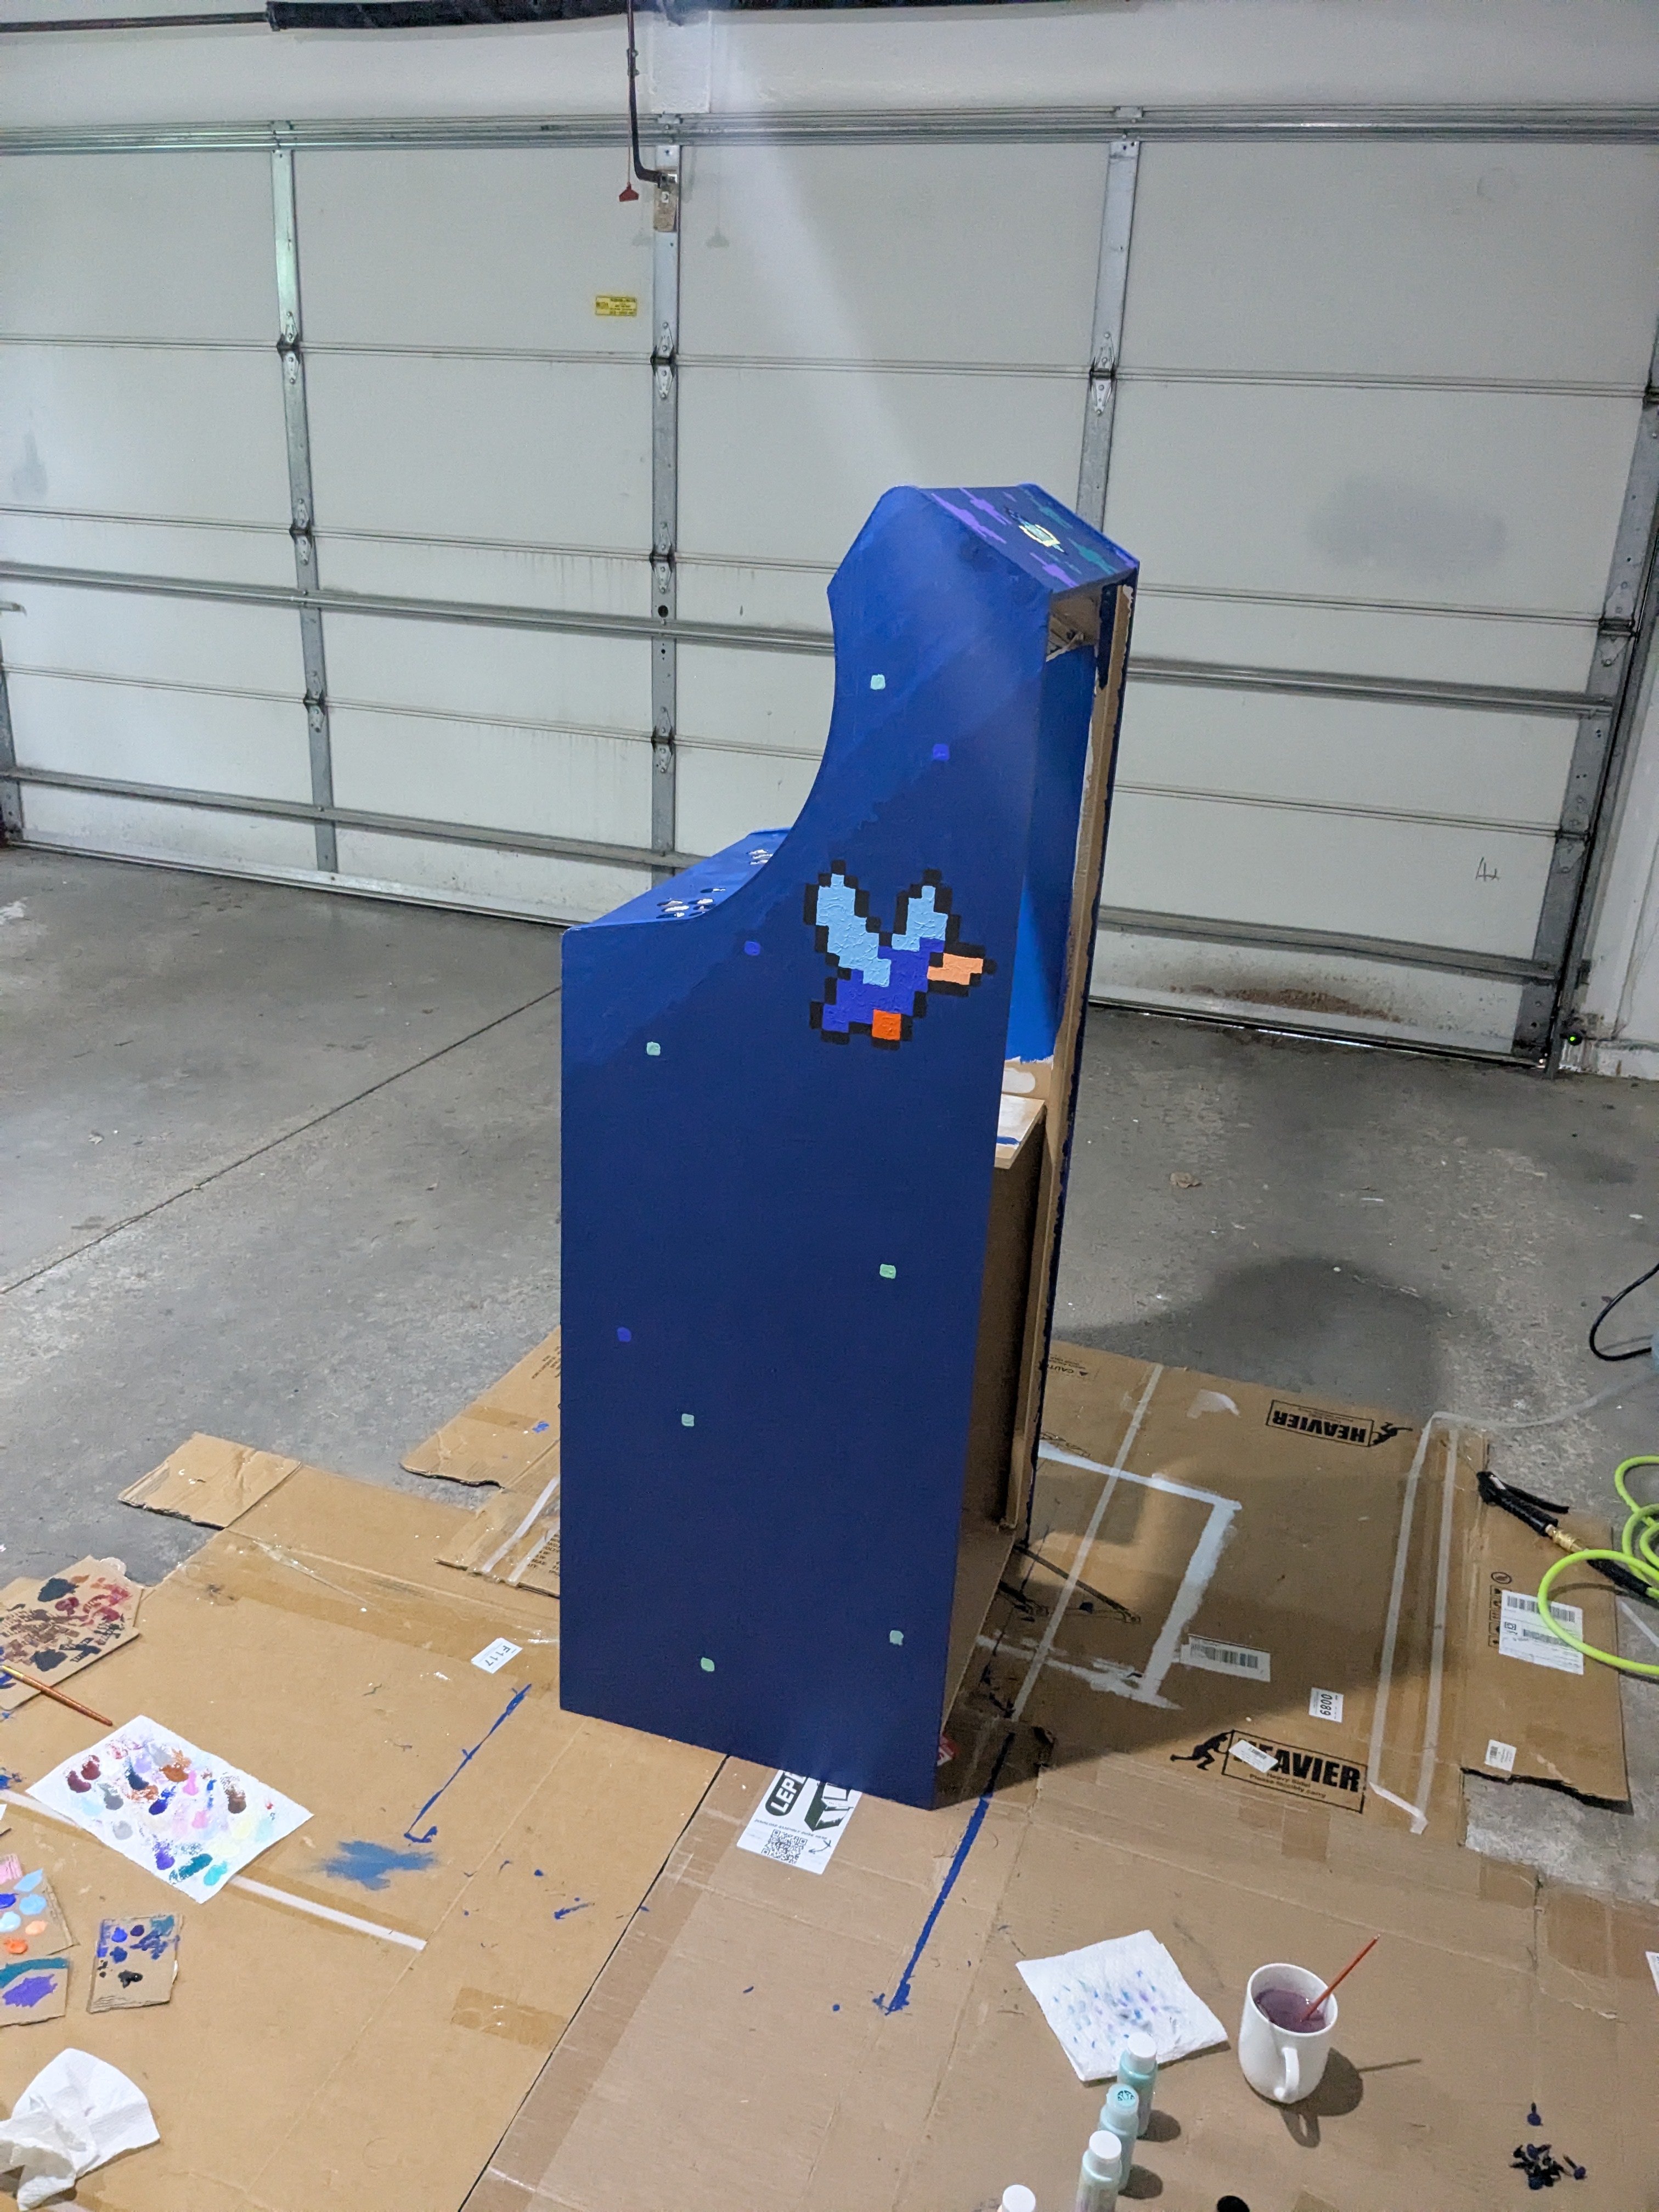
Next, I painted the winged strawberry. For this, I used an acrylic paint. In hindsight, I probably should have used something different, but I knew nothing basically nothing about painting aforehand. I think I do like the bumpy texture it created, however, so I'm not disappointed. I did ultimately have to paint almost all of the foreground twice, however, because of how unevenly the paint spread. Below, the left two images are the first paint, and the right two images are the second paint.
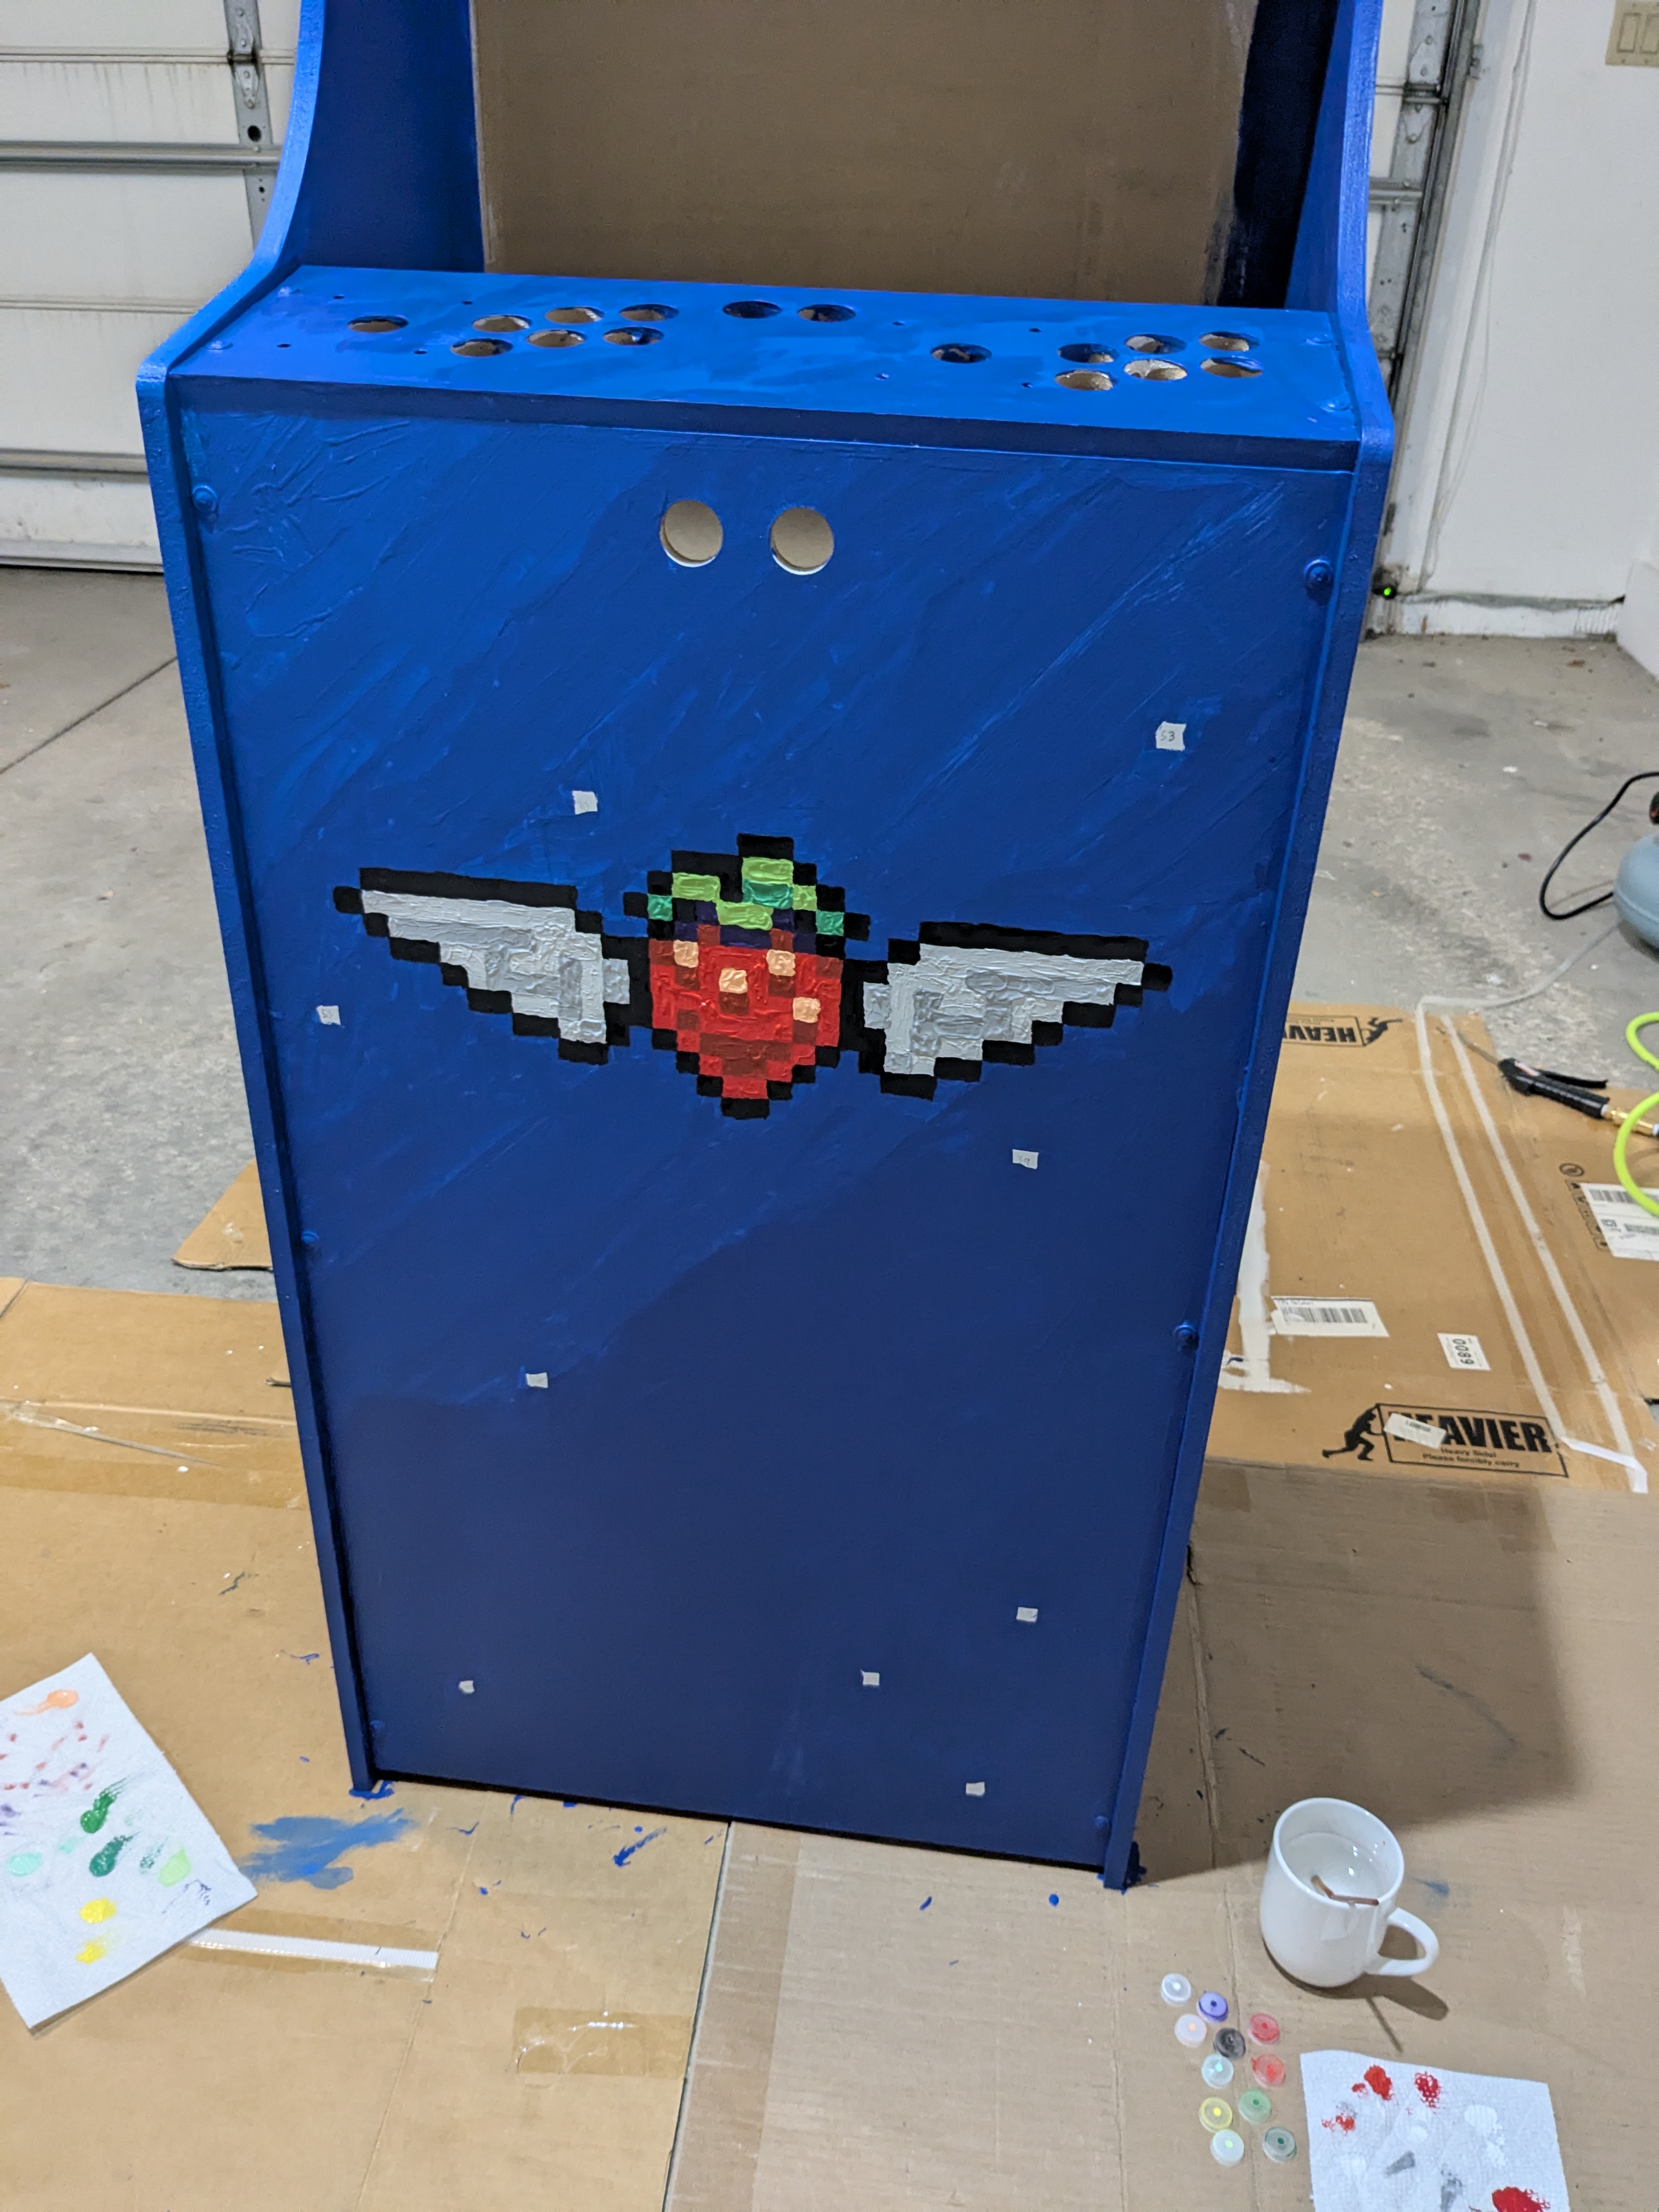
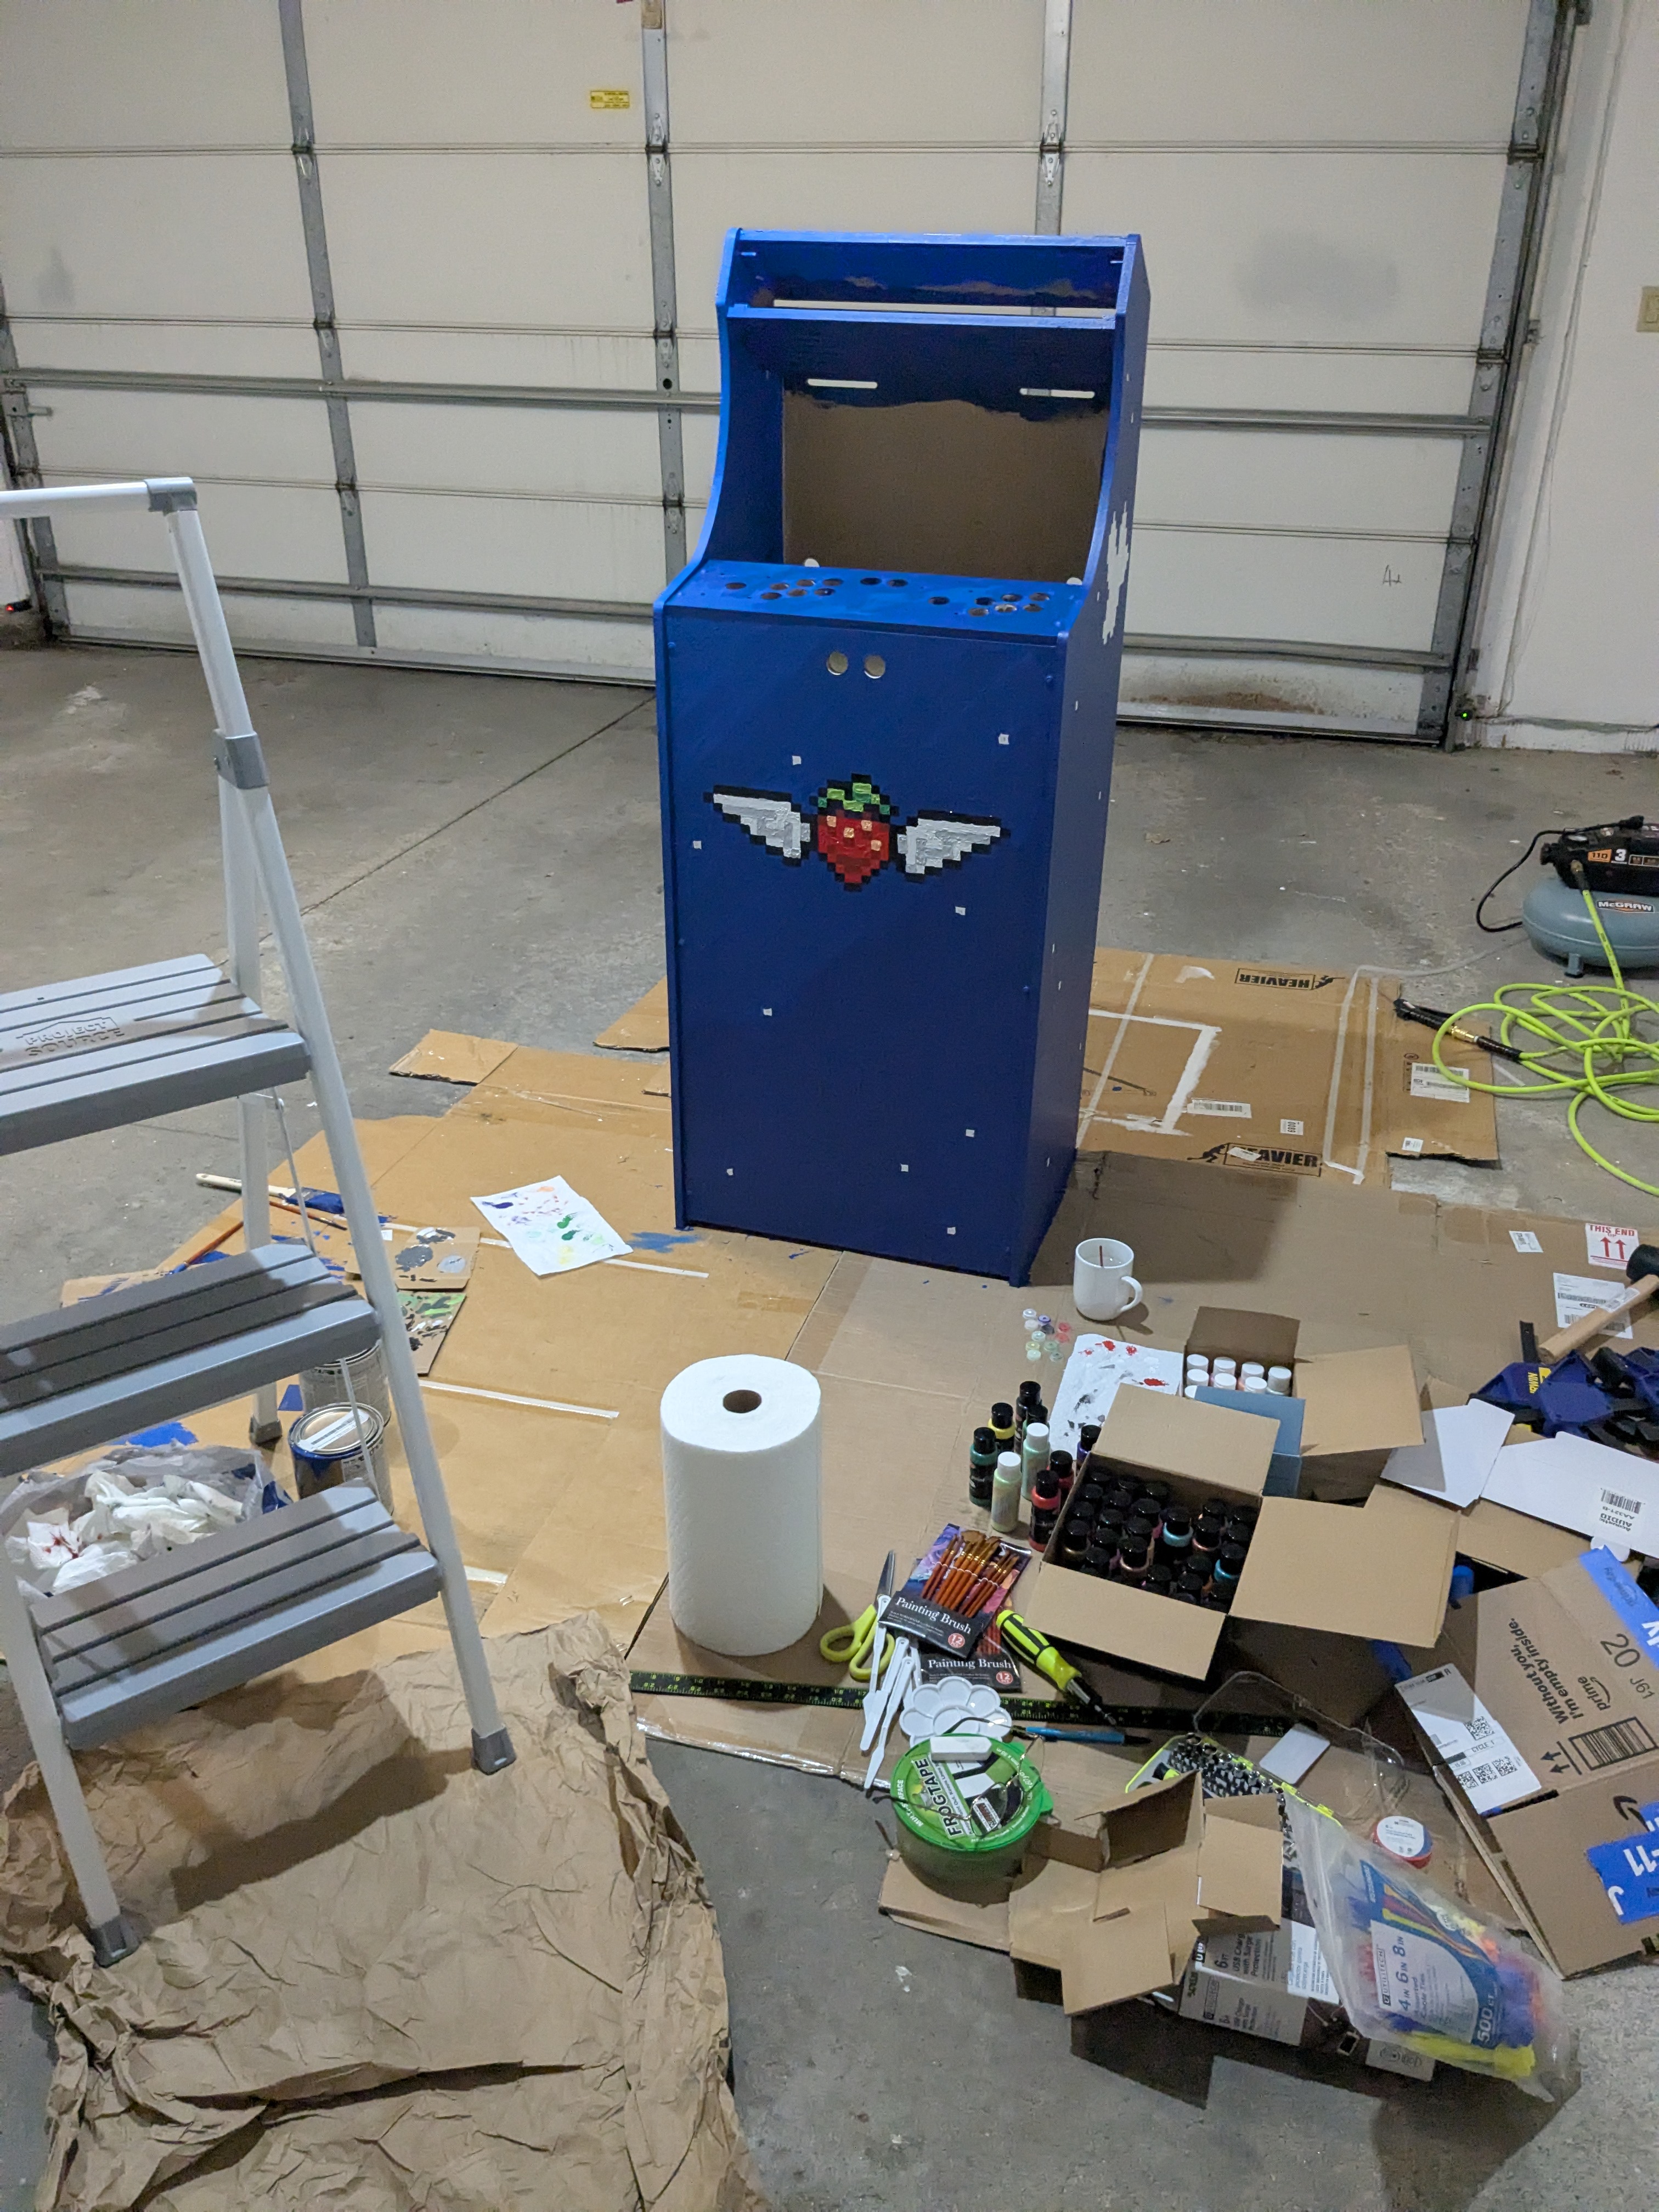
I next painted the bird, because there's not much going on over there compared to the other side. As before, the left two images are the first coat while the right two are the second coat.
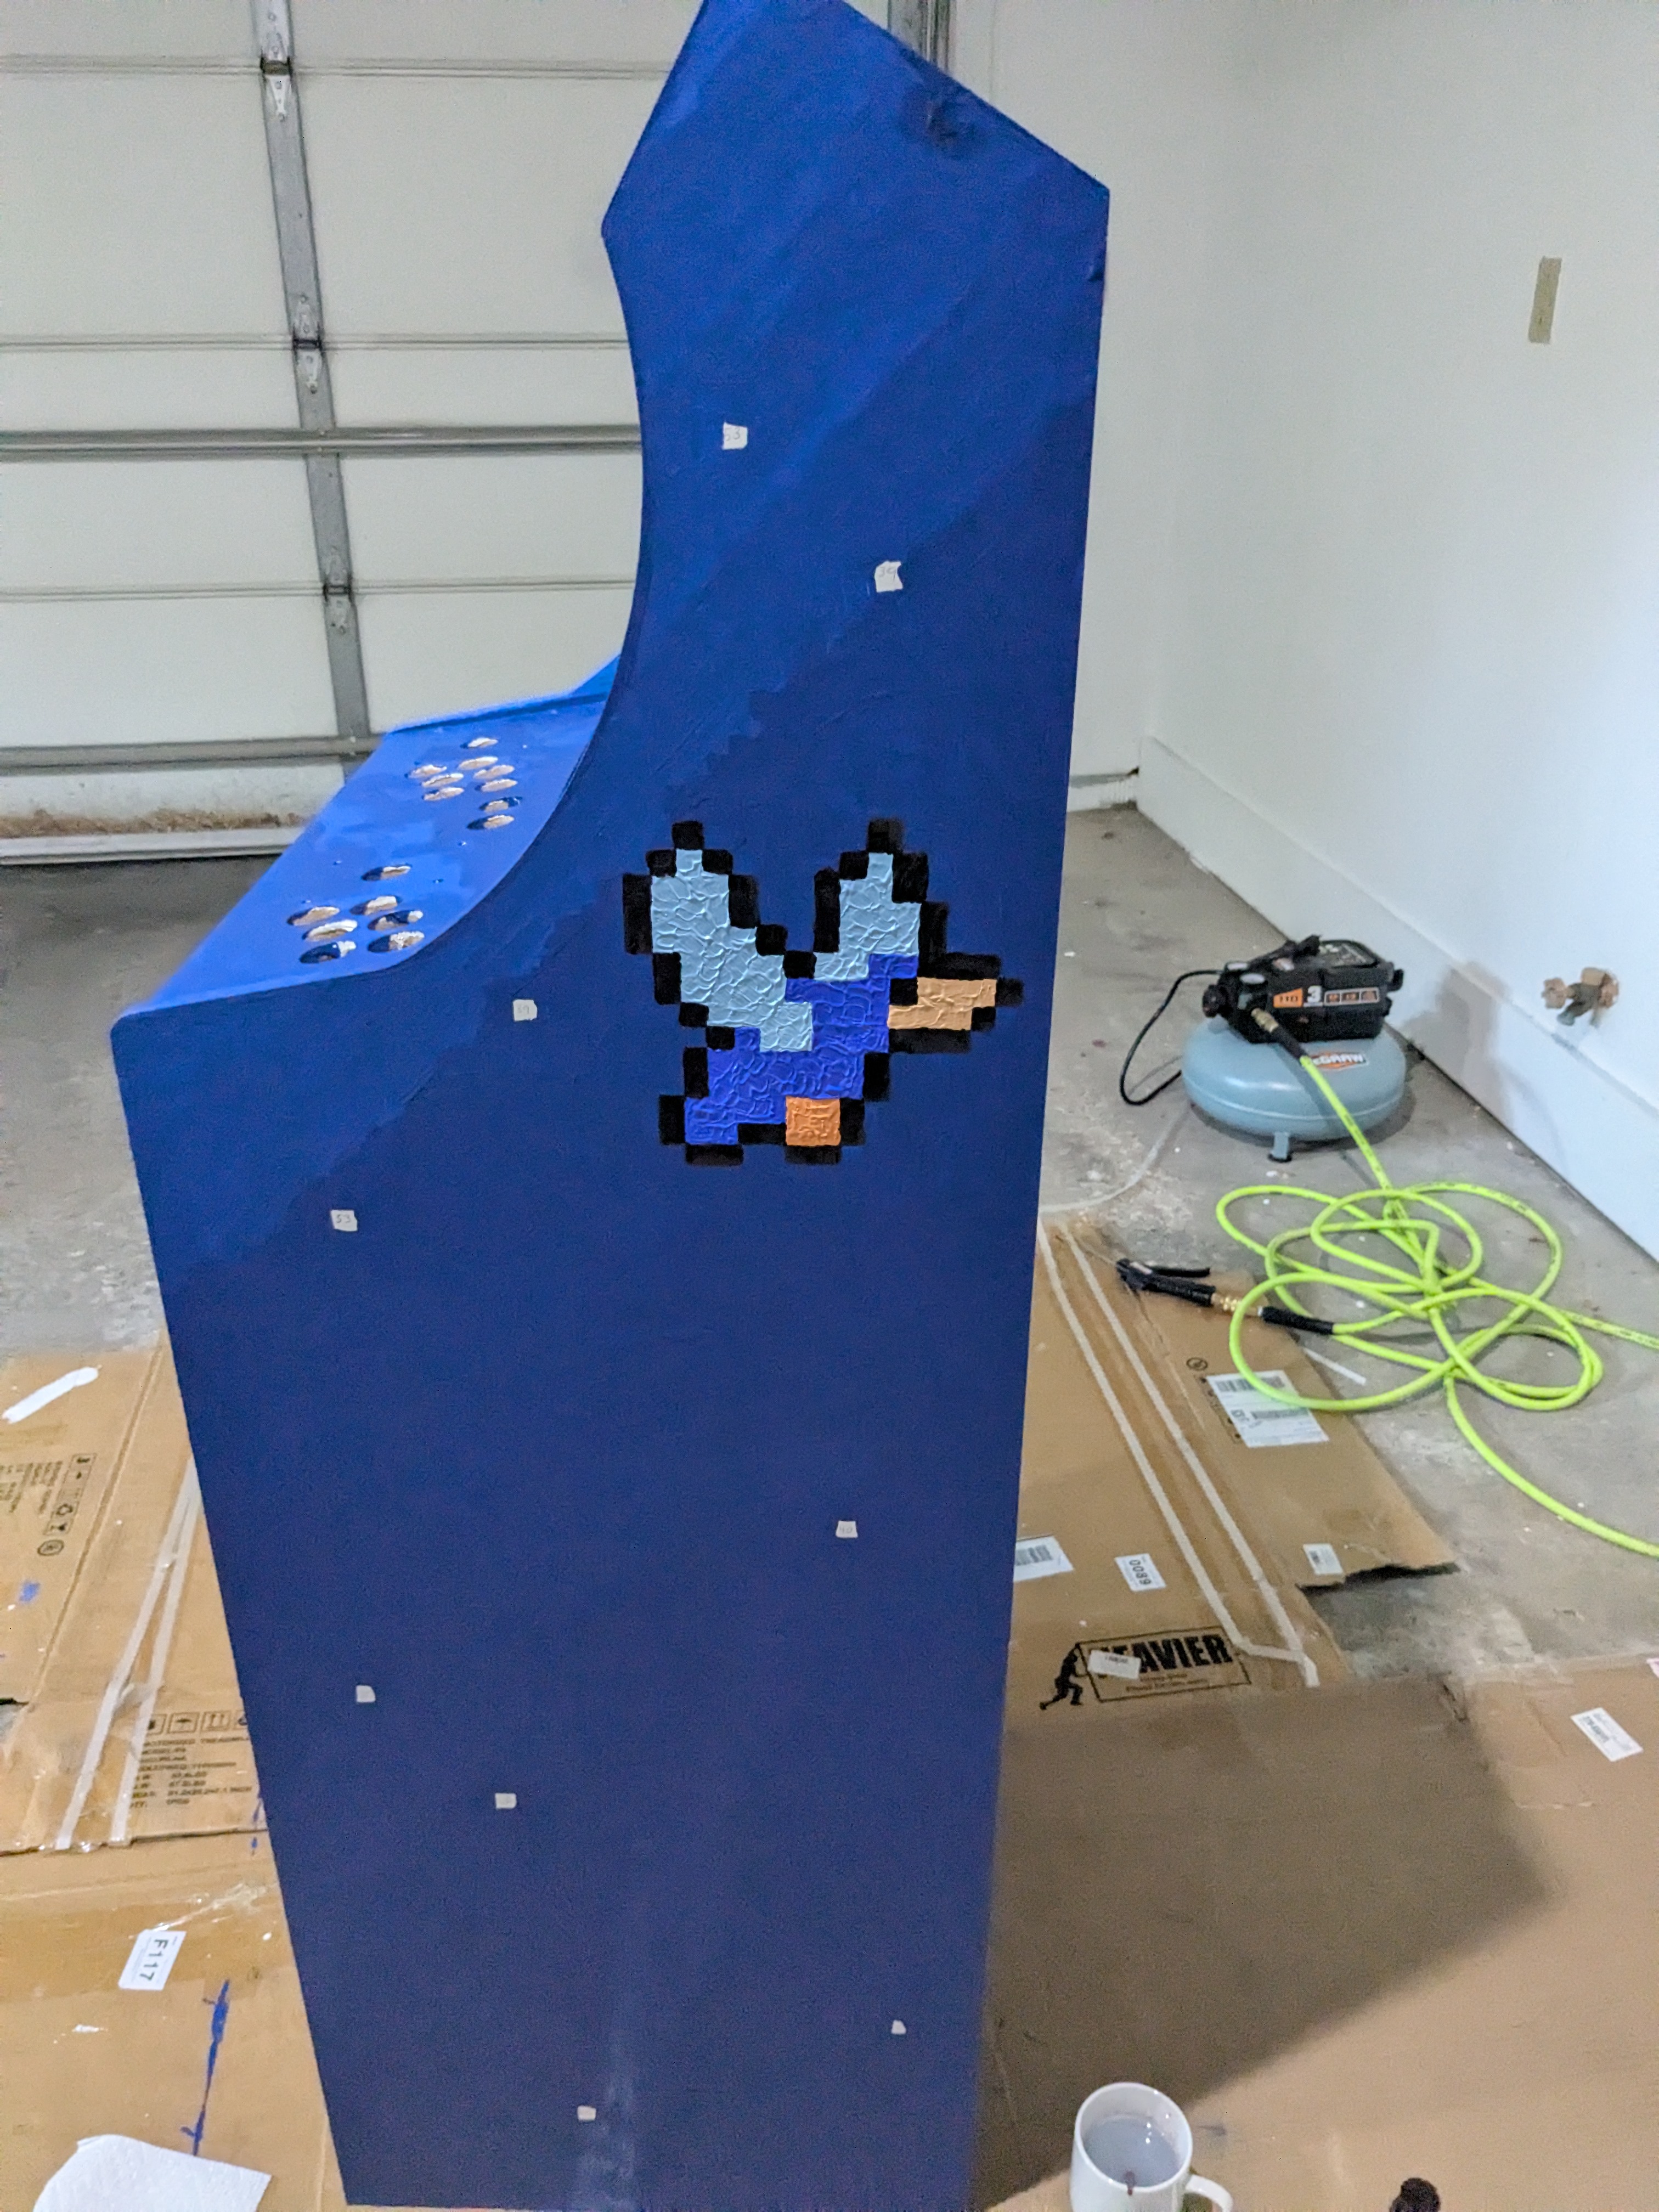
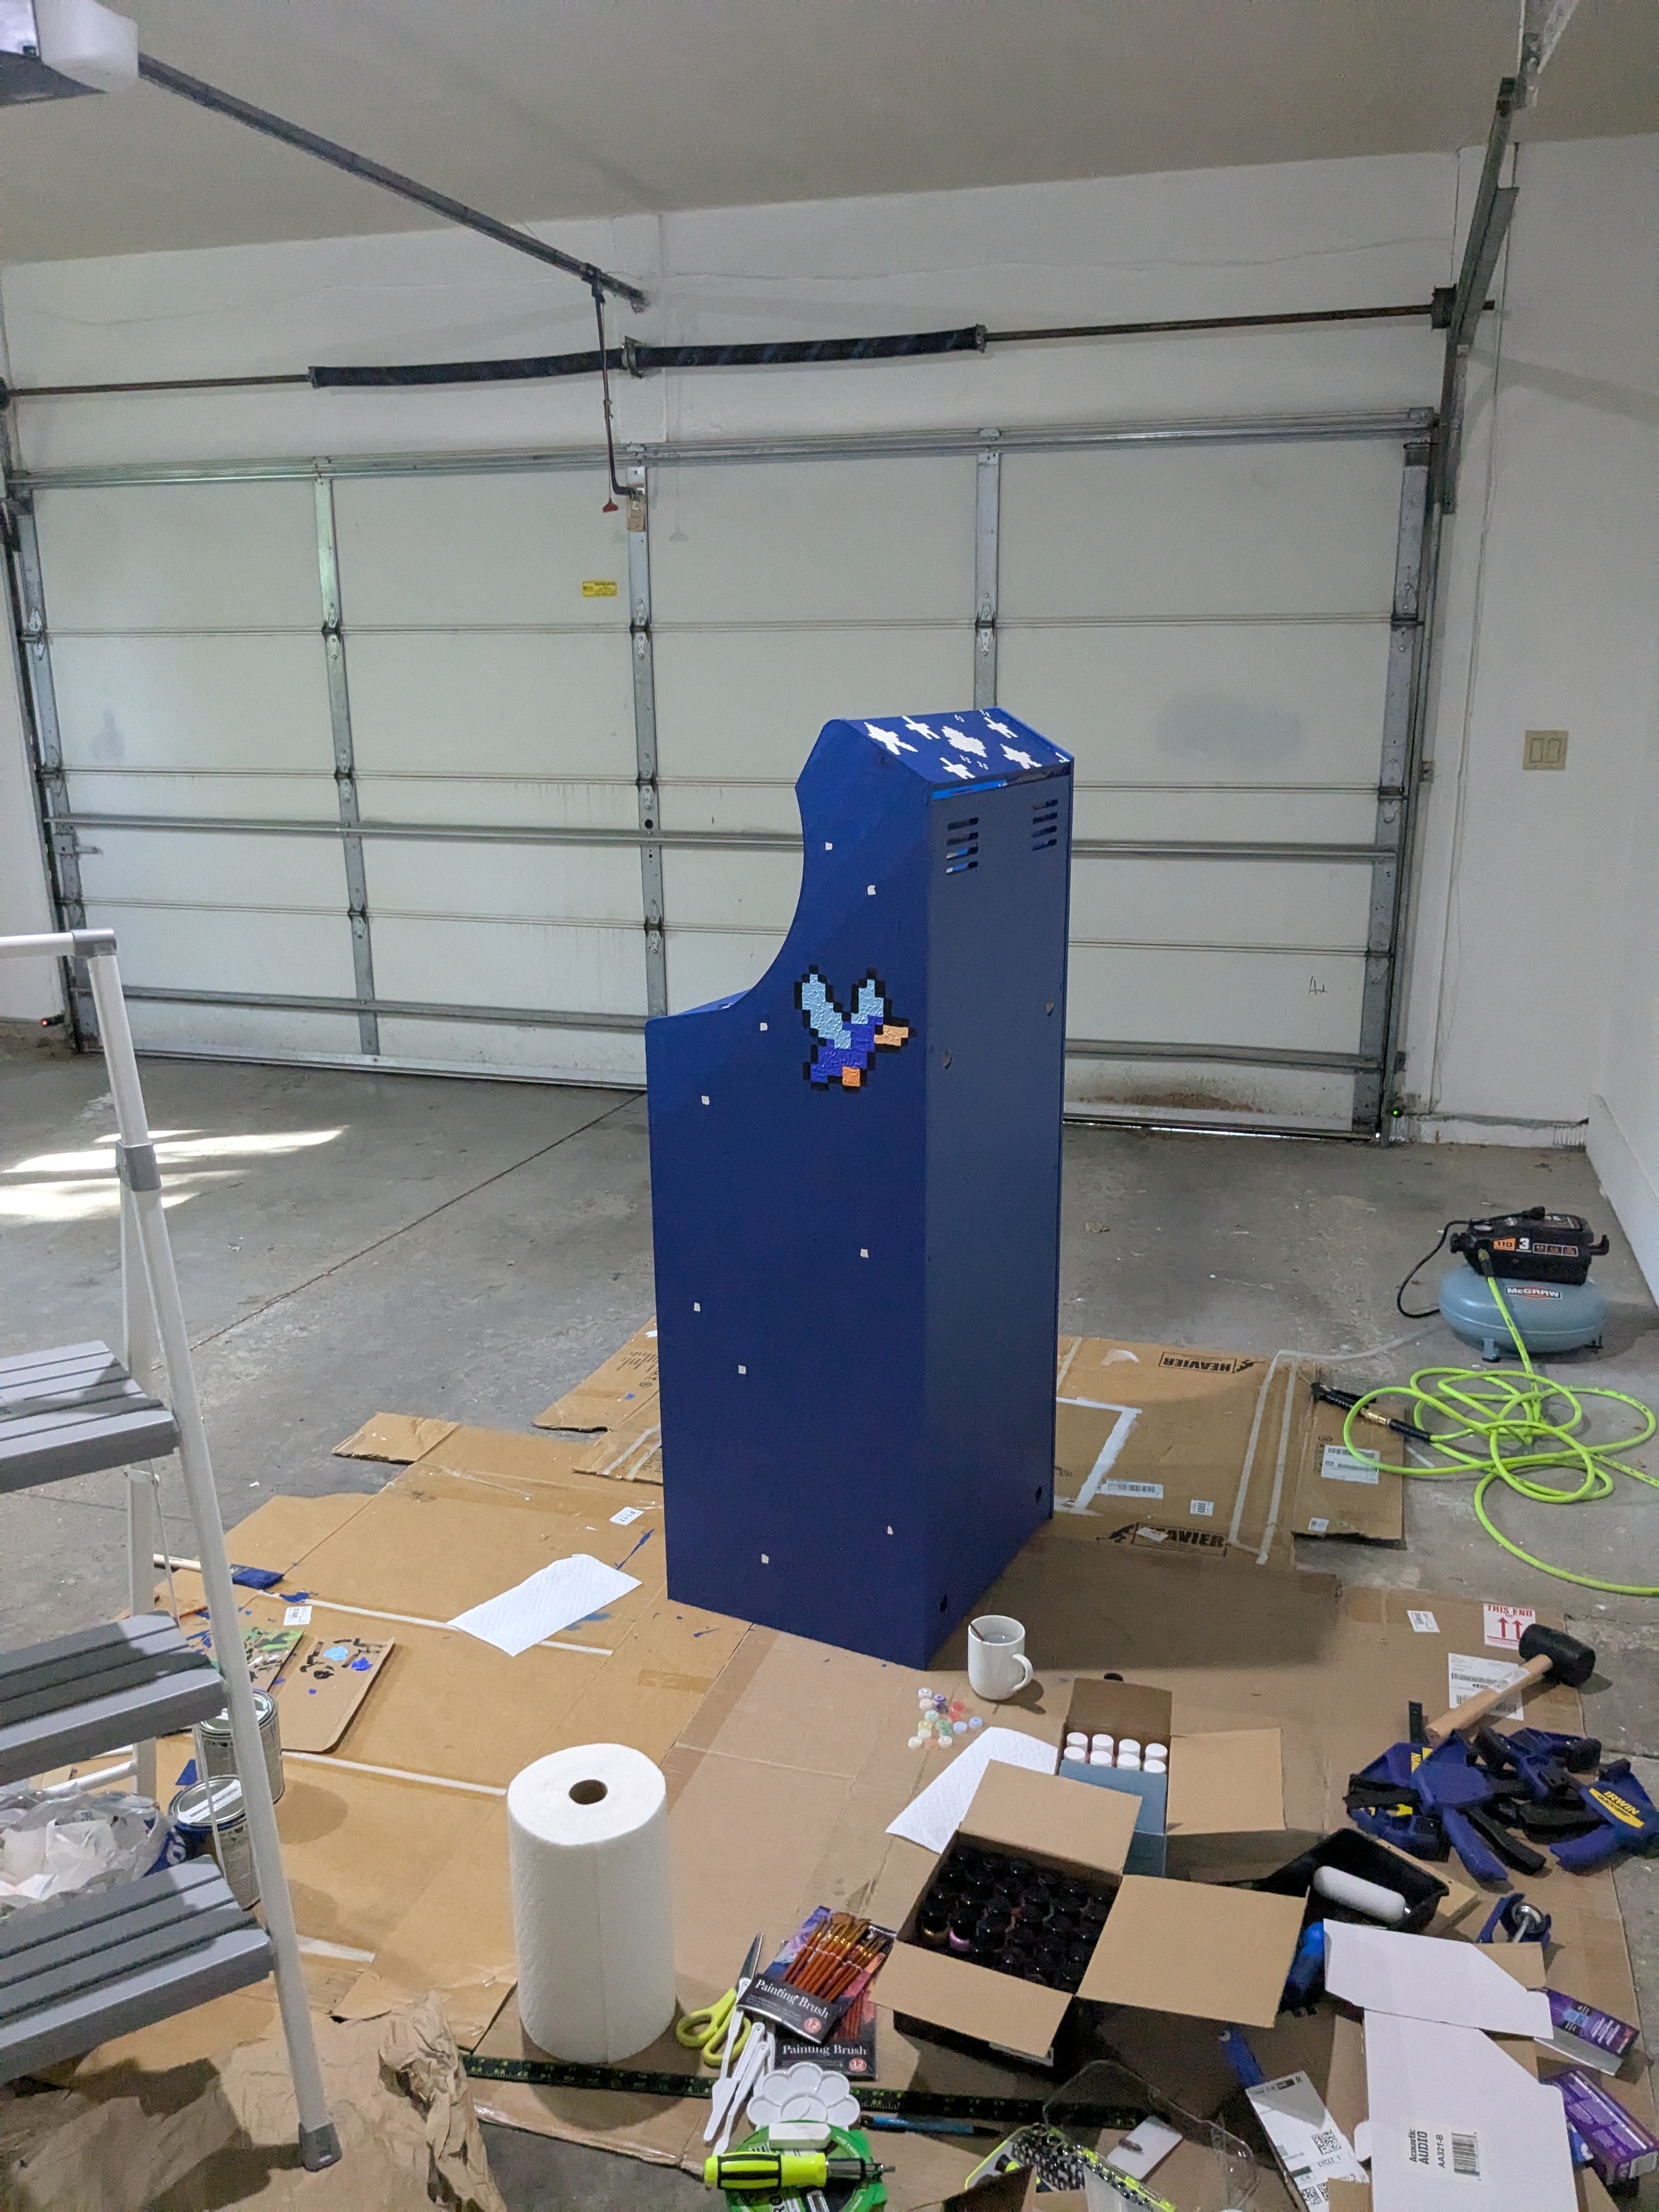
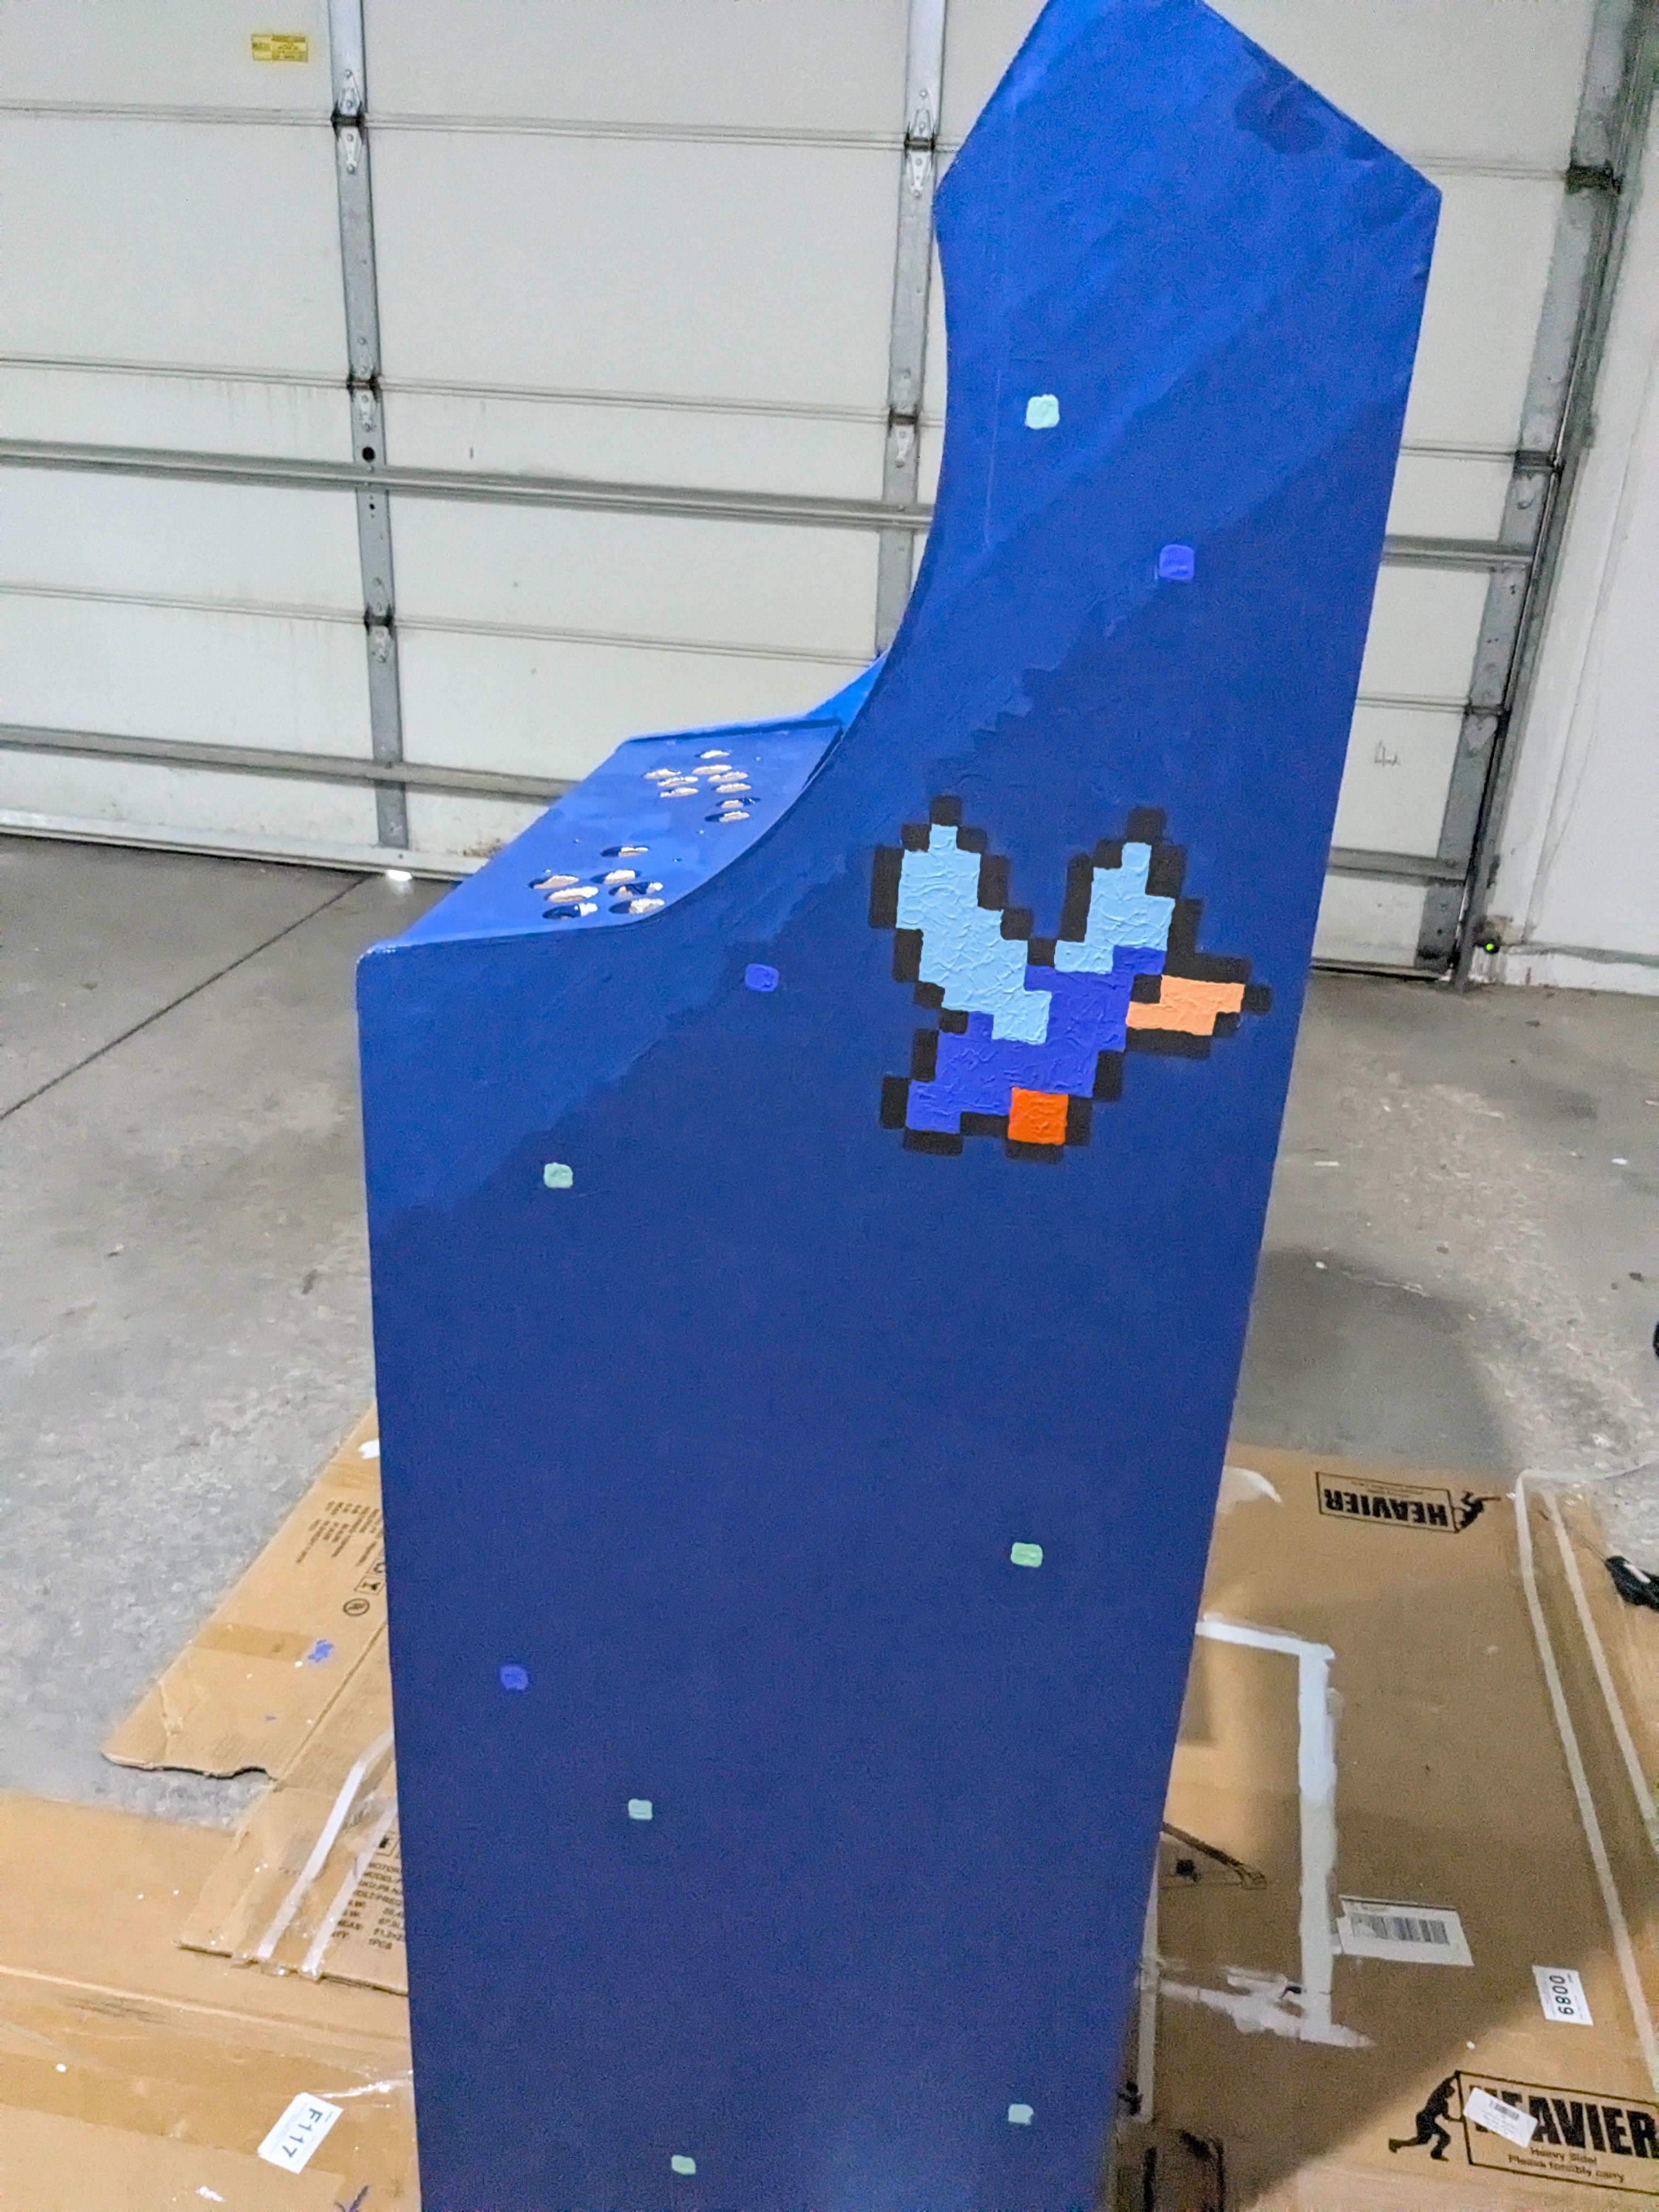
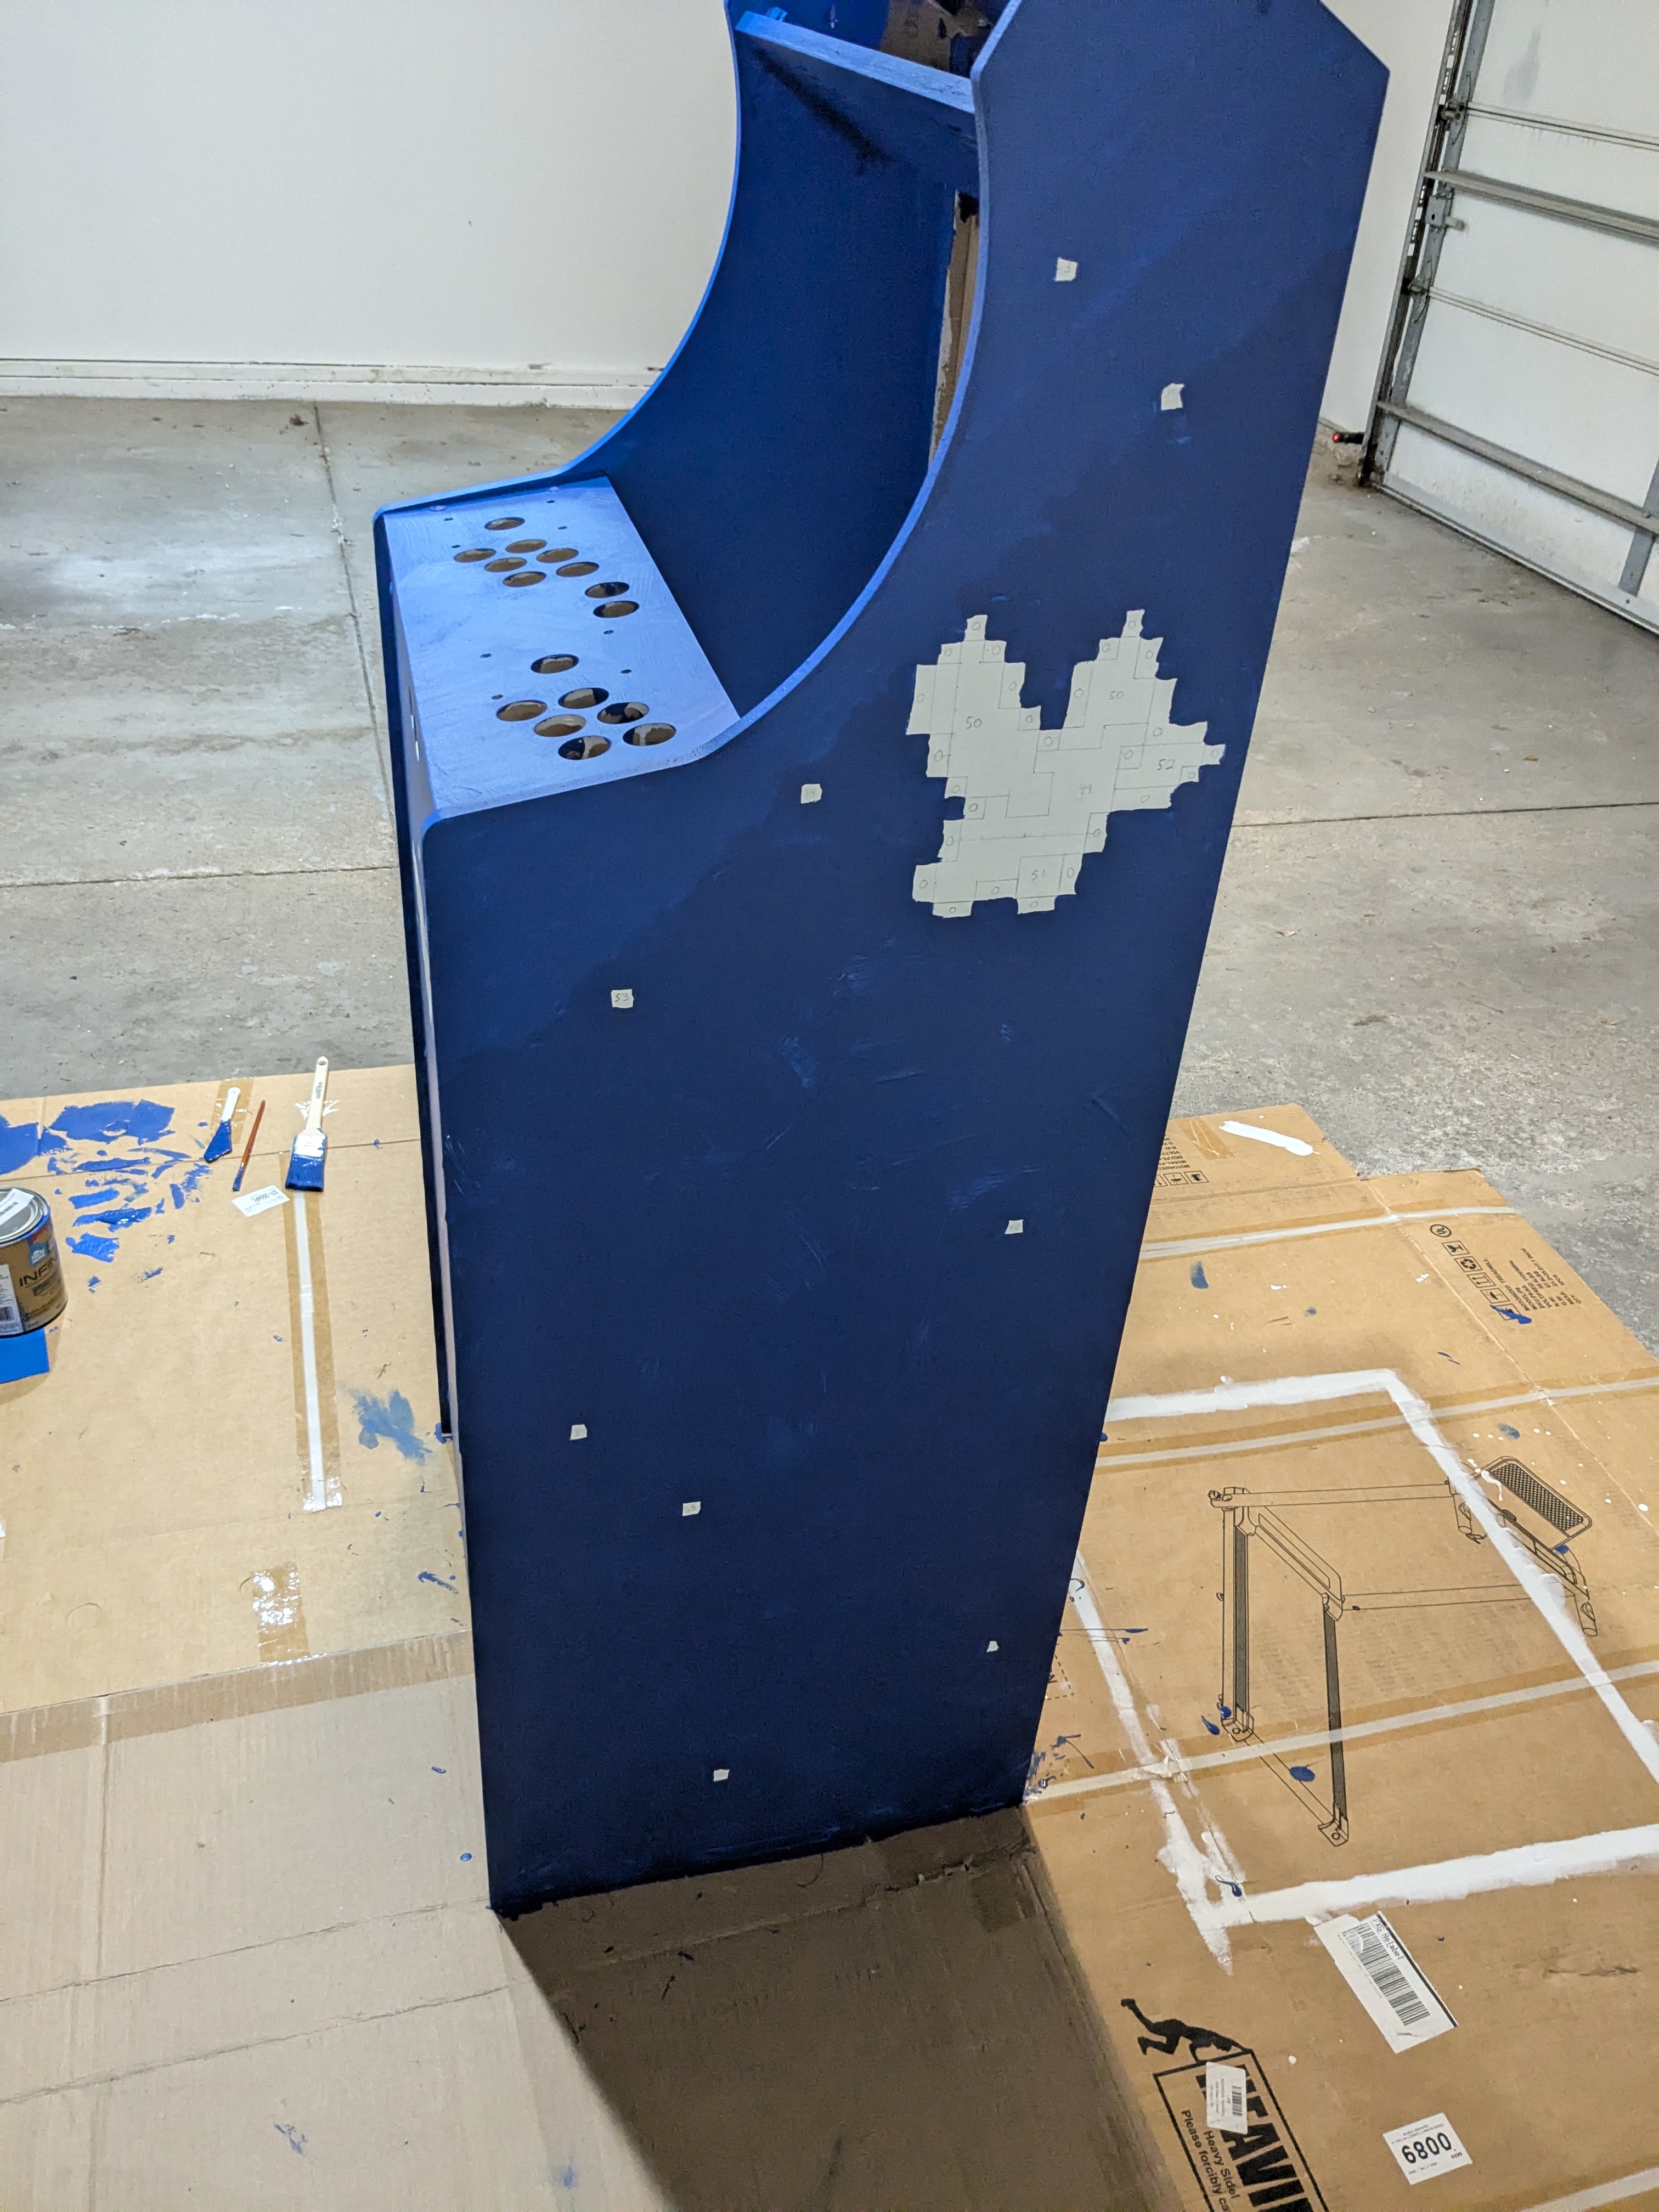
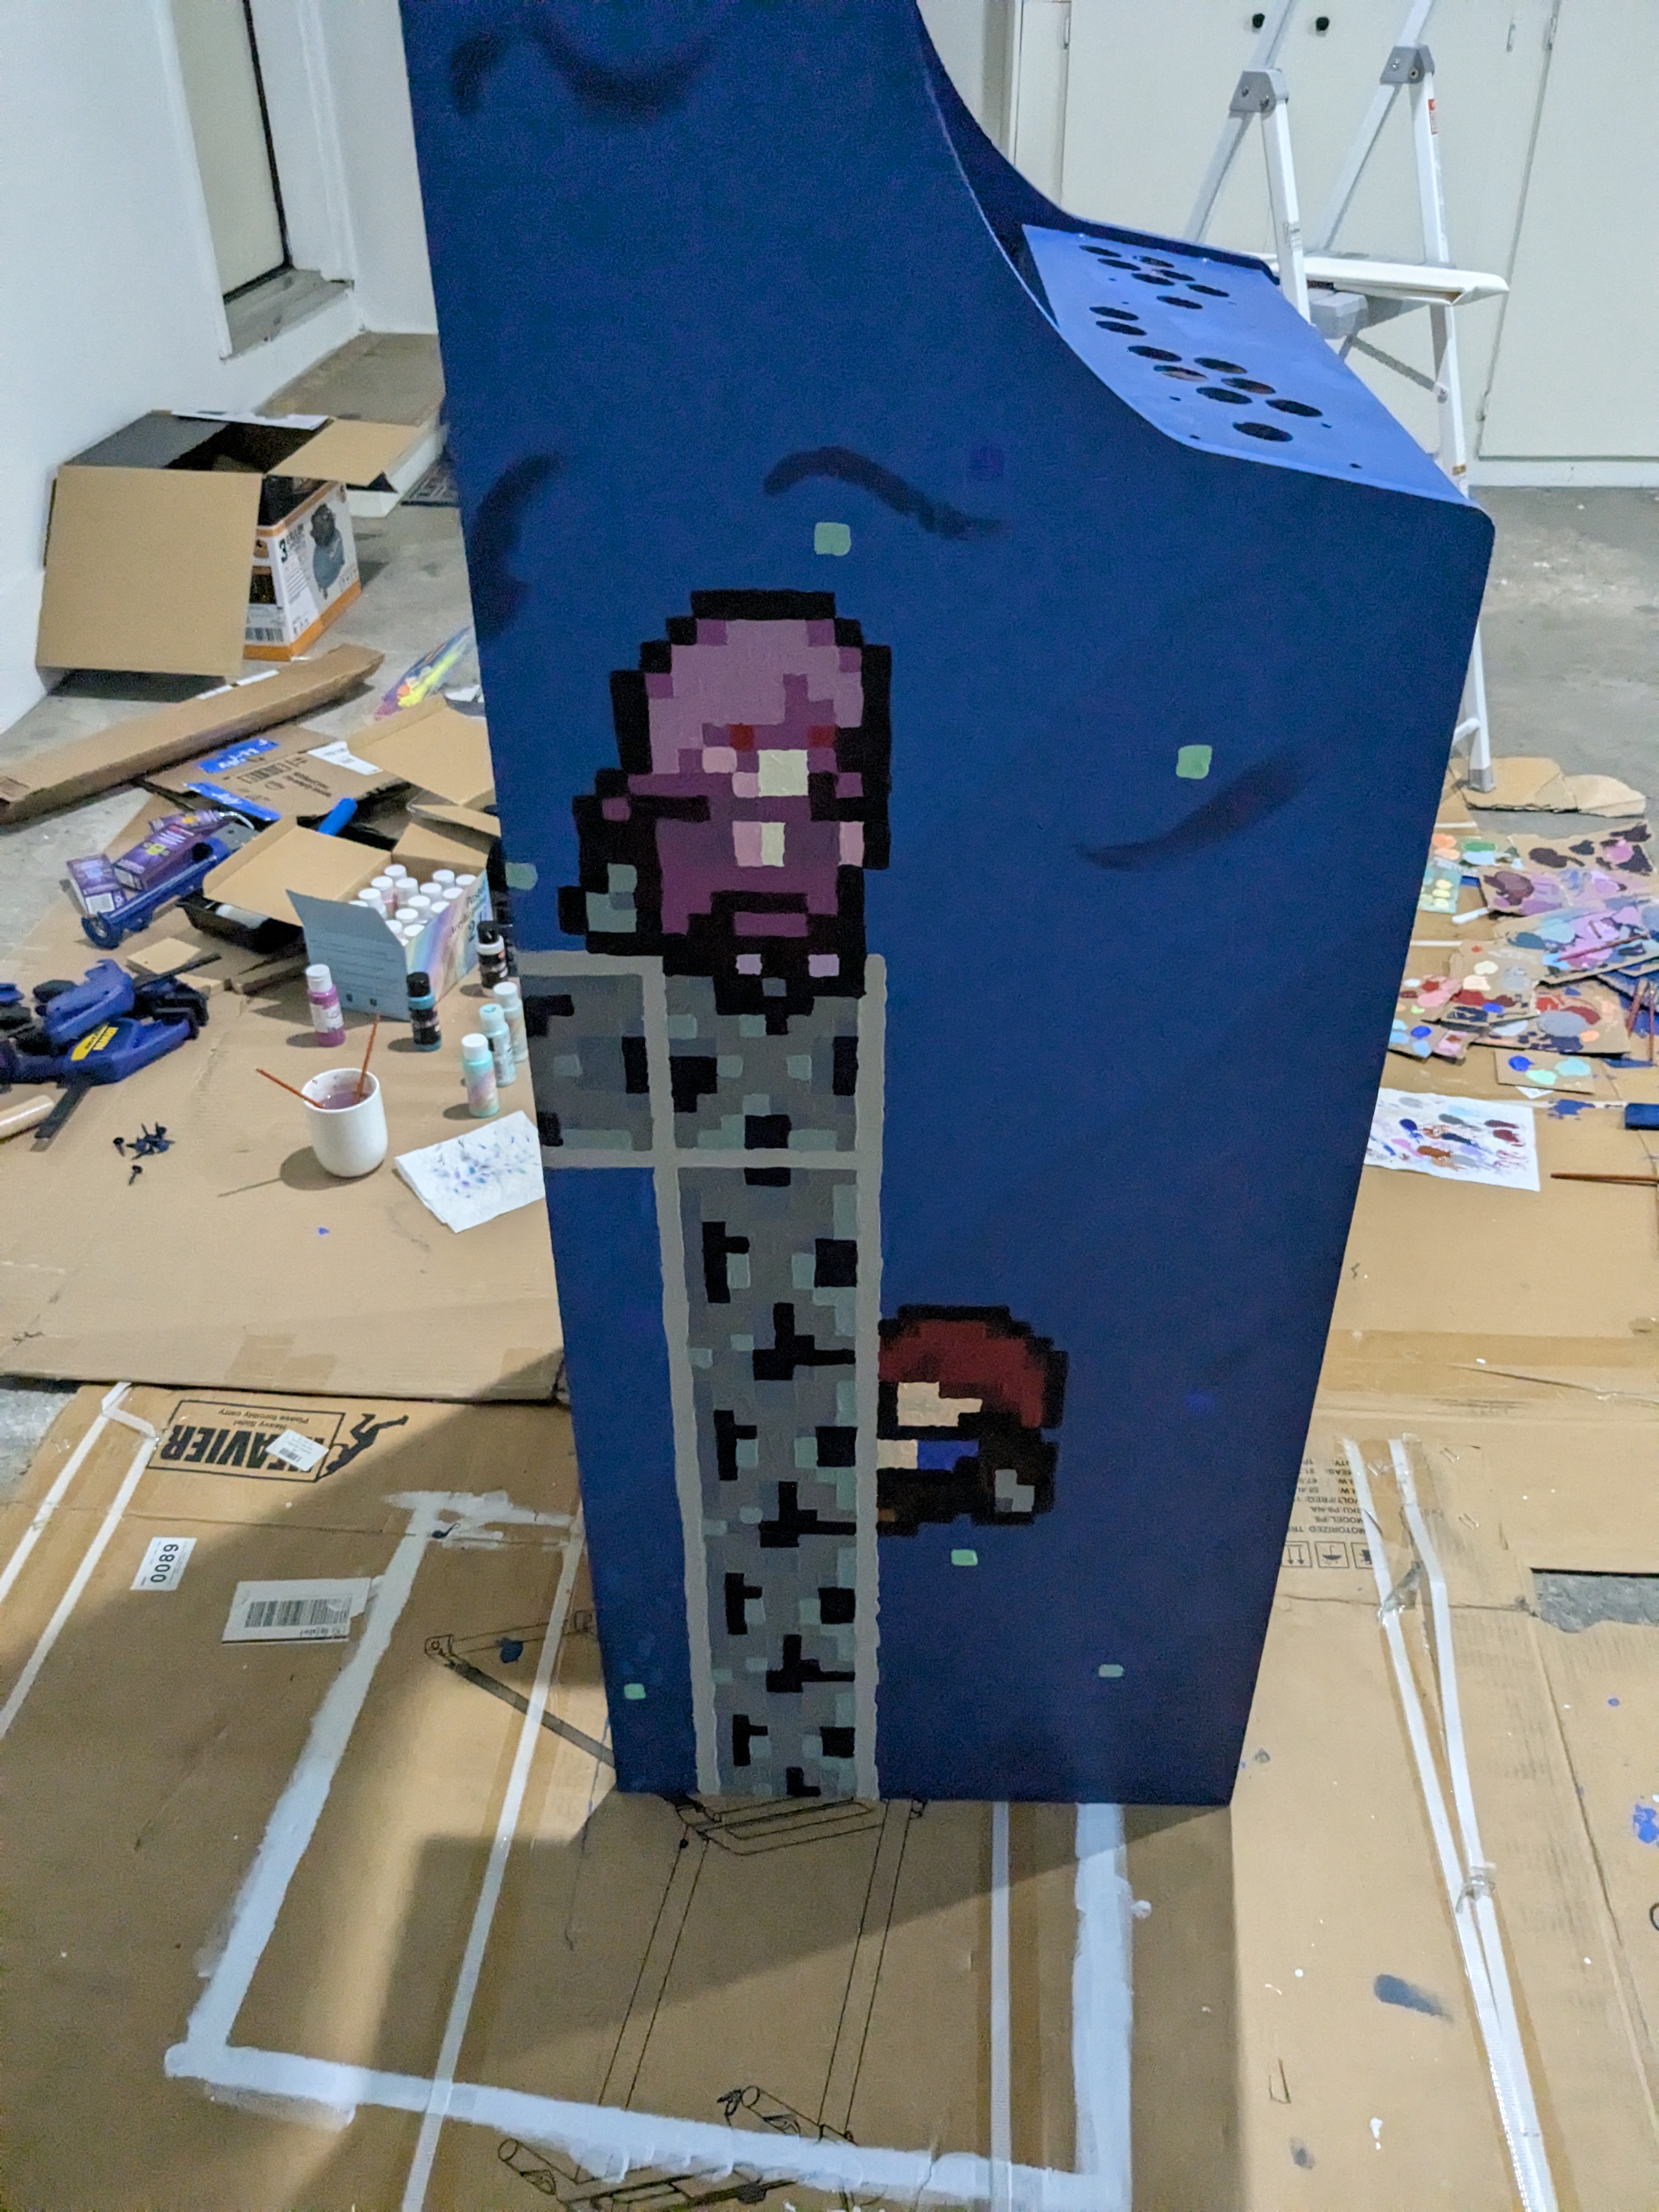
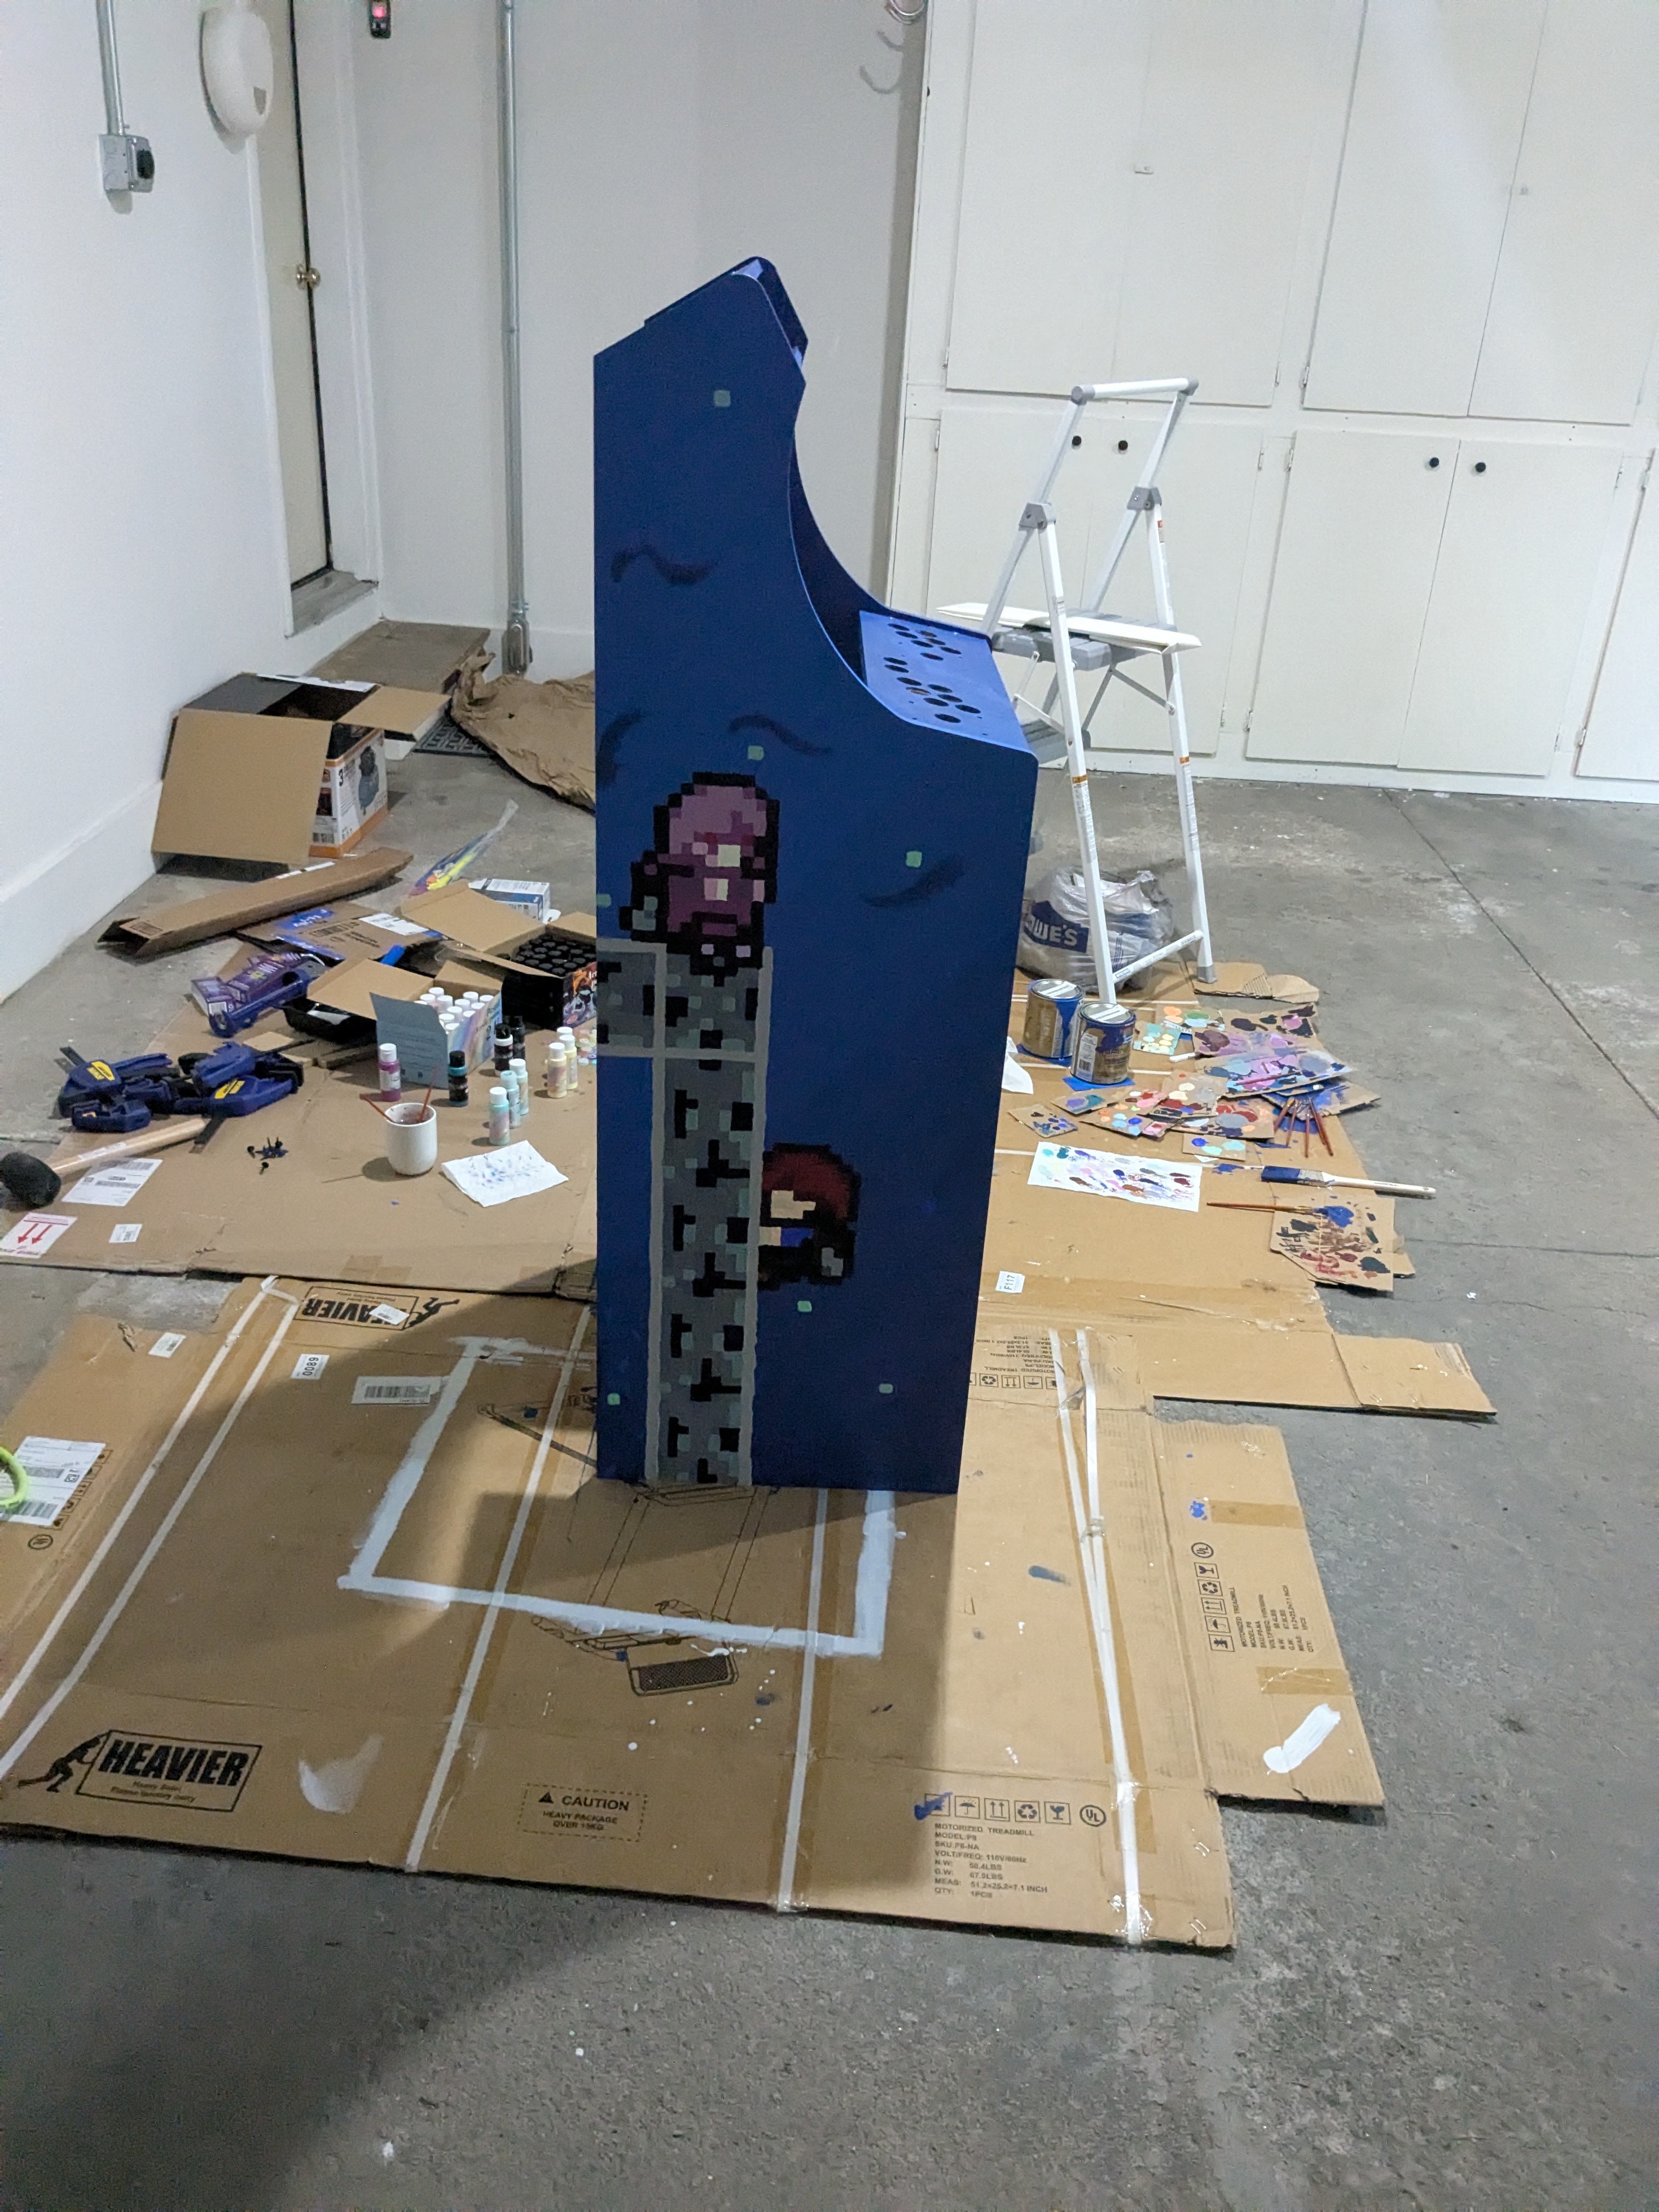
The left side of the cabinent was...complicated. This is where I first realized I had absolutely no intuitiion for subtractive color space. I think I painted this side of the cabinet three or four times before I was completely happy with it. I did not remember to document each paint, but I did get some in progress pictures of the process.
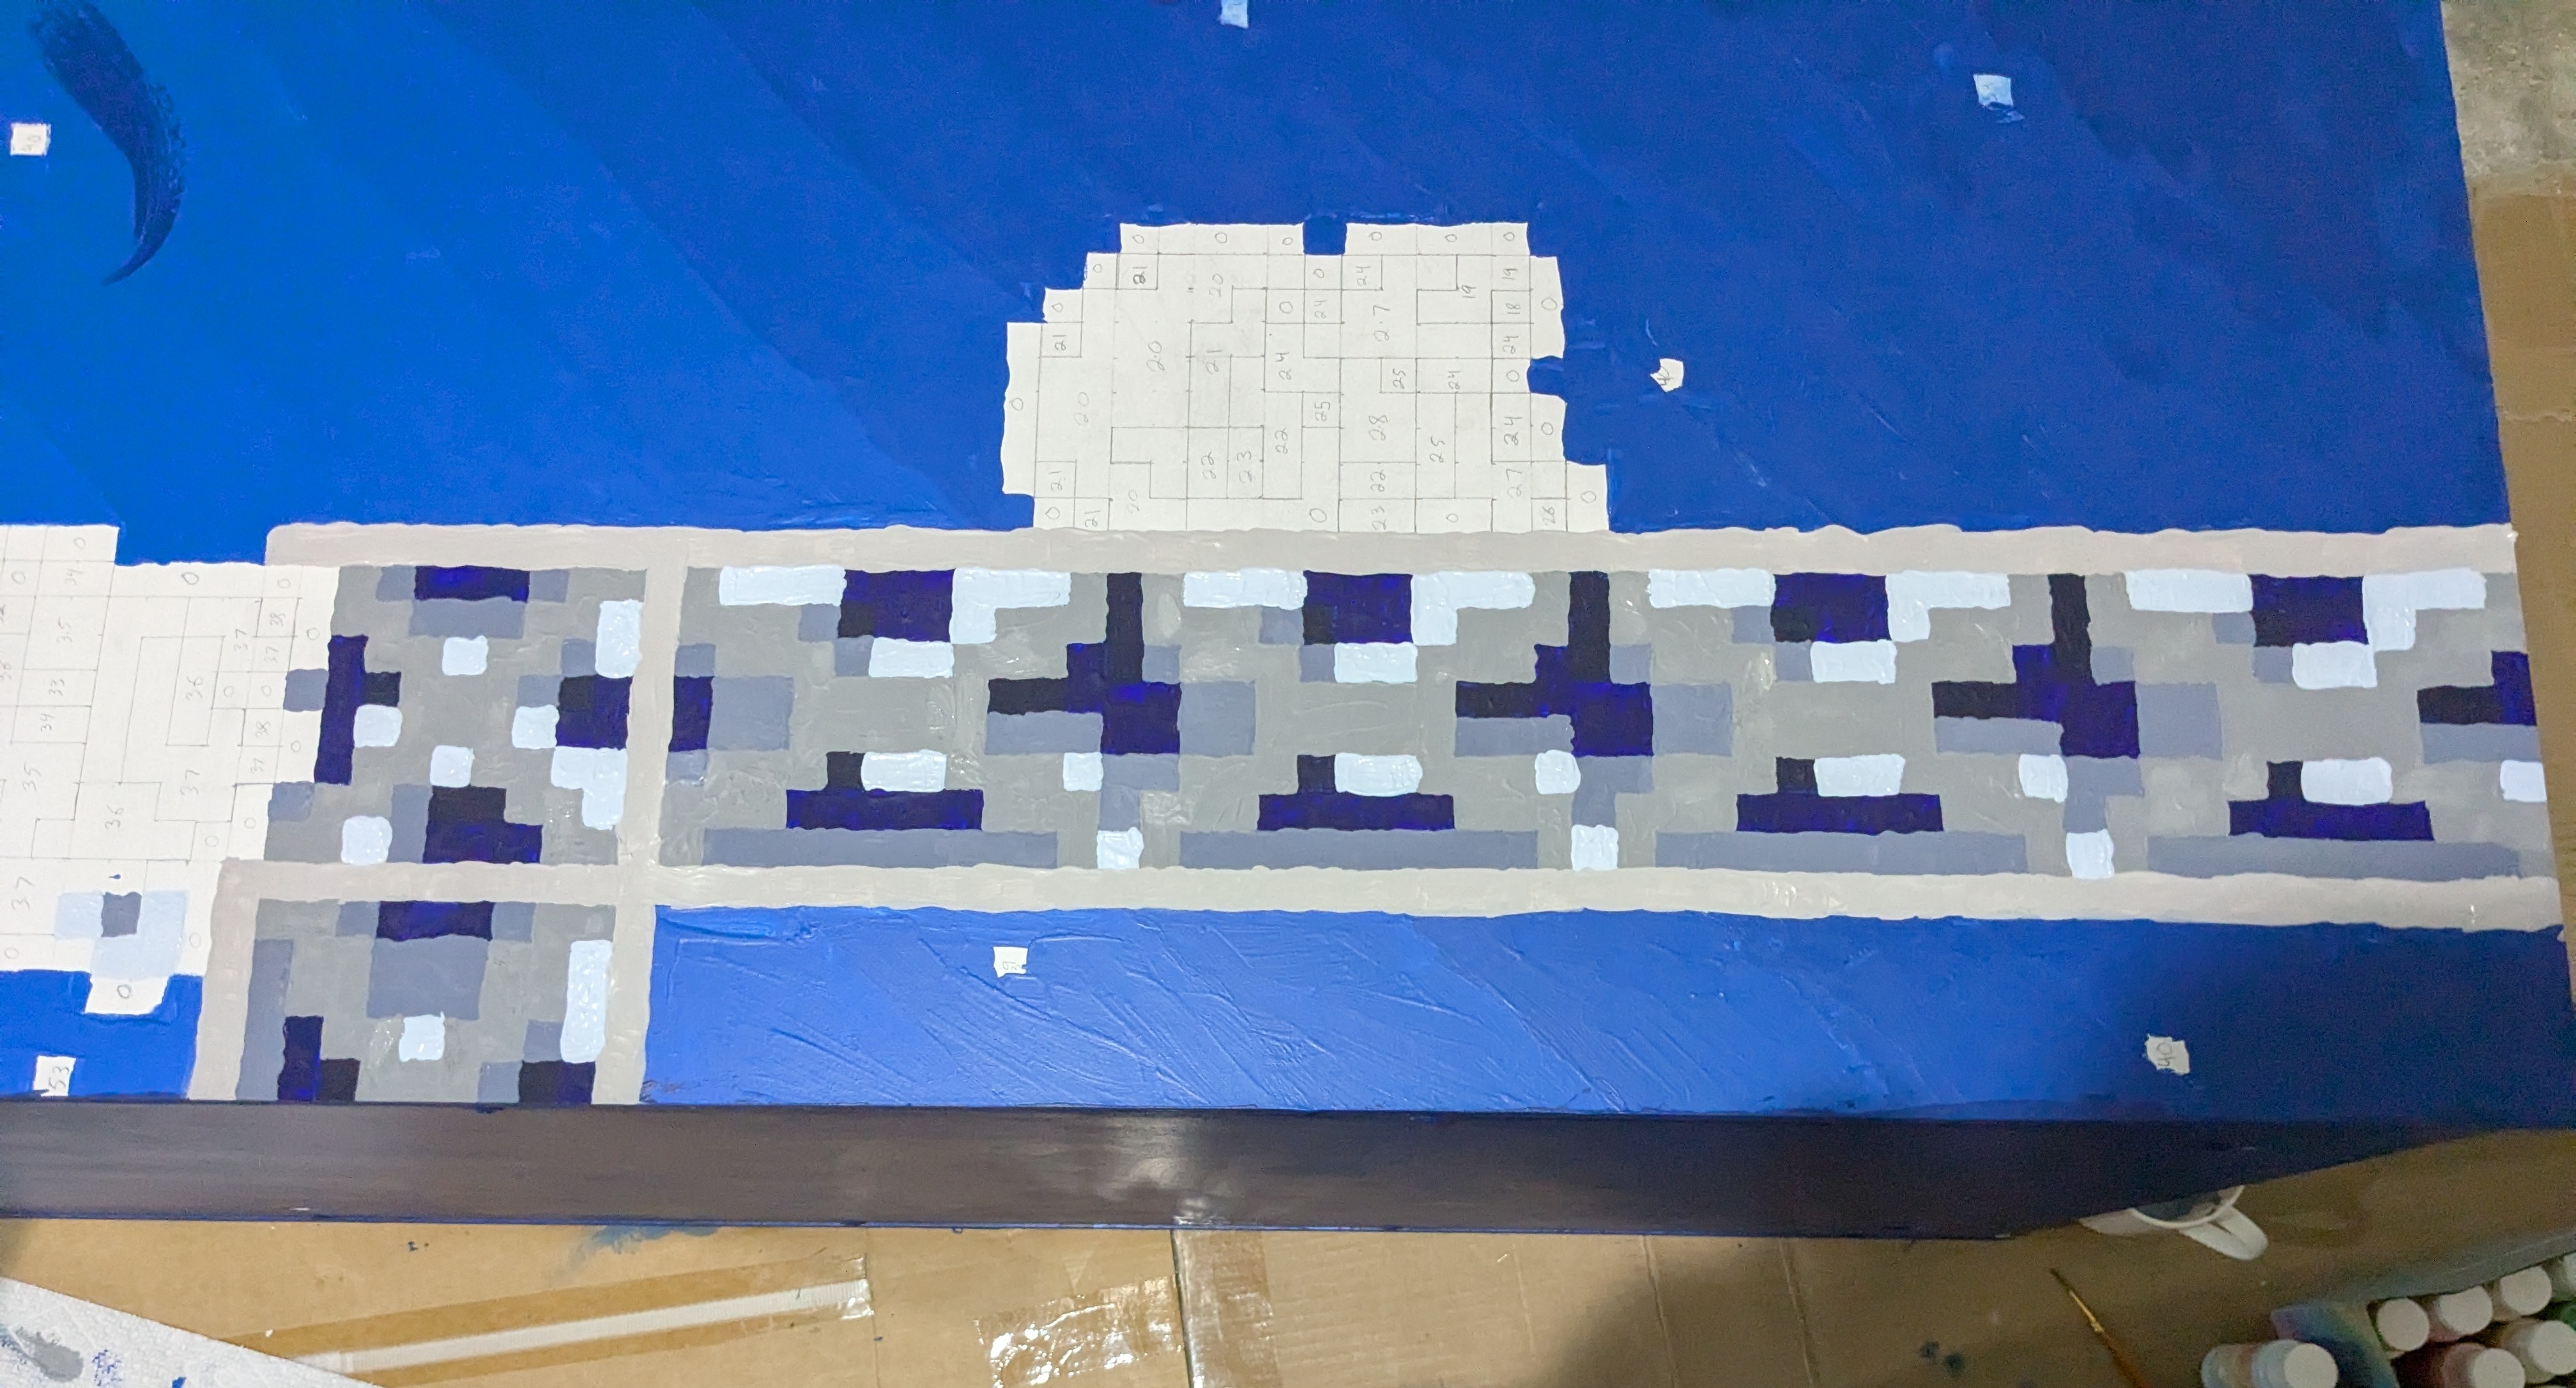
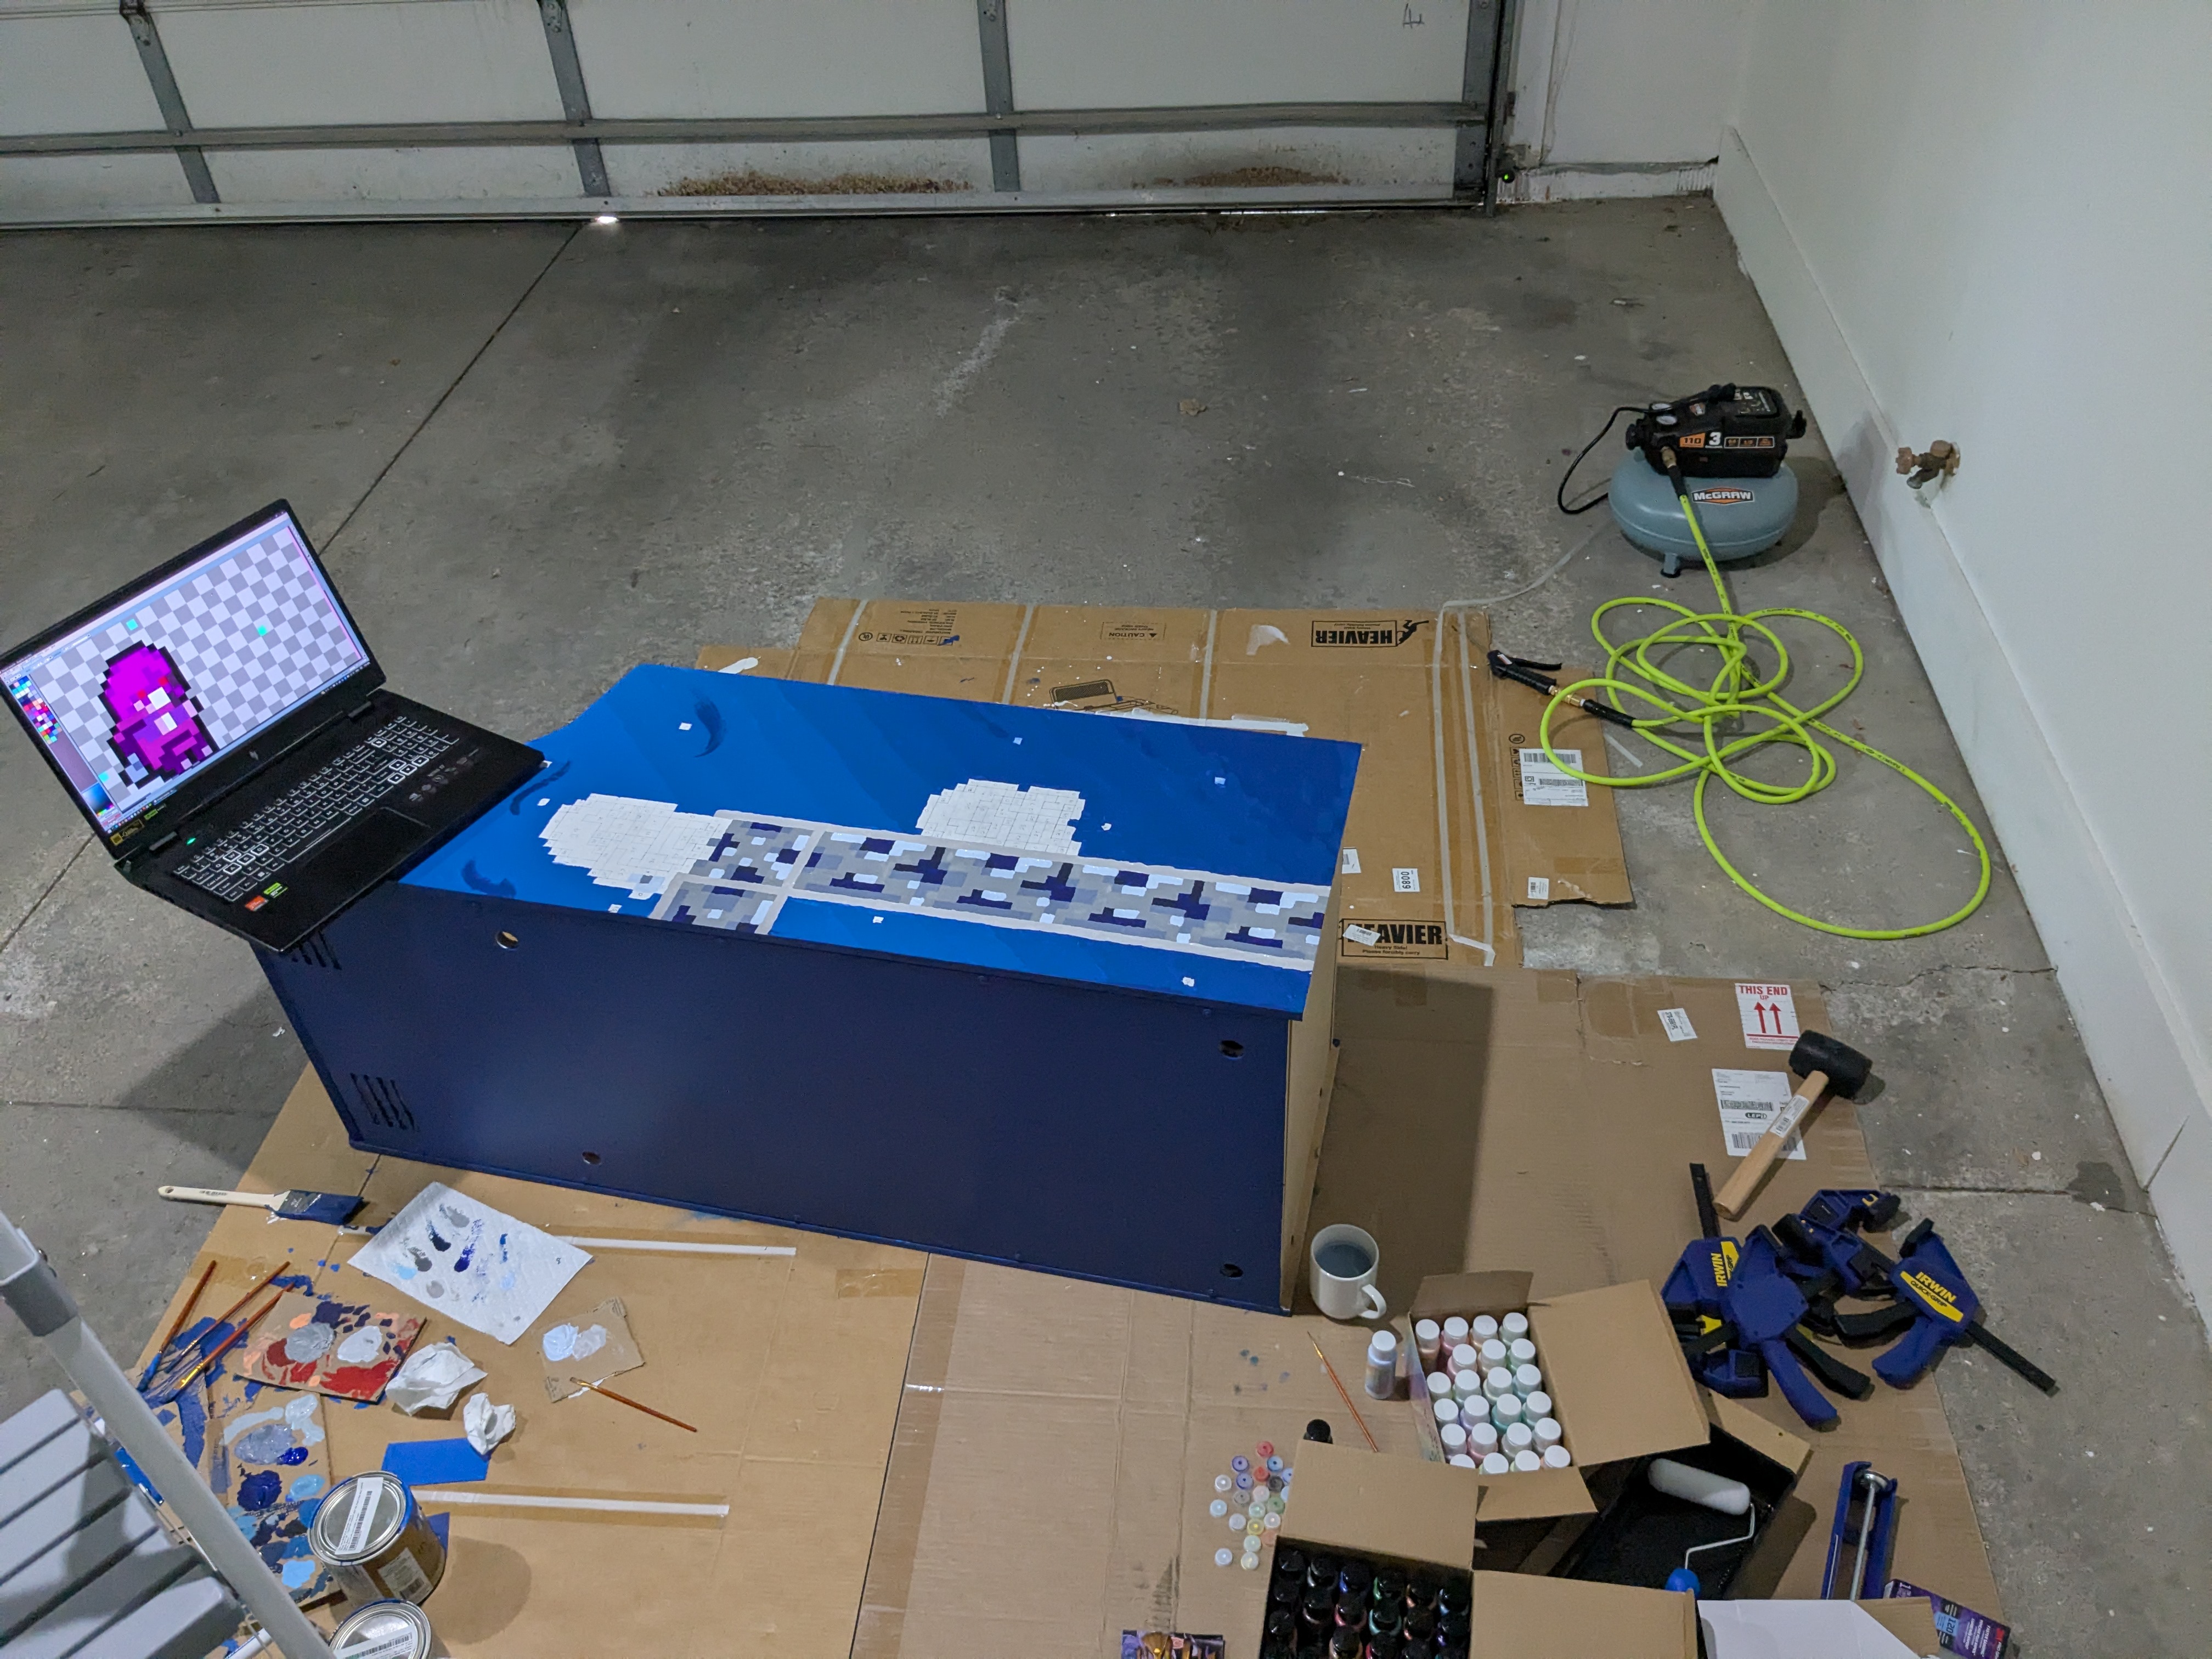
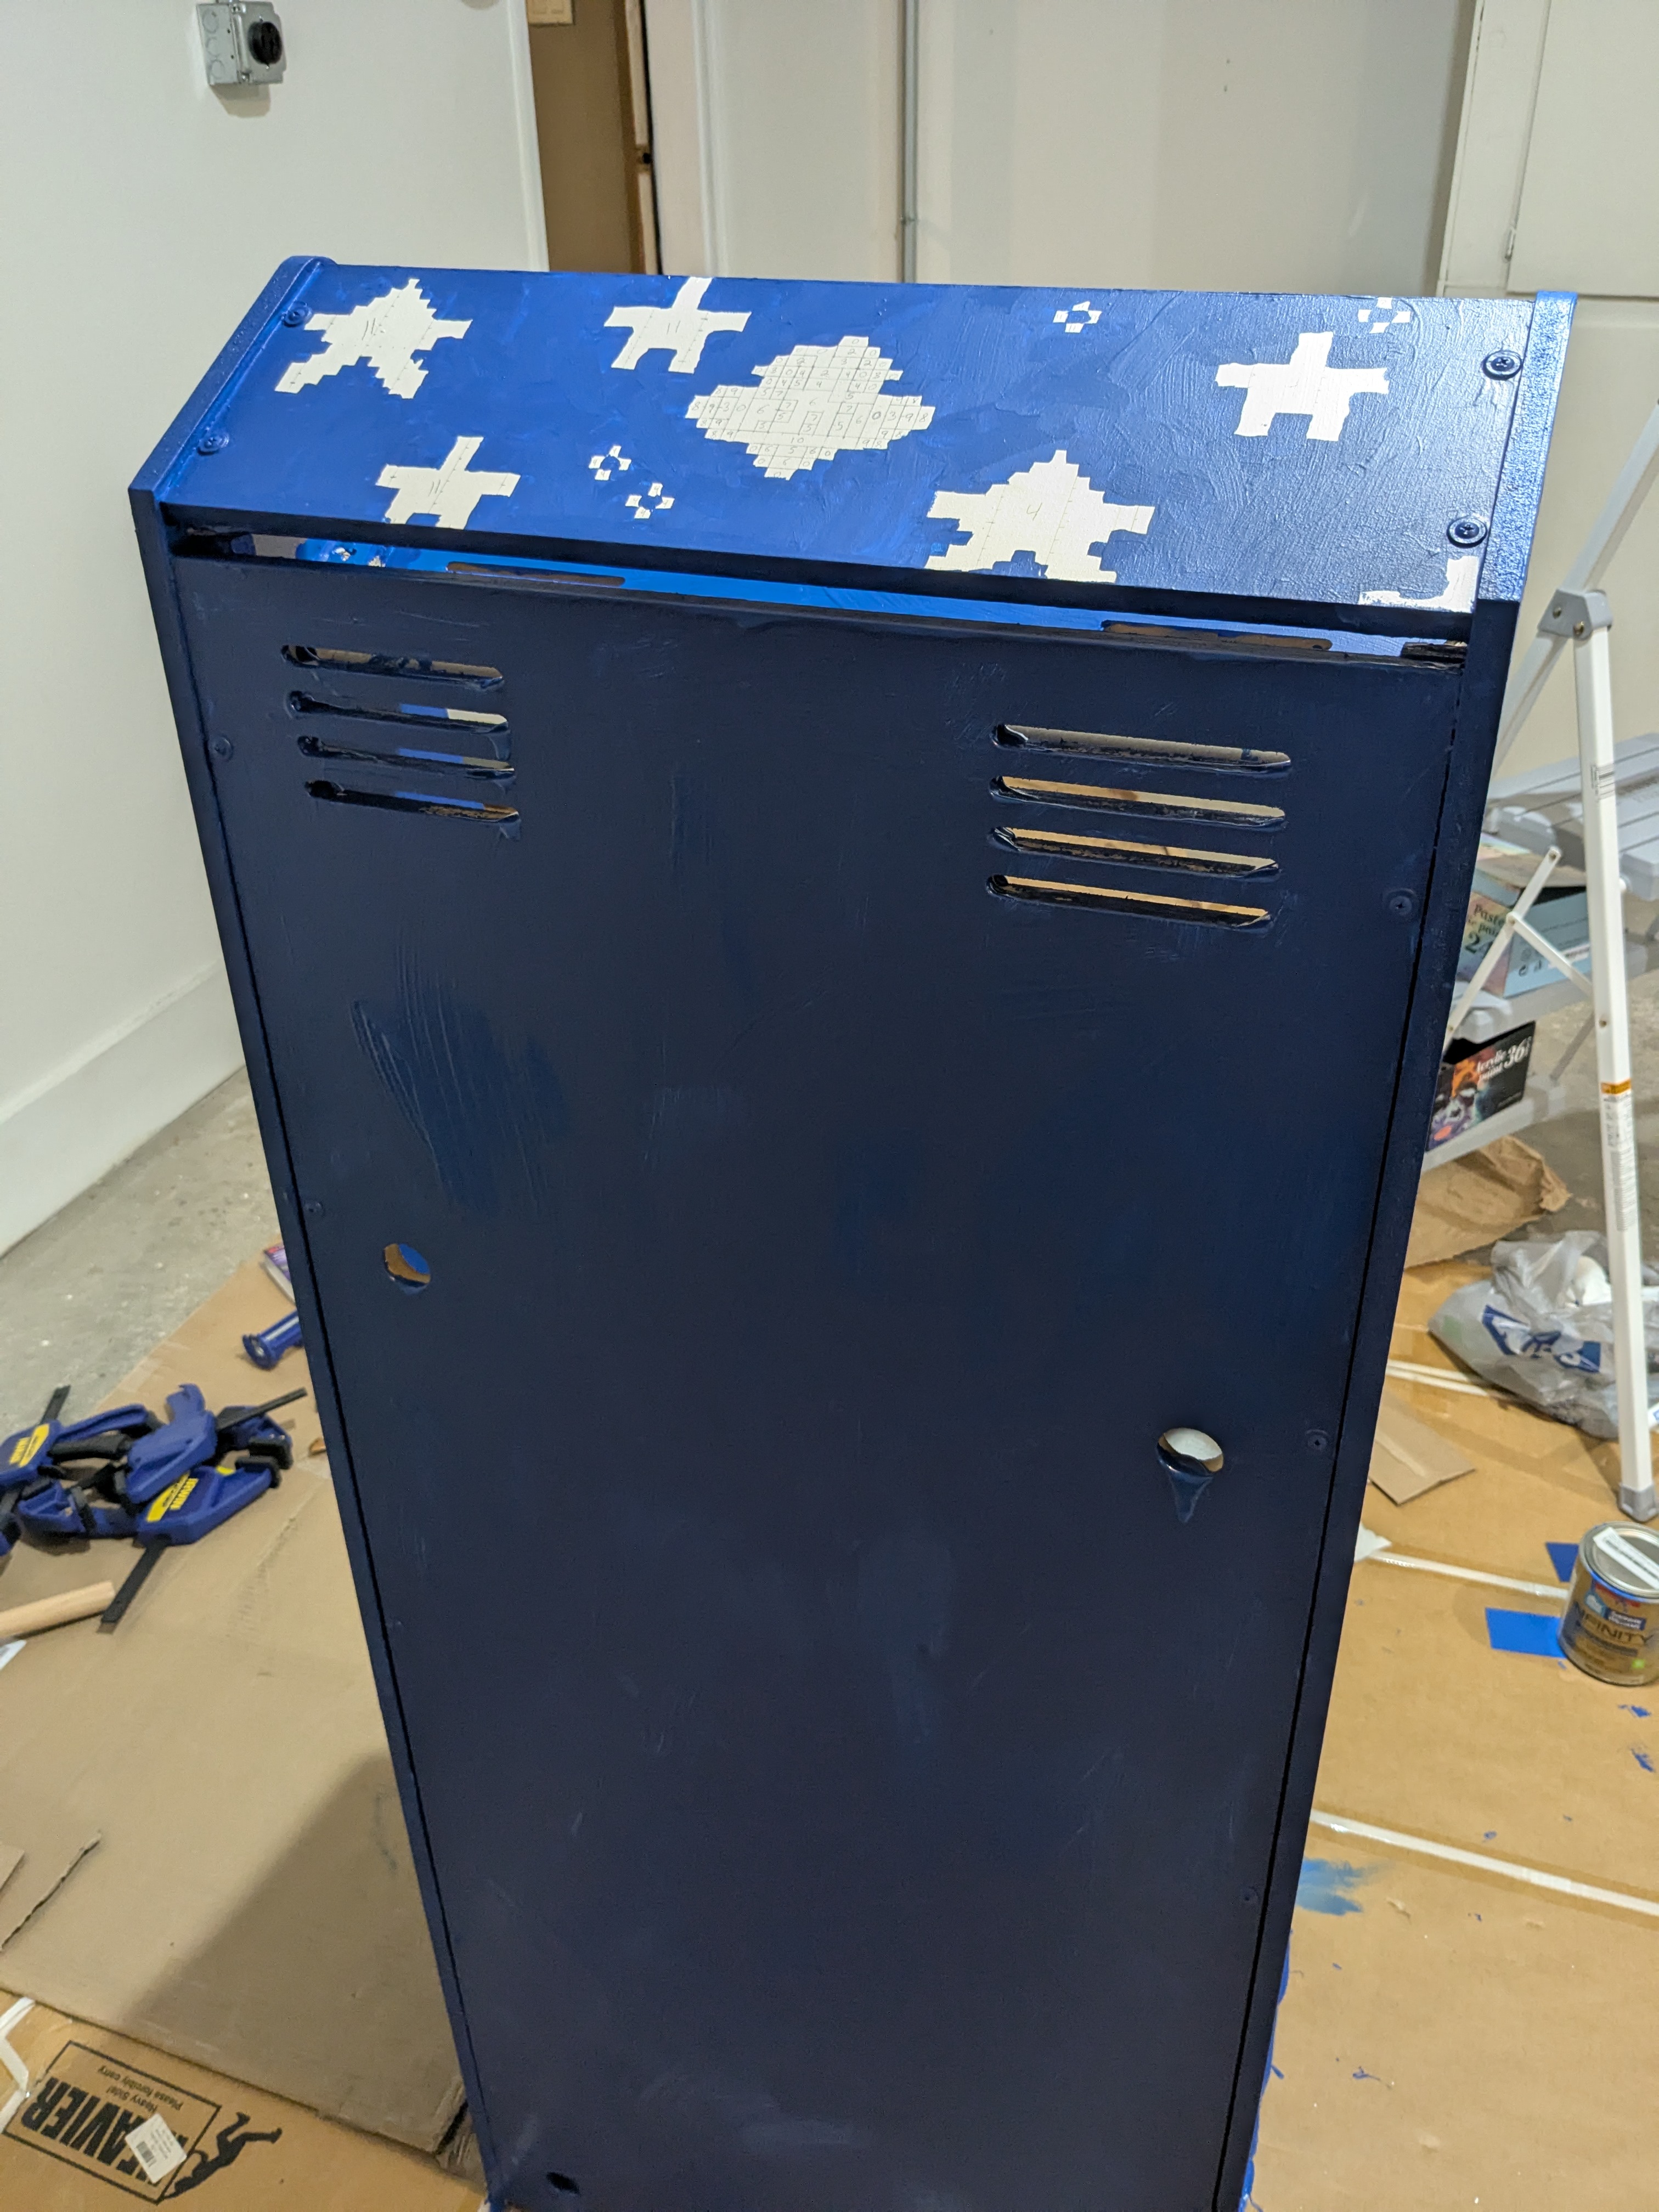
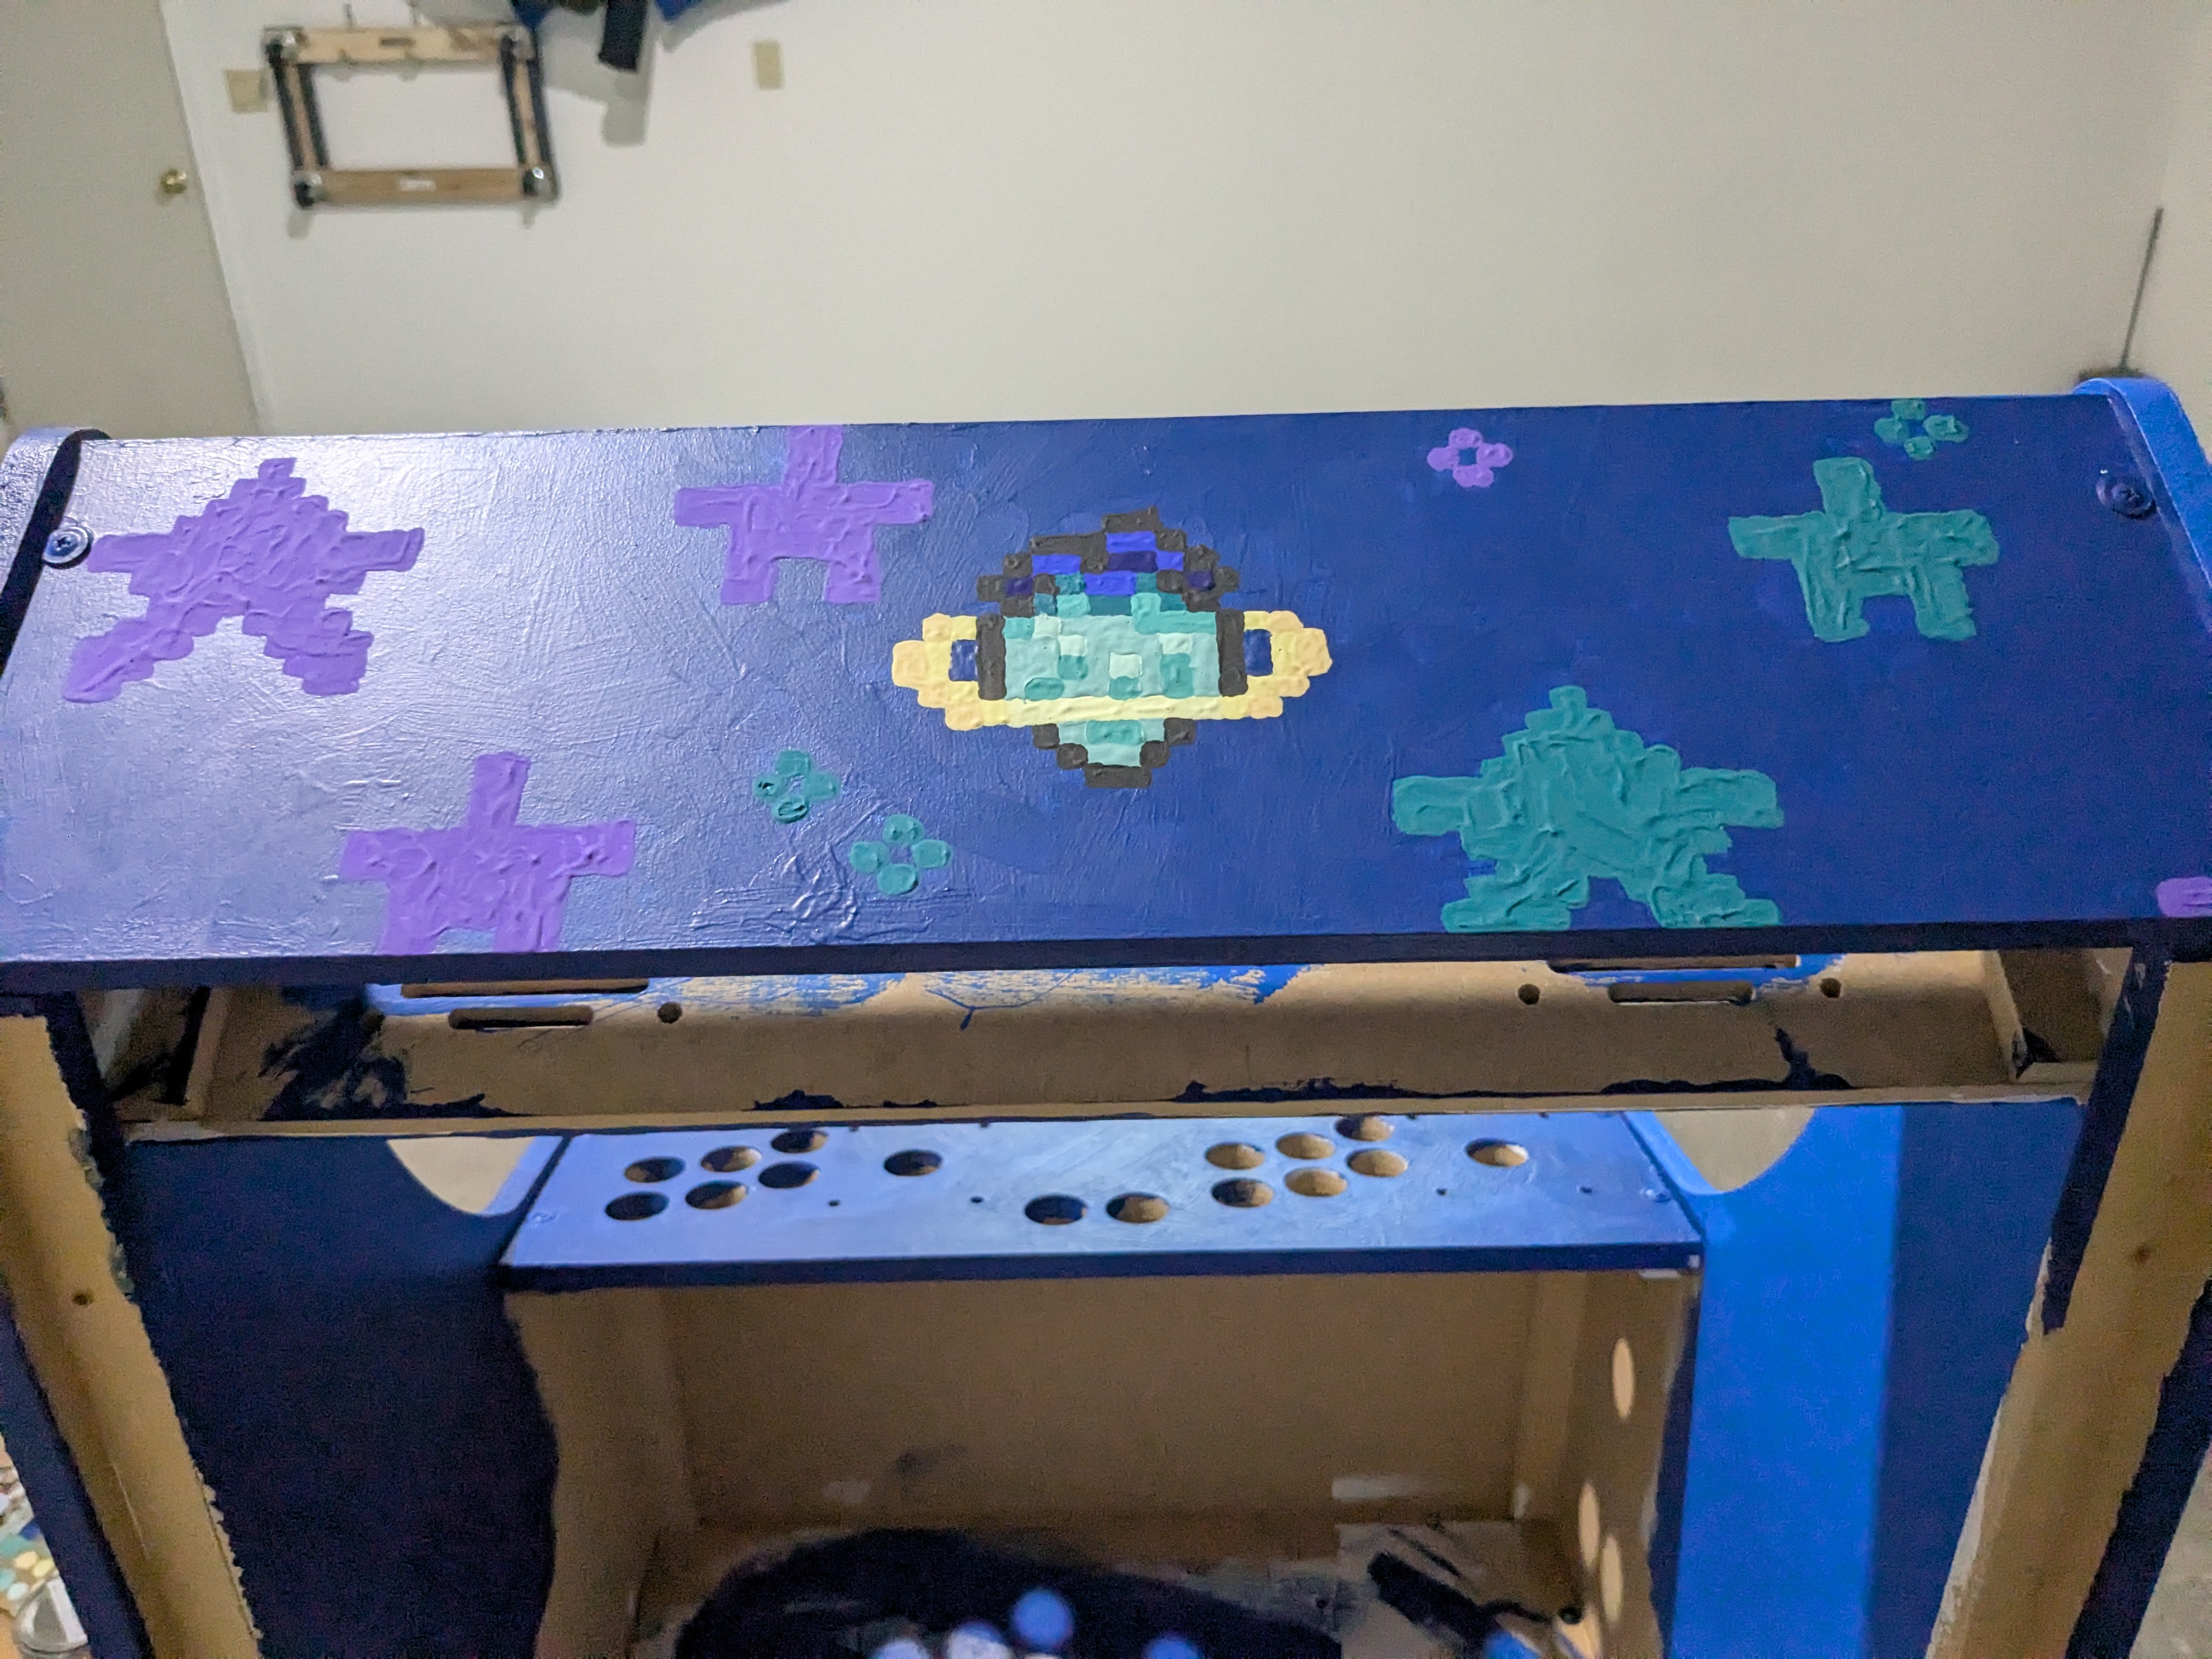
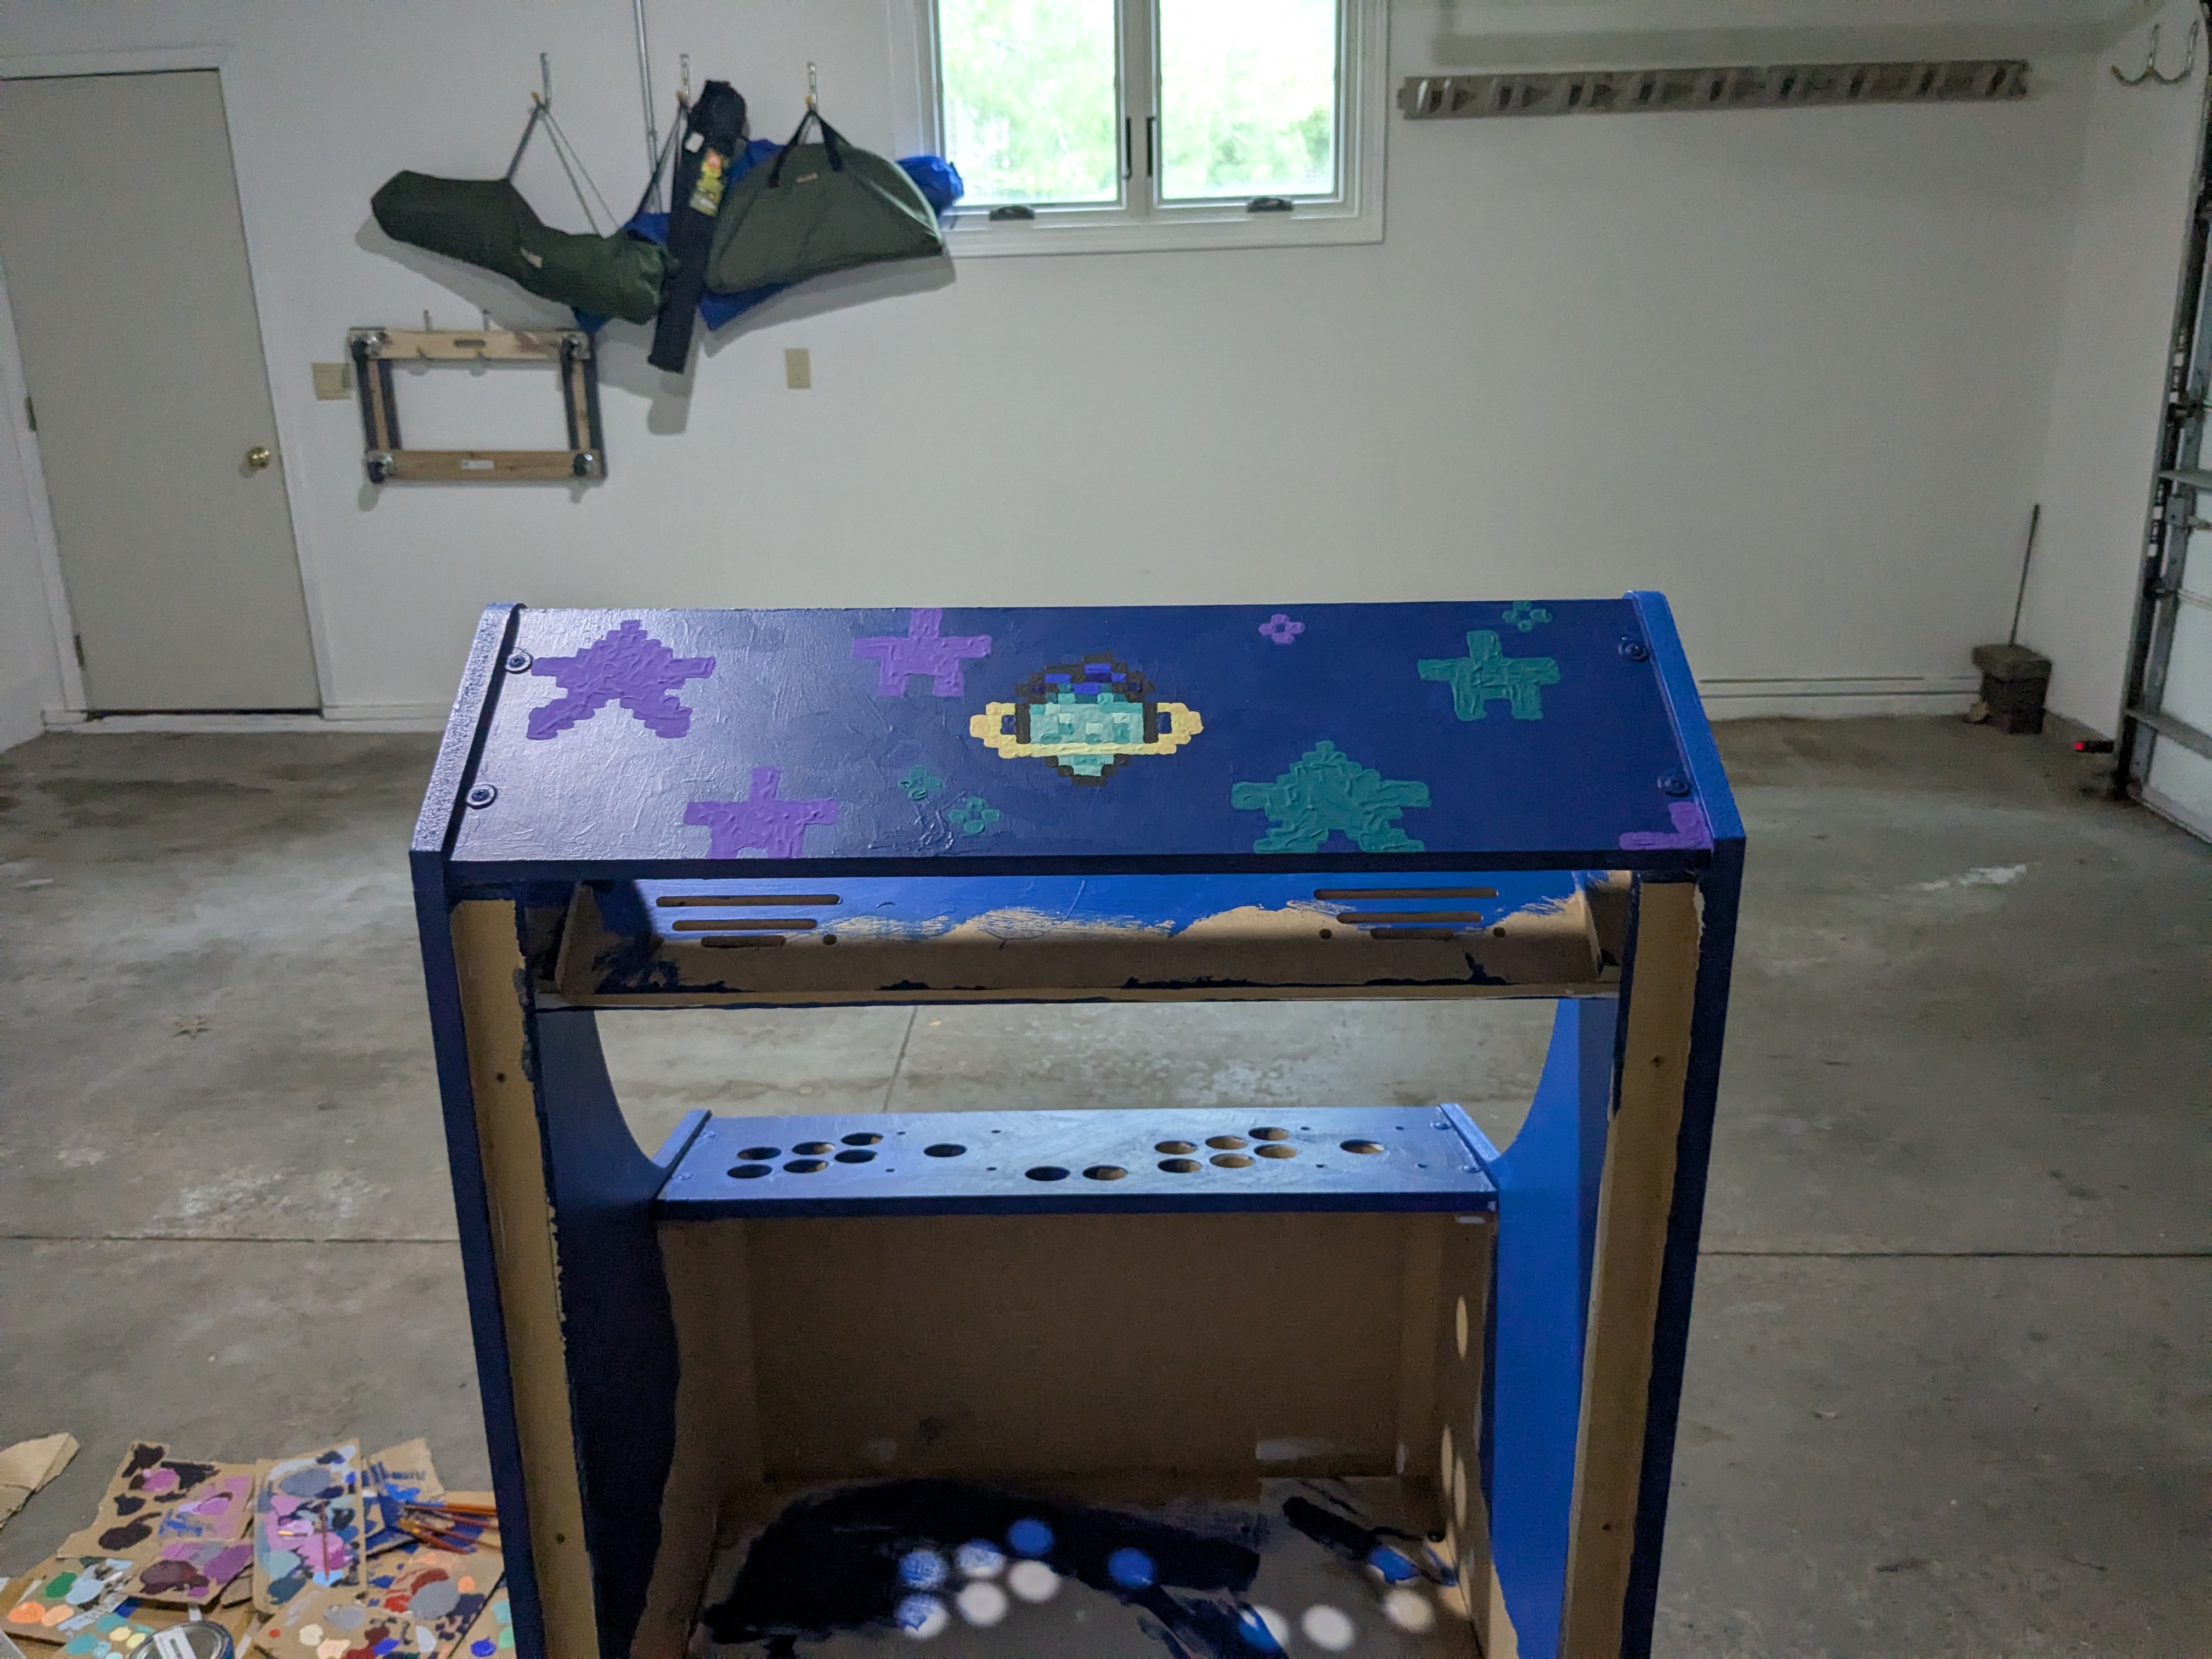
Lastly, I painted the top. The finer pixel resolution proved a big challenge, as the paint did not like to behave in such small spaces. But I managed to get it done reasonably well. Fortunately, I only (mostly) needed one coat for this.
With painting done, I threw a clear coat on top to protect the paint. Then it was time to start installing the physical components. I put the marquee in first, which I ordered from Game On Grafix. Unfortunately, I encountered an unexpected obstacle here. My painting had sealed the top of the cabinet in place more strongly than I was willing to exert force to pry it apart. This meant I had to cut the plexiglass intended to protect the actual marquee down to size so that I could squeeze it in. Even so, it worked out well enough. Afterward, I installed a light behind the marquee to light it up.
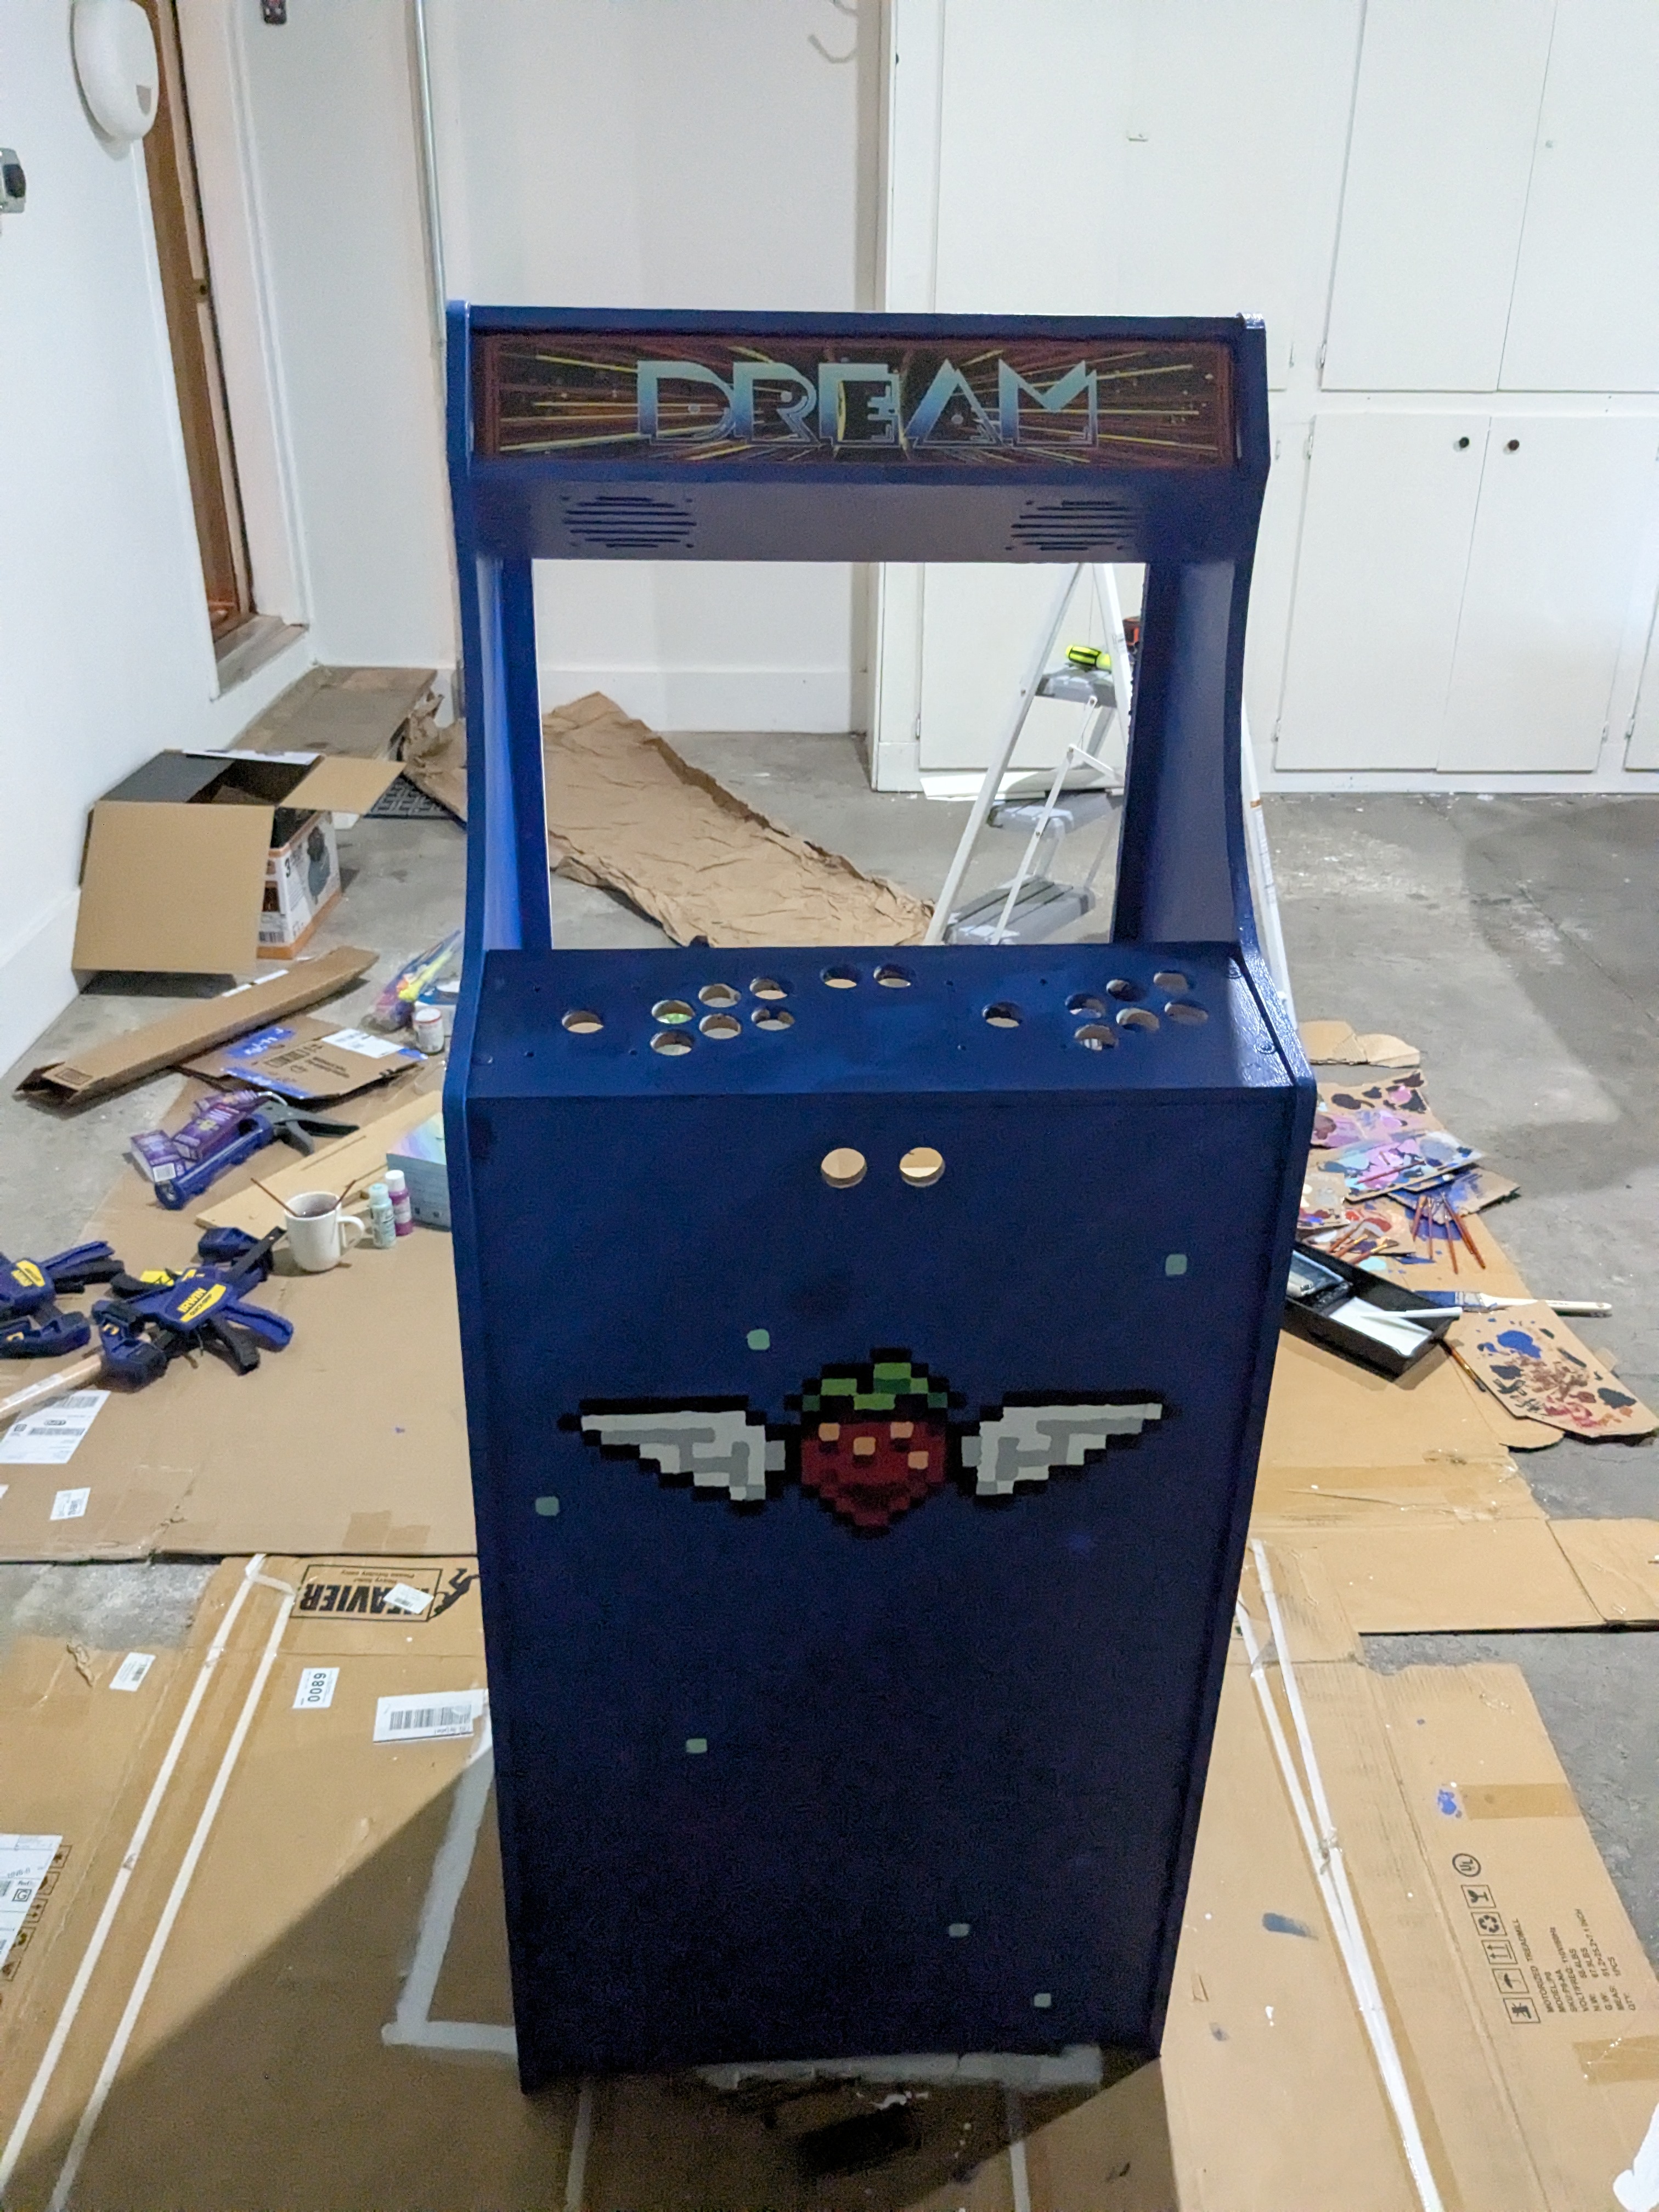
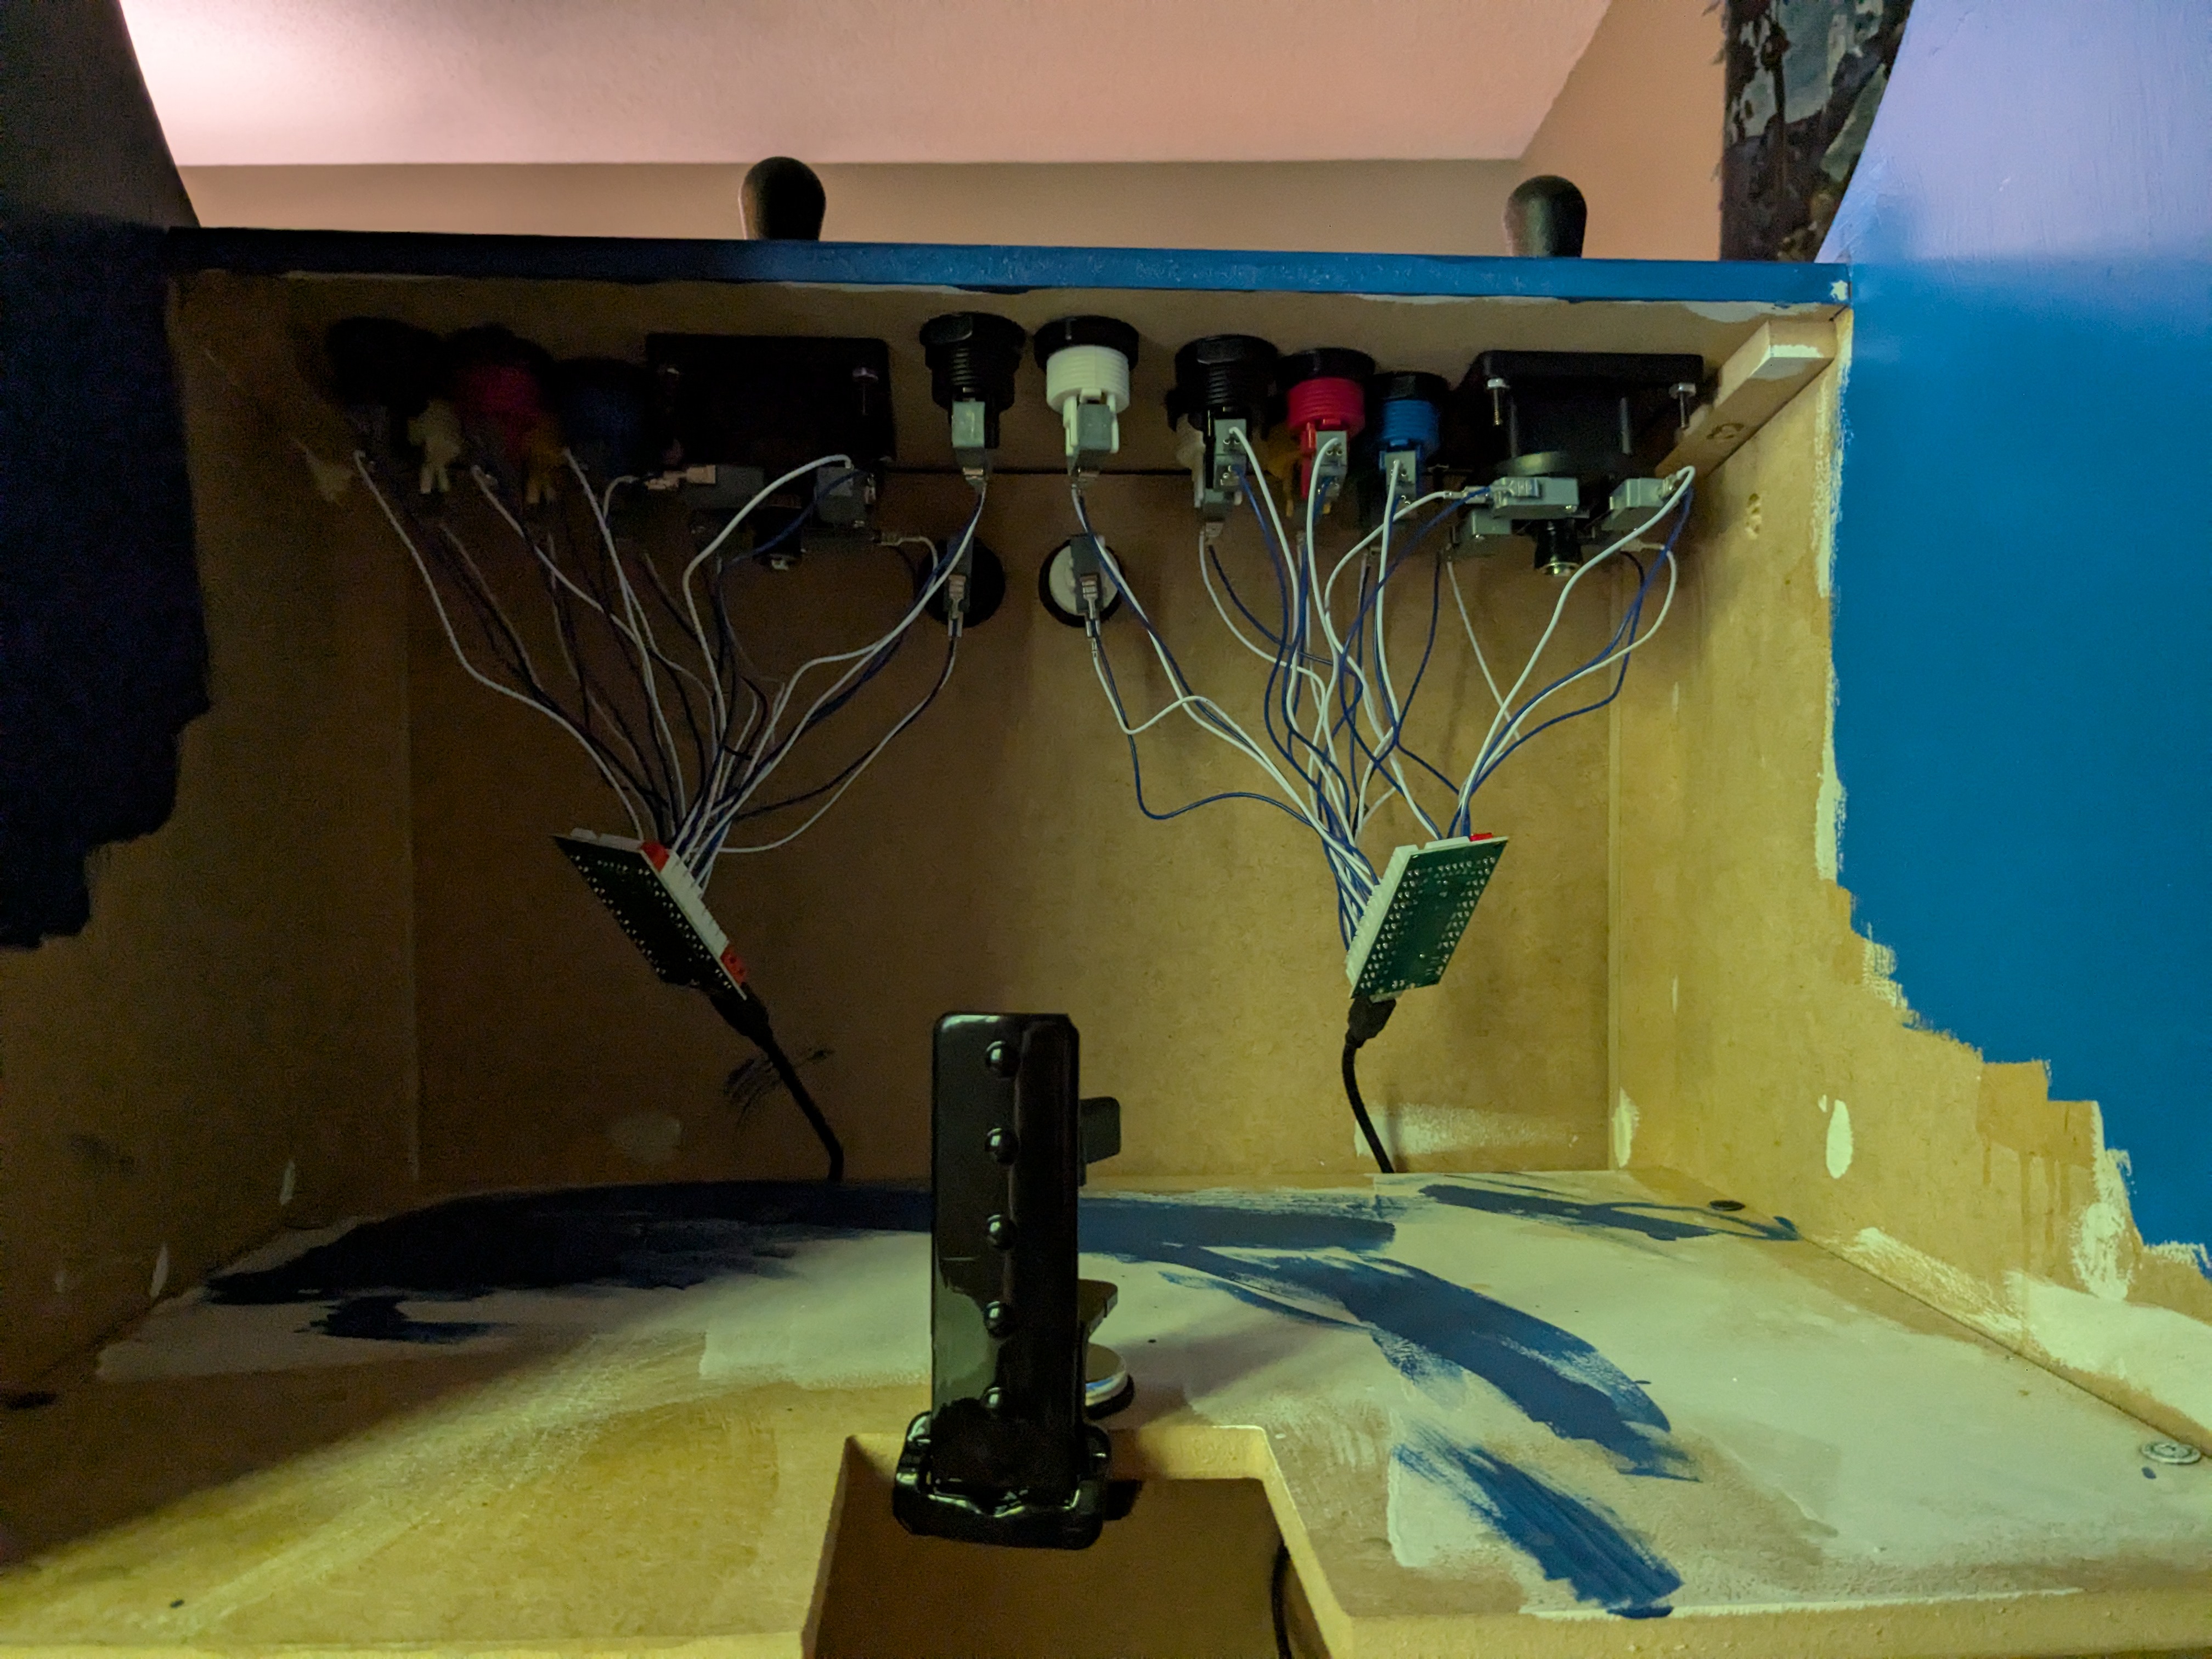
Now comes the fun part: the controls! This was straightforward. I used standard Suzo-Happ concave push buttons and traditional US arcade joysticks. The encoder I used is recognized as a joystick, but either Steam or Celeste doesn't care for it as such (to be fair, I have a lot of trouble with that regardless of what controller I use), so I used JoyToKey to map to Celeste's keyboard inputs. Note here that I will later swap out the white and black buttons for each player to orange and purple (these colors had not yet arrived at the time).
The last problem came with the monitor. I could not find a touchscreen of just the right size (nor could I find the parts to hack one together for a reasonable cost). So I ended up with an awkward boarder that allowed players to see inside the cabinet. While can be a cool effect if done well, that was not the case here.
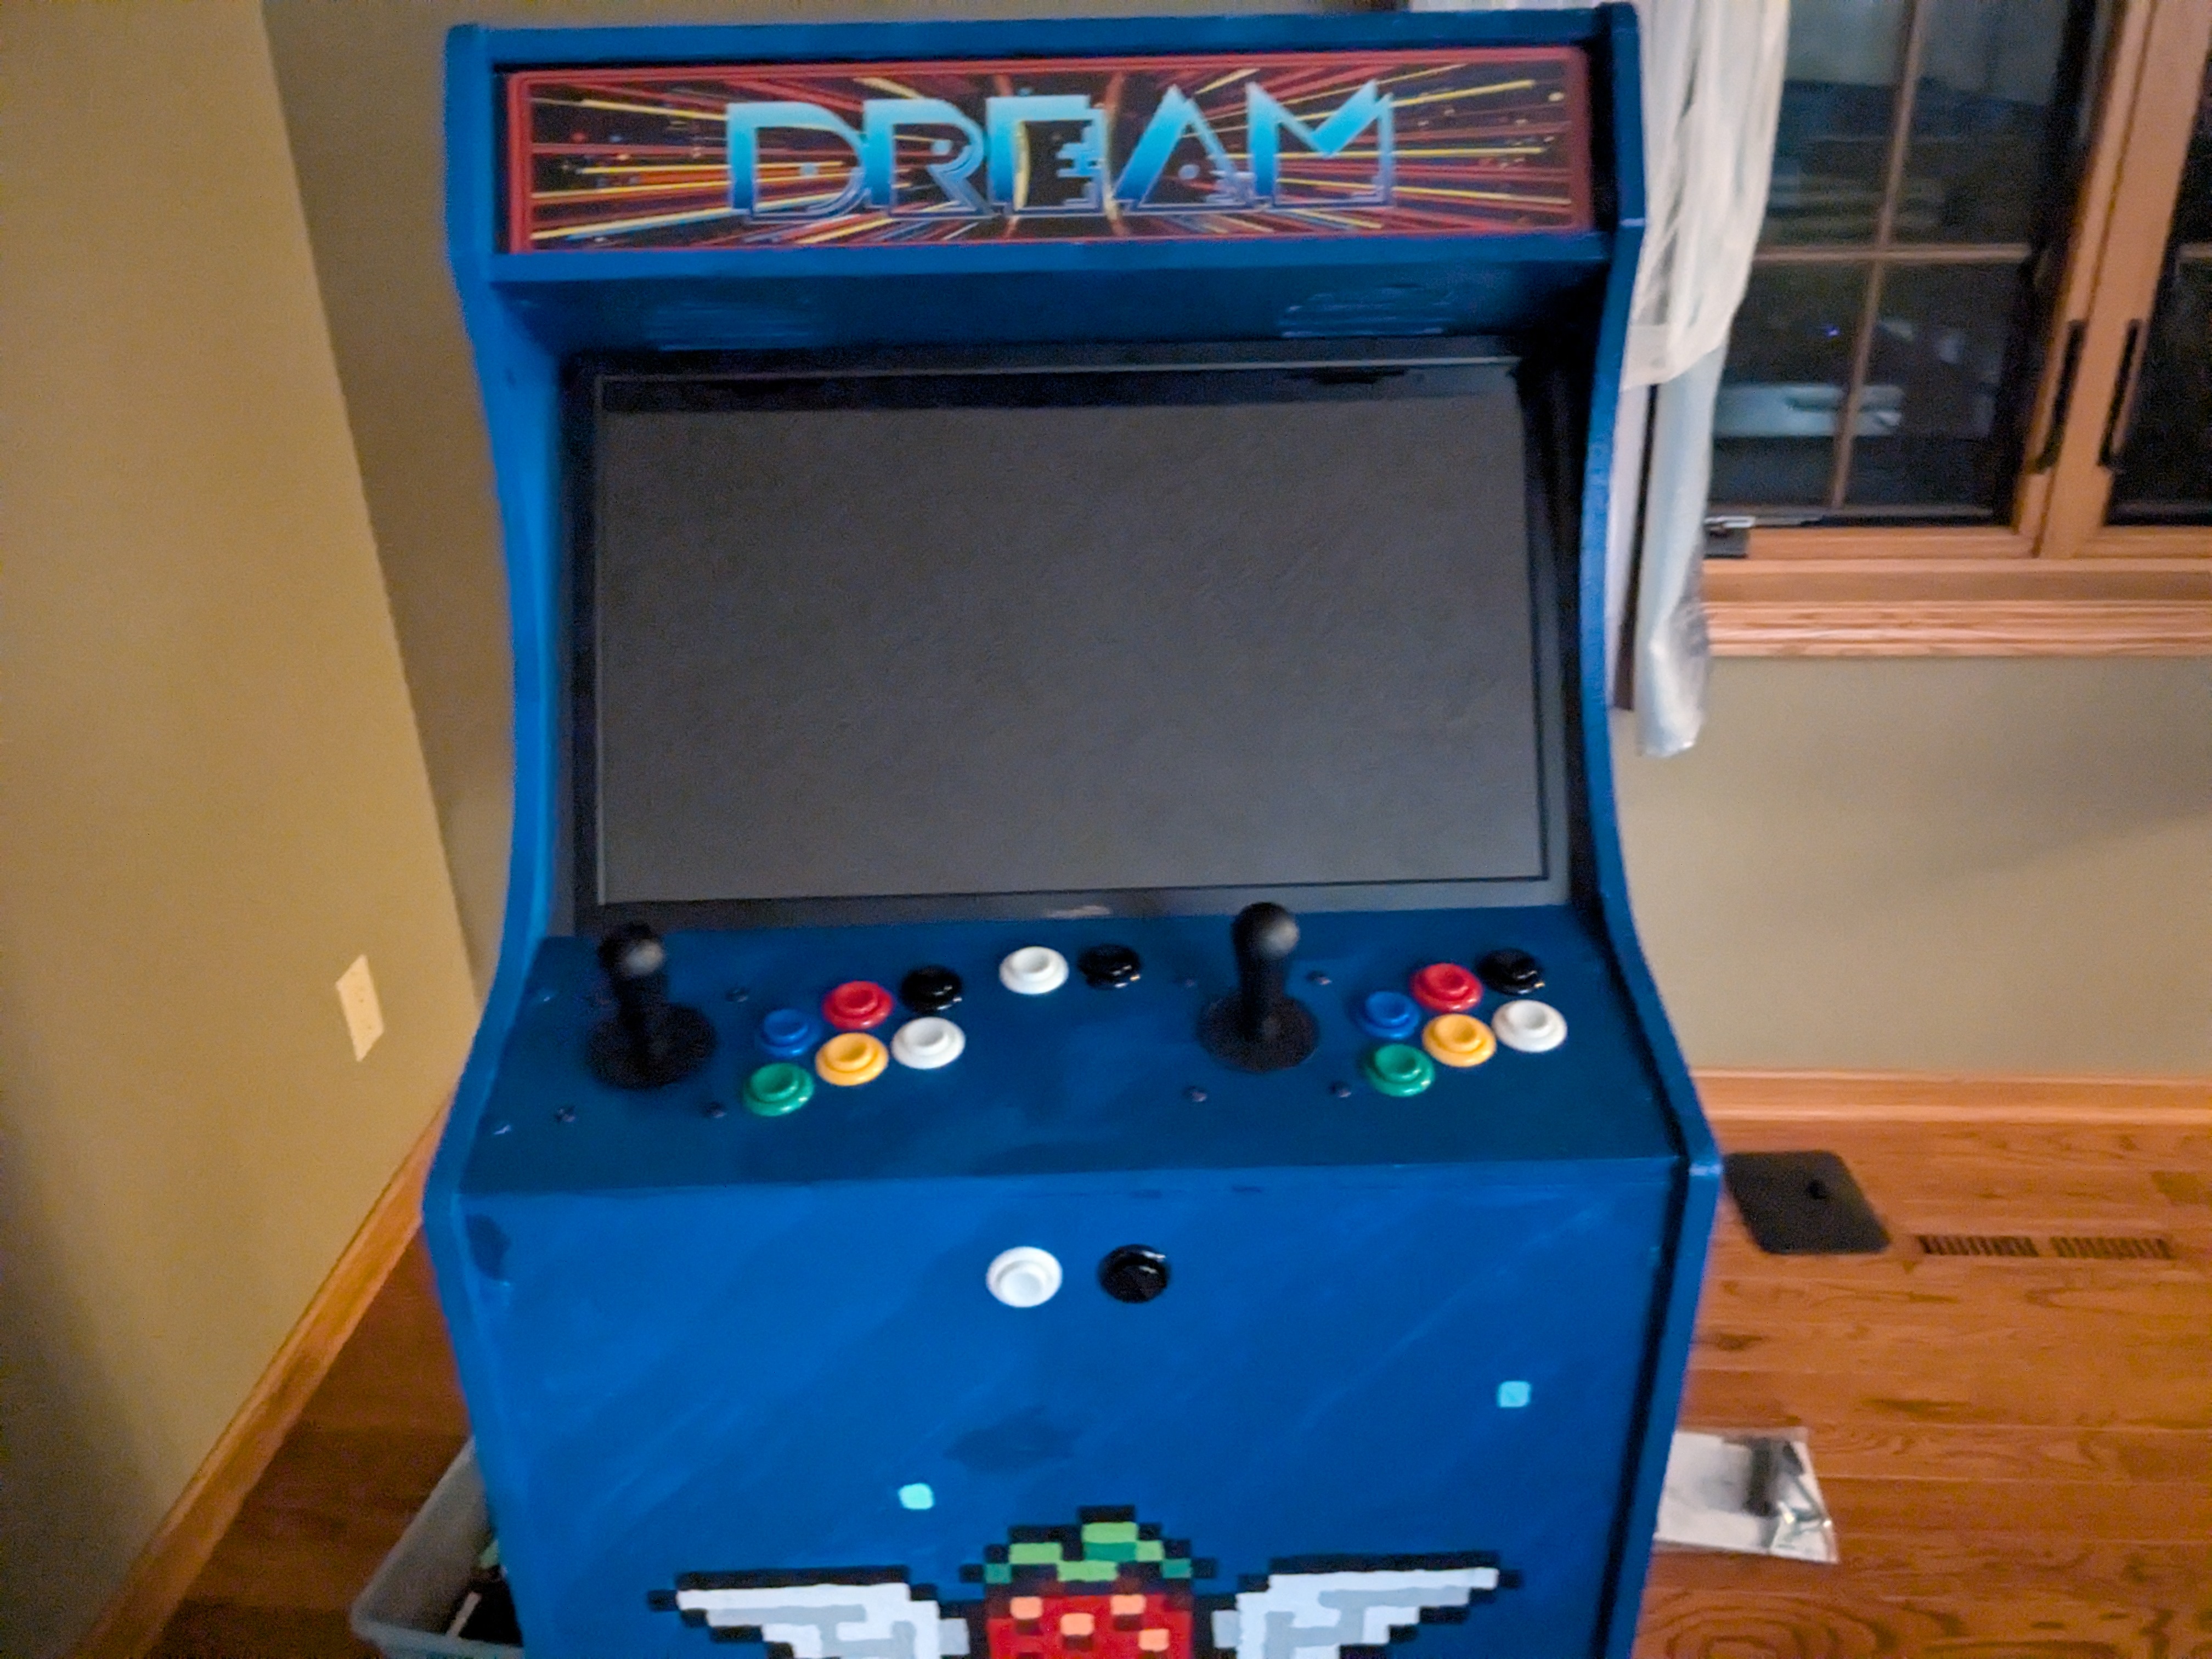
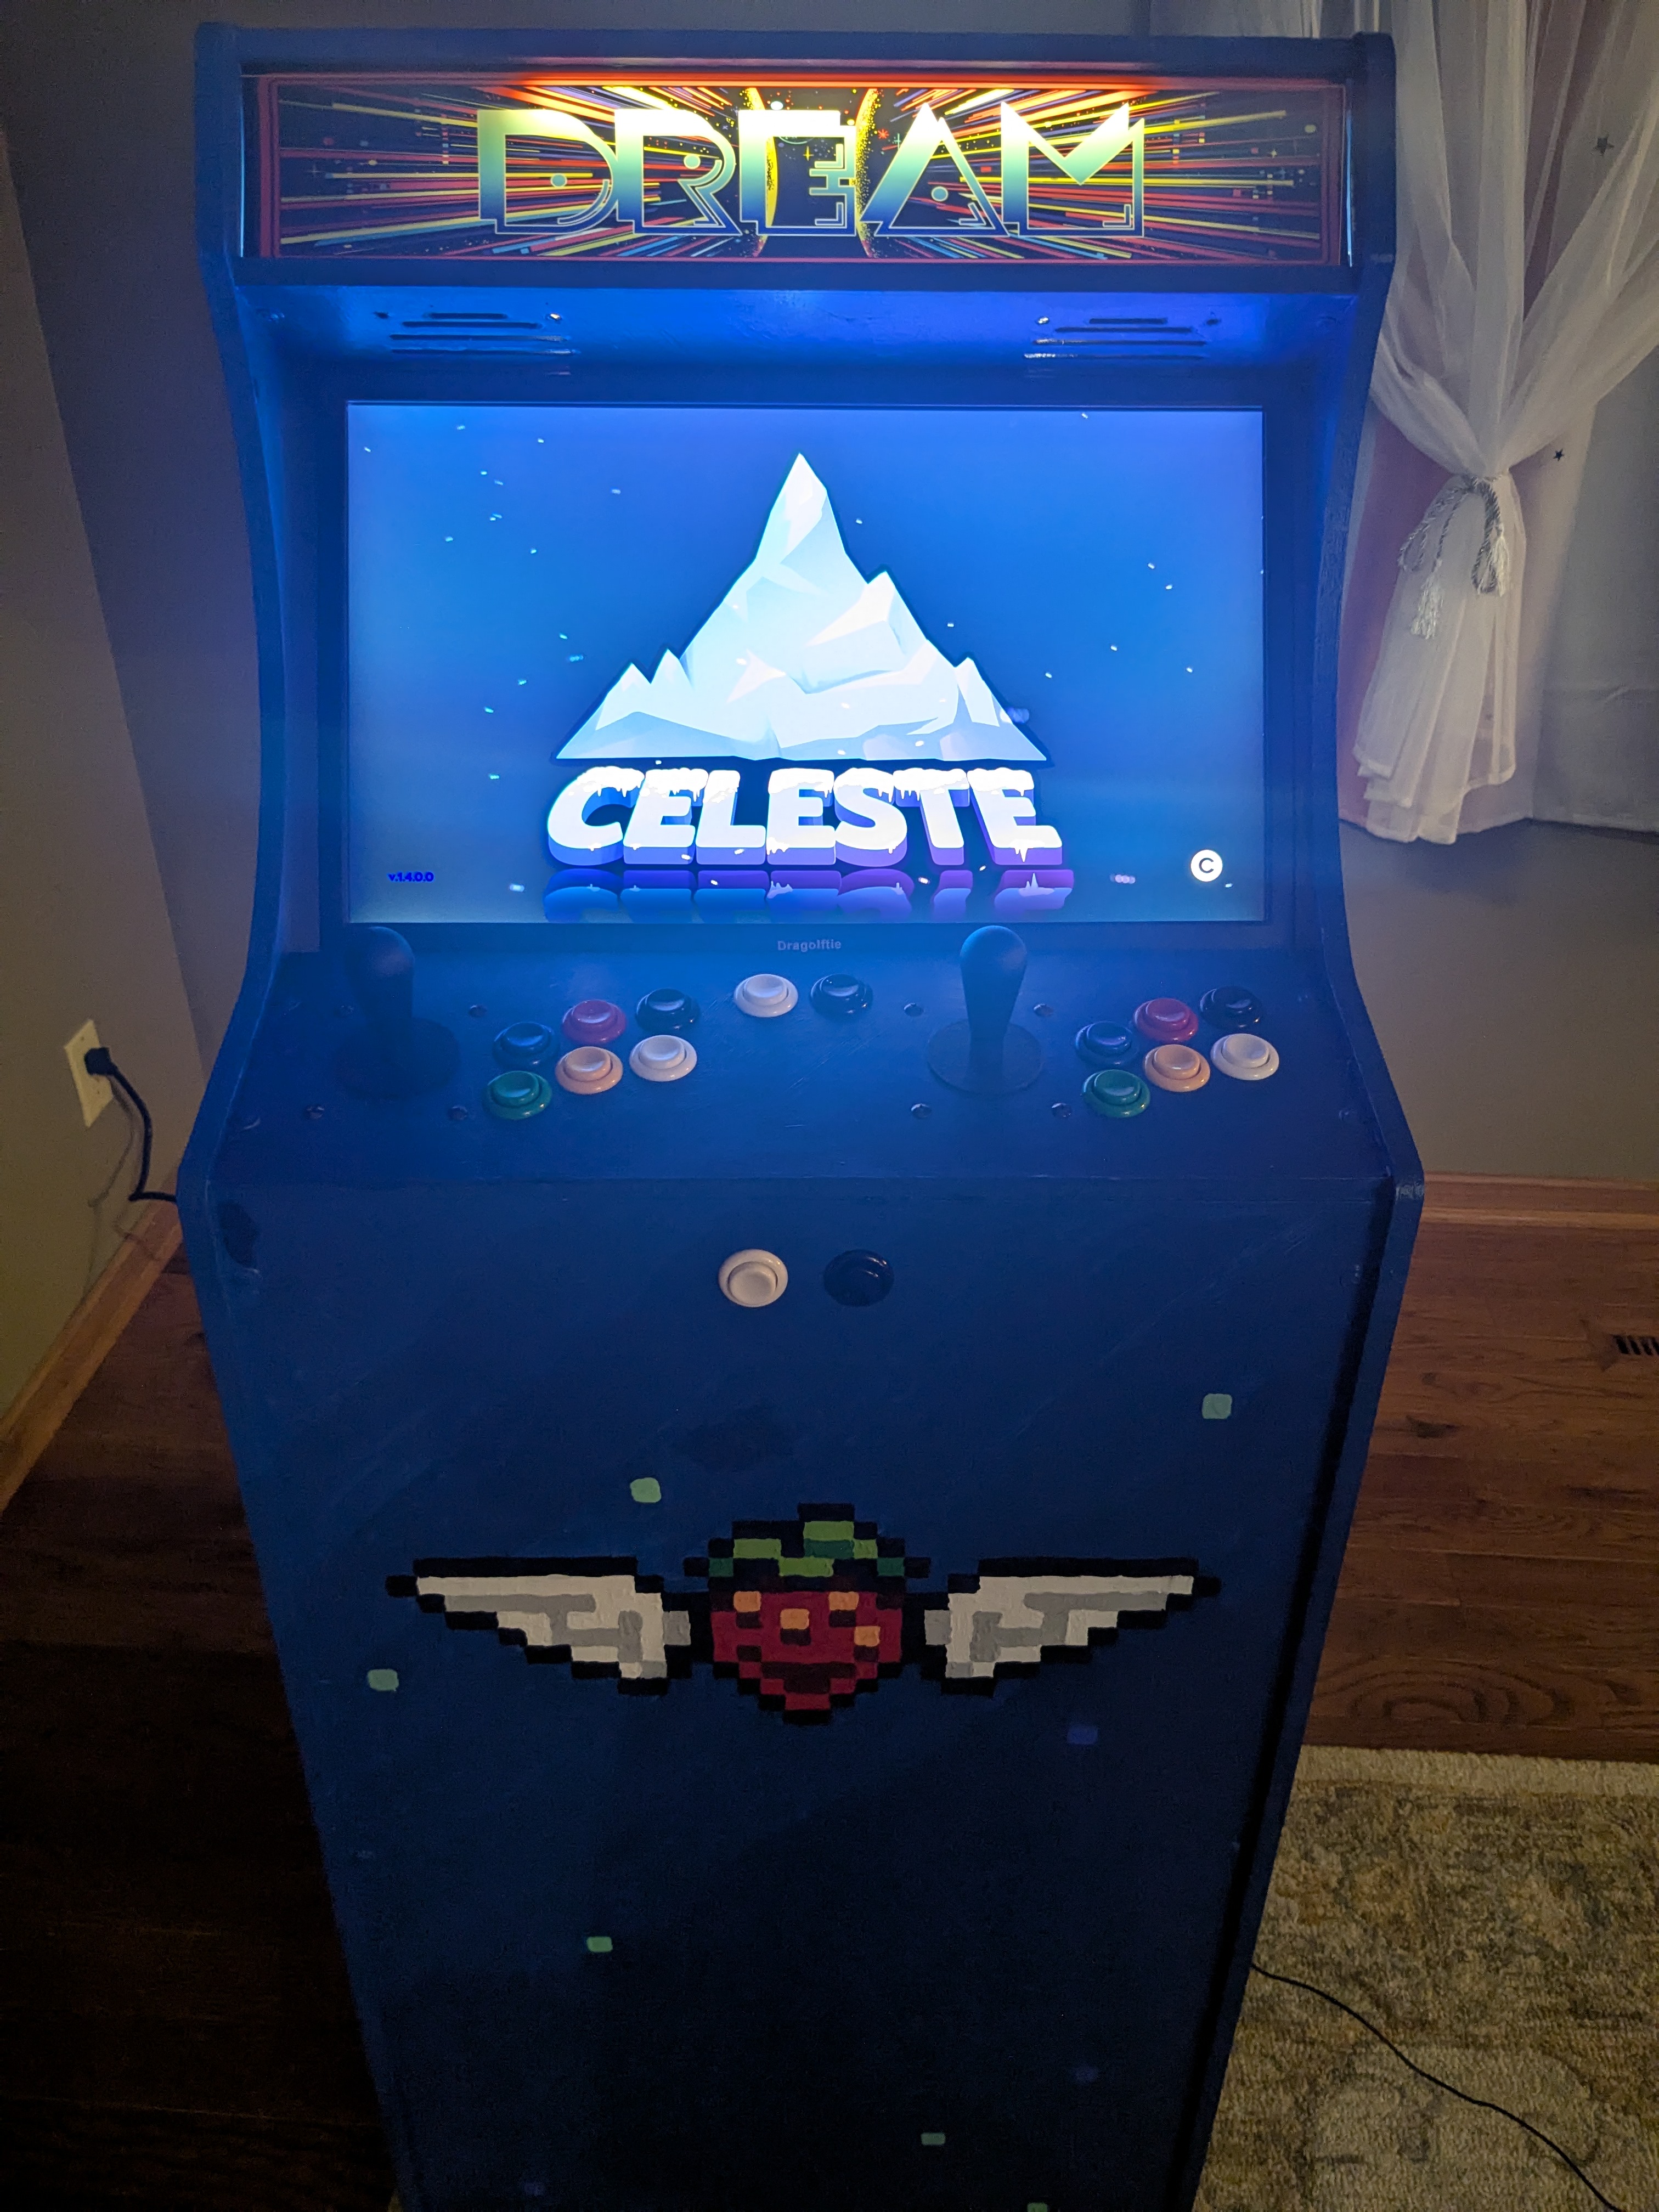

To fix this, I bought a large piece of black construction paper, which I cut to size. Using a rotary cutter, I carved out a hole for the moniter. Then I bent the edges, placed the improvised frame in place, and taped it down.
To conclude, this is the best thing ever!
I am also terrible at Celeste with these controls, but I am improving quickly. I can wavedash with maybe a 10% success rate right now.
In hindsight, there are a few nooks and crannies I wish I had painted better. I have no interest in going back to do so now, however, as these areas cannot be seen during regular use. Overall, I am beyond satisfied with the outcome. It took me 3 weeks in total and about $1k, but it was entirely worthwhile.